
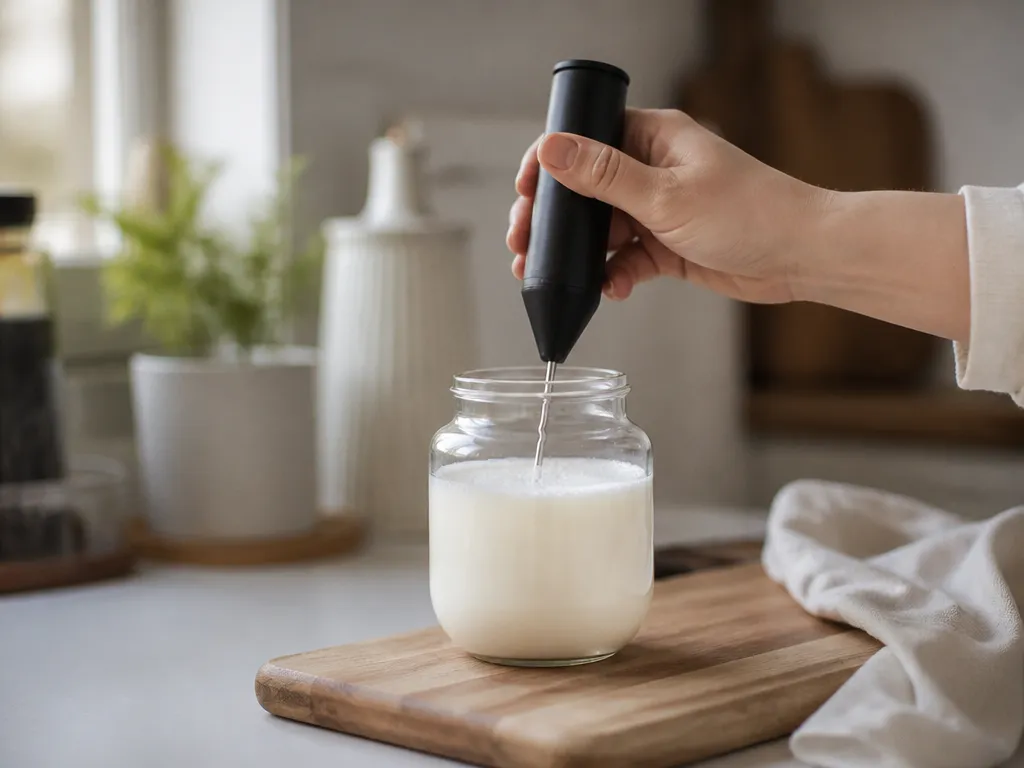
Start with milk that is thoroughly chilled and use a handheld frother until the surface looks glossy and creamy. A small test batch of about 120 ml is a useful starting point, but the best agitation time depends on the tool and milk. Warm milk tends to produce looser foam, so keep the process cold and serve the foam soon after making it.
To make cold foam at home, froth about 120 ml of cold milk with 1 to 2 teaspoons of sugar, if desired. With a handheld frother, begin with roughly 12 to 20 seconds of agitation and stop when the foam becomes glossy and thick enough to pour slowly. With a blender, pulse briefly before blending in short bursts. In a jar, shake hard, then let the foam rest briefly before pouring. Treat these times as starting points, not fixed requirements.
What Is The Basic Cold Foam Recipe For Home?

Cold foam starts with chilled milk and controlled agitation. For one drink, try about 120 ml of milk and froth it until you have a creamy cap rather than a layer of large, loose bubbles. This amount is a starting point, not a guarantee of a particular yield. The tool, milk, and desired thickness all affect how much foam you get.
Dairy Baseline (Skim Or 2%)
Skim milk can produce a light foam, while 2% milk gives a richer mouthfeel. Neither result is guaranteed with every tool, so use the appearance of the foam as your guide. Keep the milk cold and stop as soon as it becomes glossy and uniform.
Non-dairy Baseline (Oat, Almond, Soy Blends)
Plant milks vary considerably by brand and formulation. Oat, soy, and almond drinks can all foam, but some versions remain loose or separate quickly. A barista-style product may be worth trying if a standard version will not hold a cap. Compare products using the same volume and method so you can tell whether the milk or the technique is responsible.
| Base | Per serving | What you should expect | Best starting texture target |
|---|---|---|---|
| Skim milk | About 120 ml | Potentially light and airy | Pourable foam |
| 2% milk | About 120 ml | Potentially richer and denser | Spoon-friendly foam |
| Oat (preferably barista-style) | About 120 ml | Creaminess depends on the brand | Thick but pourable |
| Soy or soy blend | About 120 ml | May form an even cap, depending on the formulation | Even cap |
| Almond (preferably barista-style) | About 120 ml | May be looser or more difficult to foam | Test a small batch |
If you want sweet or flavored cold foam, keep the base simple while you establish the texture. Then add one flavor at a time. That makes it easier to identify whether the milk, sweetener, or agitation is causing a problem.
What Texture Will The Basic Recipe Produce And How To Target It?
A successful batch should look glossy and creamy, with either a slow pour or a soft shape that holds briefly on a spoon. The exact texture depends on the milk and tool. Aim for the appearance you want rather than the tallest possible foam.
Use an appearance test each time: light foam should be glossy and pourable, while thick foam should be dense and spoonable. Change one variable per attempt so you can identify what improved the result.
How To Froth Cold Foam With A Handheld Frother?
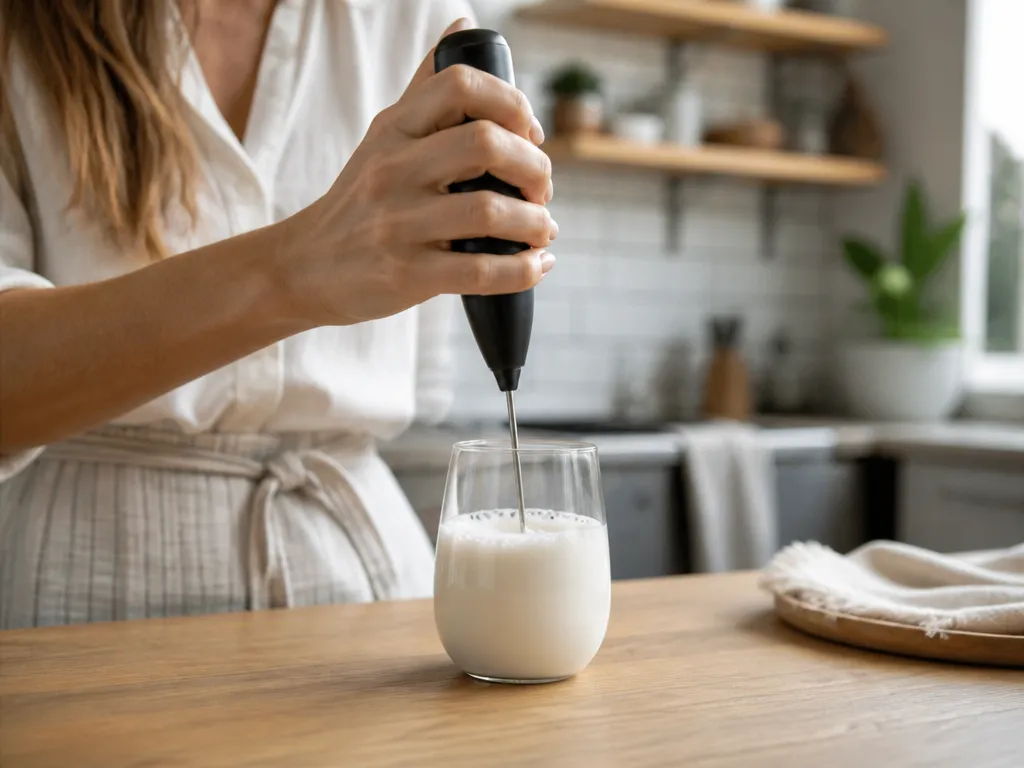
A handheld frother is the simplest method to test. Start with about 120 ml of cold milk, keep the whisk submerged, and stop when the foam looks smooth rather than simply voluminous.
Quick rule: if the foam is watery, check that the milk was cold and add agitation in short bursts. If it has large bubbles, keep the frother submerged and reduce the intensity or duration next time.
How To Make Cold Foam In A Blender?
A blender can make cold foam, but it is easier to over-agitate the milk. Use chilled milk, begin with pulses, and judge the surface rather than trying to maximize volume.
Initial Blend Vs Pulse Timing
Pulses give you more control than immediately running the blender continuously. They let you check whether the milk is becoming creamy before the blender creates a large, unstable head.
Speed Settings And Duration
Use the lowest setting that produces movement through the milk. If the blender has only high and low settings, start on low and use short additional bursts. The goal is a smooth texture, not maximum height.
When To Stop For The Right Thickness
Stop when the surface is glossy and even. If it becomes grainy, visibly separates, or develops larger bubbles, end the blending and pour it rather than trying to correct it with more agitation.
How To Make Cold Foam In A Jar Or Shaker?
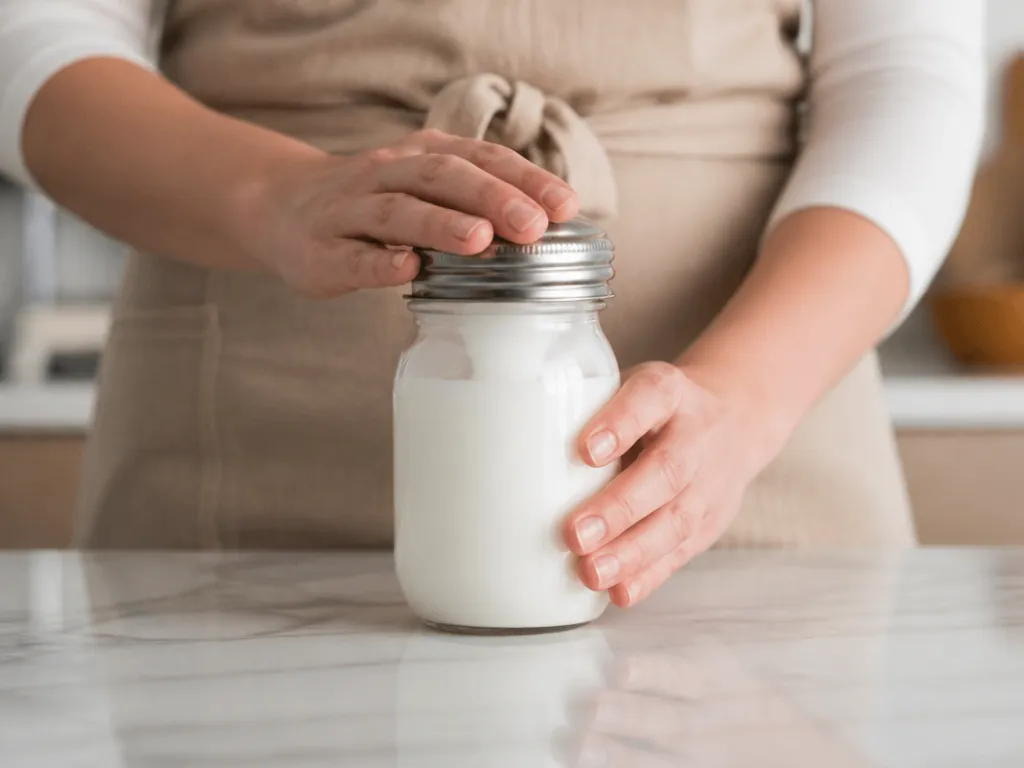
A jar or shaker adds air through vigorous shaking. It can produce a spoonable foam, but the result depends on the jar’s headspace, the milk, and how long you shake and rest it.
Safety And Cleanup Tips
Lid safety matters: use an intact, well-sealed jar and leave plenty of room for expansion. Hold it securely while shaking and check that the lid is not leaking.
Clean up promptly. Rinse the jar and lid after use, then wash them normally. Soak any dried milk residue before scrubbing the lid threads.
| What to aim for | Jar/shaker “good” signals |
| Spoon-friendly thickness | Dense, glossy foam that briefly holds its shape |
| Pourable layer | Smooth, slow pour without immediately becoming liquid |
When And How To Add Flavor And Sweeteners?
Sweeteners and flavorings can change the texture, especially if sugar remains undissolved or a powder clumps in the foam. Keep the additions modest while you are testing the base recipe.
If a sweetener will not dissolve smoothly in the cold milk, add it after the foam forms or use a syrup instead.
What Are Common Failures And How Can You Fix Them?
When cold foam fails, check the milk temperature, the agitation, the container, and the milk formulation. Change one factor at a time so you can see which adjustment helps.
| What you see | Likely cause | Concrete fix |
|---|---|---|
| Foam won’t form | The milk may be too warm, the agitation may be too short, or the milk may not foam well with your tool. | Start with colder milk, check that the whisk is working properly, and add agitation in short increments. If the problem continues, test another milk or a barista-style plant milk. |
| Foam is watery or looks like bubbles | The milk may be under-aerated, the batch may be too large for the tool, or the bubbles may be too coarse. | Use a smaller test batch, keep the frother submerged, and continue briefly until the surface looks glossy. Stop before the foam becomes coarse. |
| Foam collapses fast | The milk may have warmed, the foam may have been over-agitated, or it may have sat too long before serving. | Keep the ingredients and container cool, use shorter checks while frothing, and top the iced drink soon after the foam forms. |
| There are large bubbles or visible separation | The tool may be adding air too aggressively or inconsistently. | Use shorter blender pulses, keep a frother below the surface, and stop when the foam is glossy instead of chasing more volume. |
| Foam is too thick, grainy, or has chunks | It may be over-agitated, or a sweetener or powder may not have dissolved. | Shorten the next agitation cycle and dissolve additions before frothing. If the current batch is usable, loosen it with a little cold milk and stir gently. |
| Foam tastes bland or sour | The drink may need sweetener or flavor, or the milk may no longer taste fresh. | Add a small amount of sweetener or flavor to a fresh batch. If the milk smells sour or otherwise seems spoiled, discard it rather than trying to mask the flavor. |
| Foam will not hold on iced coffee | The foam may be too loose, the drink may be warm, or the foam may have been added too late. | Make a slightly denser foam, chill the coffee before topping it, and pour the foam on immediately. Avoid stirring after assembly. |
Quick Summary
Make cold foam at home by starting with about 120 ml of well-chilled milk and agitating it until it becomes a glossy, creamy cap. The amount and timing are practical starting points, so adjust them to your milk and tool.
Choose a frother, blender, or jar. Start with a small chilled batch and stop as soon as the foam looks glossy and creamy rather than airy or watery.
Frequently Asked Questions
How Much Time Should Cold Foam Take From Start To Finish?
The active foaming step is usually brief, but the total time depends on how cold the milk is, which tool you use, and whether the foam needs a short rest. Begin with the timing suggested for your method and rely on texture rather than a fixed deadline.
Serve the foam soon after it forms. Waiting too long can allow it to separate or lose air.
What Does It Cost To Make Cold Foam At Home (And What Is The Main Cost Driver)?
The recurring cost is usually the milk or plant-based alternative. The total cost depends on what you already own and whether you use a handheld frother, blender, or jar.
If you already have a suitable tool, a small batch of milk is the main ingredient expense. Check current local prices for an exact cost.
Can I Use A Plant-based Milk And Still Get Stable Cold Foam?
Yes, but results depend heavily on the brand and formulation. Some oat, soy, and almond drinks foam well, while others remain loose or separate quickly.
If the first attempt fails, test a barista-style version or another brand before changing every part of the method.
What If I Do Nothing To Troubleshoot, Will The Foam Still Be Safe And “Good Enough”?
If the foam is simply thin or separates quickly, it may still be usable as a drink topping, although the texture will be less creamy. Serve it promptly rather than leaving it at room temperature.
If the milk smells sour, tastes spoiled, or has been stored outside the conditions stated on its package, discard it. Do not try to hide an off flavor with sugar or flavoring.
How Can I Verify A Claim That A Method “Always” Produces Cold Foam?
Test the method using the same milk, starting temperature, volume, and tool. Change only one factor, such as agitation time or blender pulsing, on each attempt.
If the result changes substantially, the claim depends on the specific milk or equipment rather than applying universally.
When Is It Worth Seeking Help Instead Of Trying Again?
If the milk is cold, the equipment works, and several milk types still produce no foam, check the tool’s instructions or contact the manufacturer. A weak whisk, damaged seal, or unsuitable container can affect the result.
For a plant-based milk that repeatedly fails, check the product label or contact the manufacturer for guidance on whether it is intended for foaming.

- Espresso Bar Wedding: Ideas, Setup, Costs, and Tips for a Memorable Coffee Experience - November 11, 2026
- How Many Grams of Espresso Beans for a Double Shot? A Complete Brewing Guide - November 11, 2026
- Brasilia Espresso Machine: Features, Performance, Models, and Buying Guide - November 11, 2026
3 thoughts on “Fast, At-home Method For How Do You Make Cold Foam At Home?”