
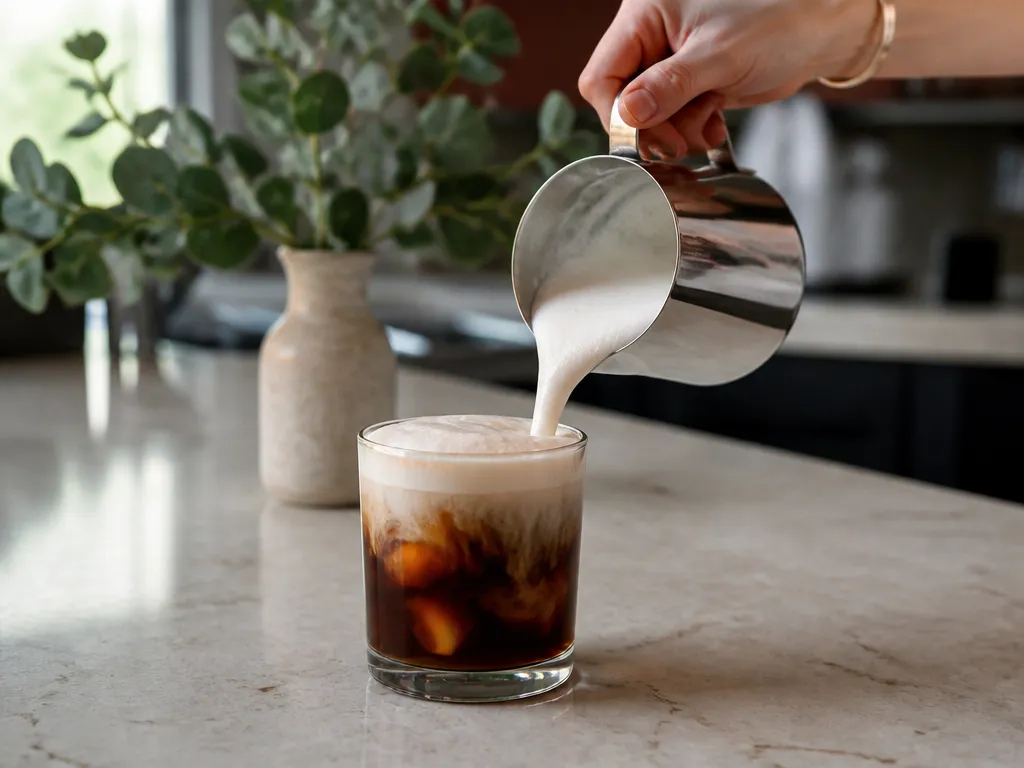
For a simple cold foam, use cold milk or a dairy-free alternative and aerate it with a handheld frother. Keep the foam cold, froth until it looks thick and pourable, then spoon or gently pour it over iced coffee or cold brew.
The amount of milk depends on how much foam you want and how large your drink is. Start with enough cold milk to cover the frother tip without filling the vessel too high, then adjust the next batch for a thicker or thinner topping.
What’s The Simplest At-home Method To Make Cold Foam?
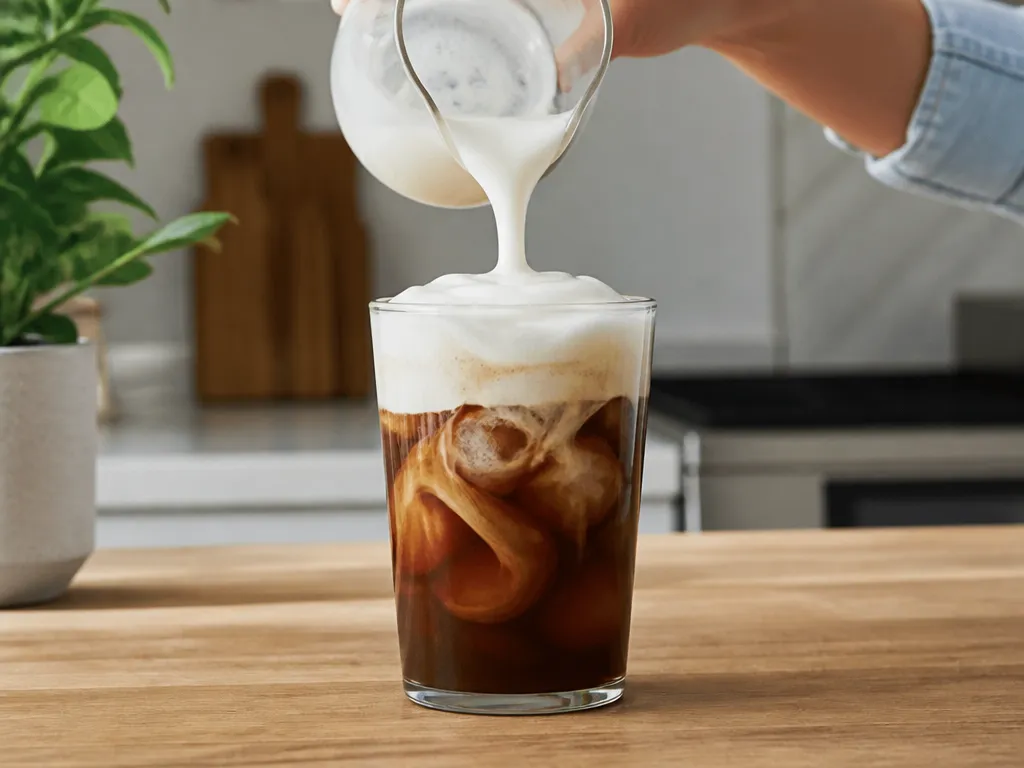
Use a handheld frother with cold milk or a dairy-free alternative. Froth for 2 to 3 minutes, keeping the tip submerged, until the foam looks thick and holds its shape. This gives you direct control over the texture and lets you stop as soon as the milk is ready.
Recommended Starter Method (And Why It Works)
For beginners, handheld frothing is the easiest method to control. Add enough cold milk to keep the frother tip submerged without filling the glass to the top. Chilled liquid keeps the finished foam cold and ready to add to iced coffee.
Single-serving starter recipe (immediate use)
| Drink size | Milk to froth | What you should see | Time |
|---|---|---|---|
| One drink | Enough cold milk to cover the frother tip | Thick, aerated foam that is still pourable | 2 to 3 minutes |
If the foam is still loose, continue frothing briefly and check it again. If it becomes stiff, grainy, or difficult to pour, stop sooner next time.
Why Does Cold Foam Form At All Without Heat?
Cold foam forms when a tool beats air into cold milk or a dairy-free alternative. The air creates bubbles, while components in the liquid help those bubbles hold together long enough to make a topping.
A handheld frother, blender, French press, or vigorous shaking breaks air into the liquid. The result is a layer that feels lighter and thicker than the original milk.
What Happens When Air Is Beaten Into Cold Milk
As air is dispersed through the milk, bubbles collect at the surface. Smaller bubbles generally give the foam a denser appearance and a smoother texture than large, quickly bursting bubbles.
Heat is not required. The texture comes from mechanical aeration, so the milk stays cold while the tool builds the foam.
Role Of Fat And Protein In Stability
Milk composition affects the result, but the exact behavior varies by product. Whole milk, lower-fat milk, and dairy-free alternatives can produce different amounts of body and stability. If one milk stays thin, try another formulation rather than assuming the timing is the only problem.
| Milk factor | What it may change in foam | What you may notice |
|---|---|---|
| Milk composition | Richness and bubble stability | Some milks produce a fuller topping than others |
| Protein content | How well the bubbles hold together | Some foams separate more slowly |
| Vigorous aeration | Bubble size and density | Denser foam with less visible liquid |
In practice, cold foam depends on both the milk and the tool. If the foam stays thin after proper aeration, change the milk or method instead of simply frothing indefinitely.
Which Ingredients, Measurements, And Timing Matter Most?

Milk choice, temperature, batch size, and aeration time all affect the result. There is no single milk-to-coffee ratio that works for every tool or drink, so make enough foam to cover the surface and adjust the next batch for the height you want.
Practical rule: Keep the milk cold, keep the frother submerged, and use the texture rather than the clock as the final test. The quantity should match the drink and the amount of topping you want.
Expected outcome: Properly aerated cold milk should form a thick, spoonable or pourable foam that can sit on iced coffee or cold brew.
How Do I Froth Using Common Home Tools?
Choose the tool you already have. A handheld frother gives the most control, a mason jar requires no powered equipment, a French press provides a pumping method, and a blender can produce a smooth, dense texture.
Blender (Or High-speed Blender) Method: Steps, Time, And Texture To Look For
Texture checkpoint: regardless of the tool, the foam should look thick and glossy and pour in a controlled stream or sit on a spoon. A thin layer of large bubbles usually needs more aeration.
How Should I Top Cold Foam On Iced Coffee Without Mixing It In?
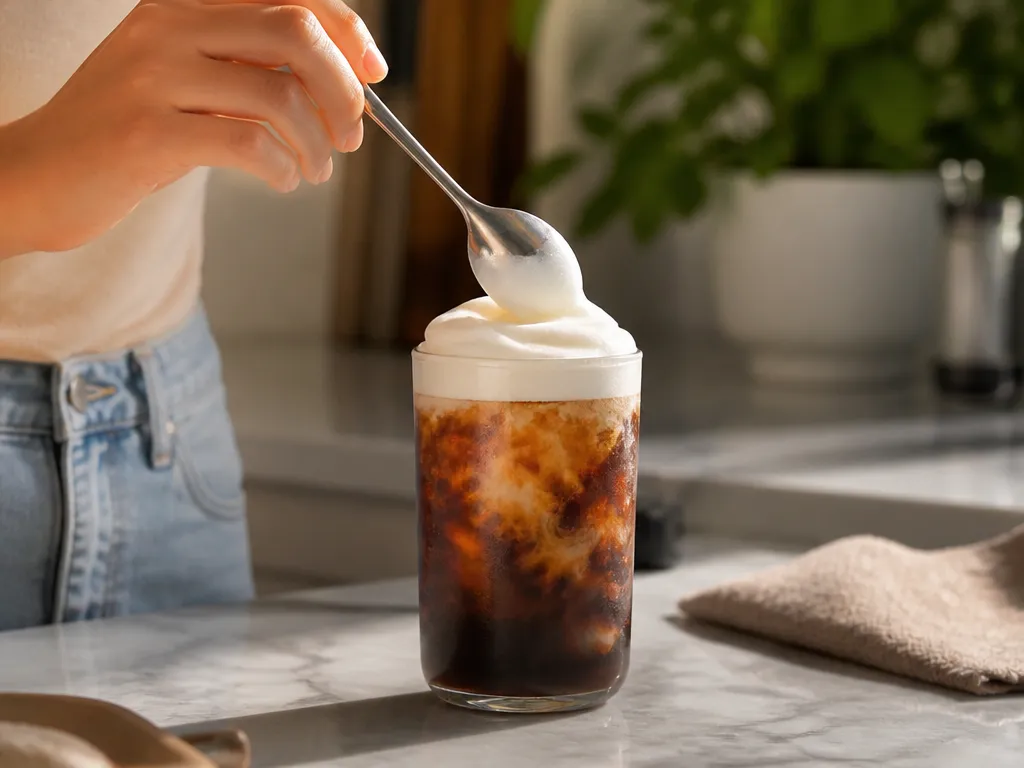
Prepare the iced coffee or cold brew first. Then add the foam slowly and close to the surface so it lands on top instead of breaking apart and mixing into the drink.
Layering Technique To Keep Foam As A Crown
Use gentle contact. Spoon placement or a low, slow pour gives the foam a better chance of forming a clean layer than a fast pour from above.
Pour Control Tips To Preserve Crown Thickness
Keep your hand steady and the stream narrow. Stop once the surface is covered instead of repeatedly disturbing the foam.
How Long Does Cold Foam Stay Thick And How To Keep It Stable?
Cold foam is best used immediately. Its bubbles begin to settle after aeration, and the exact holding time depends on the milk, tool, temperature, and texture.
Estimated Stability Window For Common Milks
There is no reliable universal storage time for homemade cold foam. Use it as soon as it becomes thick, and treat dairy-free versions as especially product-dependent. If you need to prepare ahead, keep the foam chilled and be prepared for a less stable texture.
What Are The Failure Modes, Their Fixes, And Any Costs Or Risks?
Most failures come from insufficient aeration, an unsuitable milk, an overworked foam, or too much waiting before serving. Change one variable at a time so you can tell what improved the result.
| Failure mode | What it looks like | Most likely cause | Actionable fix (do this) | Time impact |
|---|---|---|---|---|
| Foam won’t form | Little or no visible foam | The tool is not incorporating enough air | Keep the frother tip submerged and continue within the recommended 2 to 3 minute window. If it still fails, try another tool or milk. | May require another batch |
| Foam is too runny or thin | Foam looks bubbly but watery | Insufficient aeration or a milk that does not foam well | Continue until the texture thickens, then test another milk or dairy-free formulation if necessary. | May require additional frothing |
| Foam is too stiff or grainy | Clumpy or rough texture | Overworking the foam or poor performance with that milk and tool | Stop sooner next time and use shorter checks while frothing. | Shorter next batch |
| Foam separates or sinks quickly | Liquid collects beneath the foam | The foam sat too long or was disturbed during pouring | Add it as the final step and pour gently. Test a different milk if the problem persists. | Serve sooner |
| Costs and allergy considerations | Results vary by milk and equipment | Dairy choice affects taste, price, and suitability | Check the ingredients of dairy-free products and avoid cross-contact if you have an allergy. | Depends on the product |
For faster troubleshooting, make a control batch with one milk and one tool, then change only the milk, tool, or technique. Avoid treating cold foam as a long make-ahead component. It is easiest to serve when freshly aerated.
Quick Summary
Make cold foam at home by aerating cold milk or a dairy-free alternative with a hand frother for 2 to 3 minutes, until it becomes thick, aerated foam that you can spoon or pour over a cold coffee drink.
Adjust the outcome by changing the milk, the amount you froth, the tool, or the serving timing. Use less milk for a smaller topping, more for a deeper layer, and add the foam immediately after frothing.
| Decision point | What to use | Target |
|---|---|---|
| Fastest at-home method | Hand frother | 2 to 3 minutes, thick foam |
Next action: Add cold milk or a dairy-free alternative to a tall glass, keep the frother tip submerged, aerate for 2 to 3 minutes, then spoon or pour the foam immediately over iced coffee or cold brew.
Frequently Asked Questions
How Much Does It Cost To Make Cold Foam At Home?
Cost depends on the milk you buy and whether you already own a hand frother, blender, or jar. The ingredient cost is the milk or dairy-free alternative, plus any sweetener or flavoring you add. Compare the cost of the portion you use with a local coffee-shop drink if you want to judge the savings.
What Happens If I Do Everything Right, But I Forget And Serve It Later?
Cold foam can settle as it waits. If it looks thinner when you return to it, serve it sooner next time. You can also re-aerate a small portion if the foam still responds to your tool.
Can I Make Cold Foam Ahead Of Time And Store It?
You can try, but homemade foam is most reliable immediately after frothing. If you prepare it early, keep it chilled and assemble the drink as soon as possible. Expect the texture to change as the bubbles settle.
Is There A Safe Way To Test Whether My Milk Is “Good For Cold Foam” Before I Commit To A Full Drink?
Yes. Make a small test batch with the milk and tool you plan to use. Froth until the texture looks thick and aerated, then check whether it holds its shape long enough to spoon or pour.
If it stays thin, turns grainy, or collapses immediately, try another milk or dairy-free formulation before making a full drink.
When Should I Stop Experimenting And Ask For Help?
If the same milk and method repeatedly produce no foam, switch either the tool or the milk. A handheld frother, French press, mason jar, and blender introduce air in different ways, so comparing two methods can reveal whether the problem is the equipment or the liquid.
How Can I Verify Claims I See Online, Like “Works With Skim Milk” Or “No-fat Dairy-free Always Fails”?
Test one milk with one tool and the same technique each time. Check the foam when it reaches the desired texture and again after a short wait. Your own results will account for the specific product, temperature, tool, and method you use.

- Espresso Bar Wedding: Ideas, Setup, Costs, and Tips for a Memorable Coffee Experience - November 11, 2026
- How Many Grams of Espresso Beans for a Double Shot? A Complete Brewing Guide - November 11, 2026
- Brasilia Espresso Machine: Features, Performance, Models, and Buying Guide - November 11, 2026
1 thought on “How Do I Make Cold Foam At Home? Step-by-step Froth Guide”