
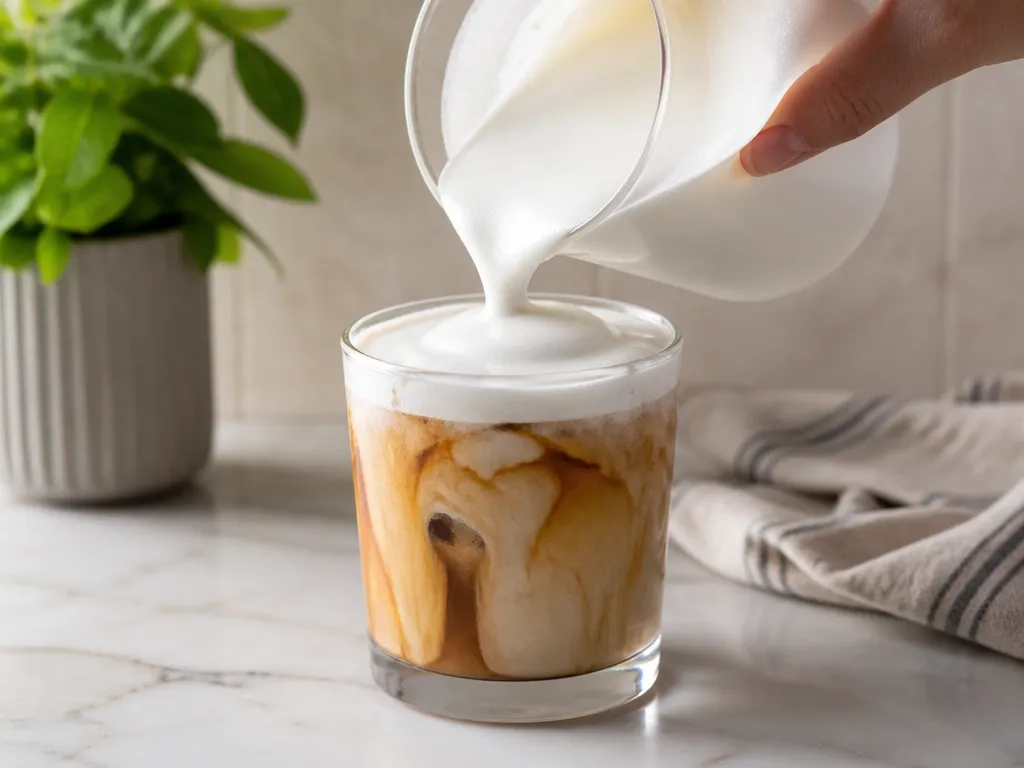
Cold foam is made by incorporating air into well-chilled milk, then giving the bubbles a brief rest before serving. Because yield and stability vary with the milk, tool, and technique, treat any volume or timing claim as a kitchen test rather than a guarantee. Start with a small batch, record the milk volume and finished foam volume, and repeat under the same conditions.
For the most repeatable result, chill the milk and equipment, add air gradually, and stop when the foam looks glossy and pourable. A short rest can smooth large bubbles, but foam that becomes dry or stiff has usually been over-aerated. If the foam collapses quickly, check the milk temperature, the tool position, and the milk’s protein and stabilizer content before changing the recipe.
How Much Cold Foam You Get From One Cup Of Milk
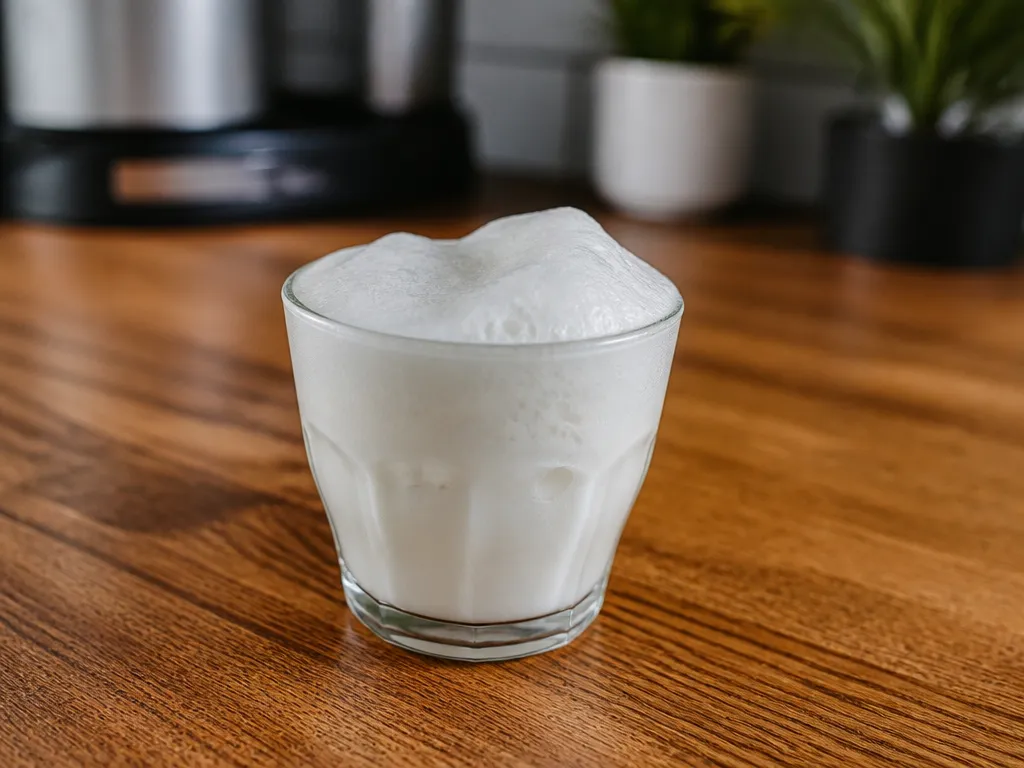
There is no universally supported yield for cold foam. The finished volume depends on the milk, air intake, vessel, and point at which you stop frothing. Instead of assuming that foam will double, measure the starting milk and the finished foam in your own setup.
Use your first batch as a benchmark rather than a fixed formula. Once you know how much foam your milk and tool produce, scale the batch while preserving the same measured process.
Why Cold Milk Whipped With Air Turns Into Foam
Cold foam forms when agitation disperses air through milk. Milk proteins can gather around the air-water boundary and help slow the merging and escape of bubbles. The result depends on the milk’s protein, fat, sugar, and stabilizer content, as well as the amount of air added.
Protein Films Forming Around Air Bubbles
Milk proteins can move toward the surface of newly formed bubbles during agitation. When the process is controlled, that film helps the bubbles remain suspended long enough to pour. Large bubbles, weak films, and excess liquid drainage produce a looser foam.
How Fat Both Stabilizes And Suppresses Foam
Fat changes the way milk feels and behaves during frothing. A richer milk can produce a fuller mouthfeel, while a higher fat content can also make aeration more difficult in some recipes. The balance varies by product, so compare the ingredient label and test the carton you actually use.
Why Cold Foam Beats Steamed Foam For Iced Drinks
Cold foam is designed to meet a cold drink without adding heat. Steamed milk has a different texture and temperature, so it may not produce the same type of cap when poured over ice. For an iced drink, start with chilled ingredients and serve the foam promptly.
Overrun Explained In Plain Numbers
Overrun means the increase in volume created by incorporating air. Calculate it from your own measurements by comparing the finished foam volume with the starting milk volume. A larger increase does not automatically mean better foam: excessive air can create coarse bubbles, while insufficient air can leave the mixture thin.
Frothing With A Handheld Whisk, French Press, Blender, Or Shaker
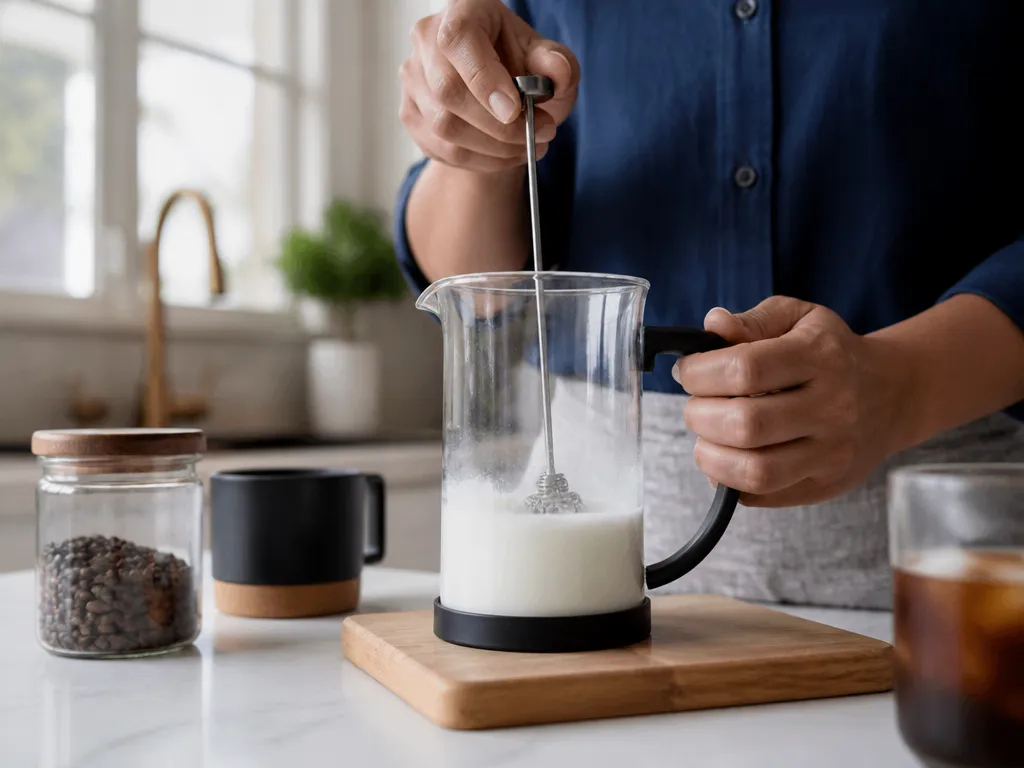
Each method forces air into chilled milk, but the tools differ in control, speed, cleanup, and bubble size. Rather than relying on fixed timing, watch the texture and record the time required for your equipment. Stop before the milk warms noticeably or the foam becomes dry.
Powered: Handheld Frother And Blender
Powered tools add air quickly. A handheld frother gives direct control over the surface, while a blender can create a more forceful vortex. Both can warm or over-aerate the milk if run too long.
Manual: French Press And Jar Shaker
Manual methods require more effort but can be useful when powered equipment is unavailable. Keep the motion consistent and leave room for the milk and air to expand.
Which Milk Foams Best And Which Collapses
Milk behavior varies by brand and formulation. Dairy, soy, and barista-style plant milks may produce different results from standard oat or almond drinks. Read the ingredient label, especially for protein, added oils, gums, and emulsifiers, then test the product rather than assuming that a category will behave consistently.
Label values vary by brand and region, so the table below should be completed from the carton you are using. Treat each verdict as a test prompt, not a guaranteed result.
| Milk | Fat per volume | Protein per volume | Cold foam verdict |
|---|---|---|---|
| Whole dairy | Check the carton | Check the carton | Test for a rich, full-bodied foam. |
| Reduced-fat dairy | Check the carton | Check the carton | Compare body and stability with whole dairy. |
| Skim dairy | Check the carton | Check the carton | Test whether the lighter body suits your drink. |
| Oat, barista blend | Check the carton | Check the carton | Added oils or stabilizers may affect texture; test before serving. |
| Oat, standard | Check the carton | Check the carton | May produce a looser foam; verify with a small batch. |
| Almond | Check the carton | Check the carton | Test carefully because formulations differ widely. |
| Soy | Check the carton | Check the carton | Compare its protein and texture with dairy or other plant milks. |
Use the milk that gives the texture and stability you want after testing. If the foam feels thin, compare a higher-protein product or a barista formulation. If it feels greasy or heavy, try a lighter milk or reduce rich additions.
Among plant milks, the label matters more than the name on the front. Added oils, gums, and emulsifiers can change aeration, while low-protein products may need a different technique or a tested stabilizer. Do not assume that a barista label guarantees a particular yield.
Cold Carton Versus Room-temperature Milk
Begin with milk chilled according to the product’s storage directions. Cold ingredients generally give you more working time before the foam changes, but the ideal temperature and hold time depend on the milk and equipment. Test the same recipe cold and less cold if you need to compare results.
Shake plant-milk cartons according to the product directions before measuring. Ingredients can settle between uses, changing the texture from batch to batch.
Sugar, Lecithin, Cream, And Vanilla Amounts That Keep Foam Up
Additions change sweetness, viscosity, flavor, and aeration. Because the available evidence does not establish universal amounts for cold foam, begin with a small measured addition and compare it with an unflavored control. Add flavor before frothing when it needs to dissolve, and avoid changing several ingredients at once.
| Addition | Amount per batch | What it does and where it goes wrong |
|---|---|---|
| Sugar or simple syrup | Measure a small test addition | Adds sweetness and can change drainage. Too much may make the mixture loose or heavy. |
| Powdered sugar | Measure a small test addition | May dissolve more readily than granulated sugar. Check for grit before frothing. |
| Sunflower or soy lecithin | Use only a measured amount specified by the product or recipe | May change bubble structure and flavor. Test cautiously. |
| Xanthan gum | Use only a measured amount specified by the product or recipe | Can thicken foam, but excess produces an unpleasant texture. |
| Heavy cream | Replace only a measured portion of the milk | Adds richness and may change how quickly the mixture aerates. |
| Half-and-half | Use as a separate test batch | Changes body and flavor; verify the resulting stability. |
| Vanilla extract | Add a small measured amount | Adds flavor and may loosen the foam depending on the product. |
| Other extracts | Add sparingly and measure | Concentrated flavors can dominate the drink. |
| Cocoa powder | Whisk thoroughly into the milk before frothing | Can clump or settle if added after aeration. |
| Salt | Add a small pinch | Changes flavor but should not be treated as a stabilizer. |
For a sweet cream test, combine chilled milk with a measured portion of cream, sweetener, and vanilla. Stir until the sweetener is dissolved, froth the mixture, and compare its yield and stability with plain milk. Record the quantities rather than assuming that a particular volume will double.
For plant milk, compare the plain version with a batch containing a product-approved stabilizer. Cream can make a plant-based foam heavy or greasy, while gums and lecithin can change the mouthfeel. Test each addition separately and keep the version that gives the best balance of flavor and texture.
Pouring Cold Foam So It Layers On Iced Drinks
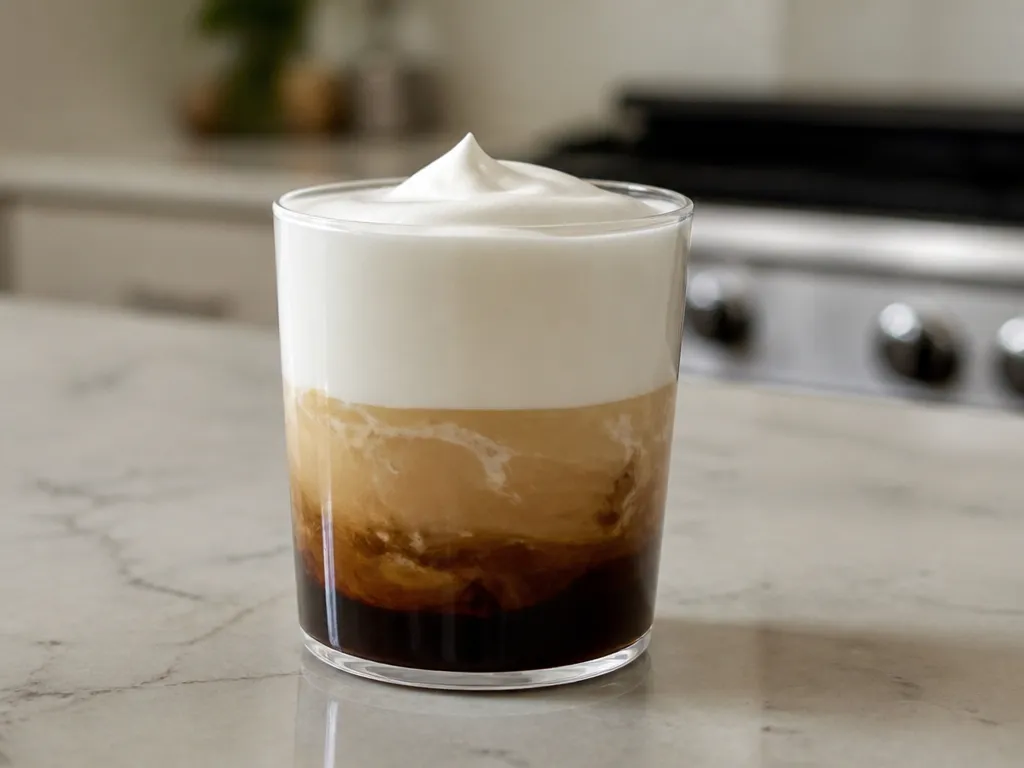
Build the drink first and add the foam last. Pour gently and observe whether the foam remains at the surface or mixes into the drink. Layering depends on the densities and temperatures of both liquids, so treat pouring instructions as a starting technique rather than a guarantee.
Chill The Cup And The Milk First
Use chilled milk and a clean serving glass. If you chill the glass, follow the glassware manufacturer’s guidance and avoid thermal shock. A cold setup may give the foam more time to hold, but the result still depends on the drink beneath it.
Glassware And Drink Pairings
Clear, straight-sided glassware makes layers easy to see, but the best vessel is one that leaves room for the drink and foam. Adjust the cap depth to the size of the serving and the stability of your batch.
| Drink | Glass | Foam depth | Garnish |
|---|---|---|---|
| Iced latte | Tall clear glass | Measure to suit the glass | Cocoa or cinnamon, if desired |
| Cold brew | Tall clear or wide-mouth glass | Measure to suit the glass | Vanilla or citrus zest, if desired |
| Shaken espresso | Small sturdy glass | Keep the cap shallow enough to prevent overflow | Brown sugar or salt, if desired |
Use a thicker foam for drinks that can support a distinct cap and a looser foam when you want the topping to mingle with the coffee. Taste each pairing before adding a garnish, since sweeteners and spices can mask differences in the milk.
Cold Foam That Stays Thin, Gritty, Or Collapses
Thin, gritty, or collapsing foam can result from milk composition, temperature, tool position, excessive agitation, or an incompatible addition. Change one variable at a time and compare the result with a plain, chilled batch.
| Failure Mode | Symptoms | Likely Cause | Fix | Edge Case Notes |
|---|---|---|---|---|
| Thin Foam That Never Thickens | Little volume gain or a watery surface | Milk composition, insufficient air intake, or an unsuitable tool | Chill the milk, keep the tool near the surface, and compare another milk or barista formulation in a small batch | Plant milks and thick syrups may behave differently |
| Gritty or Large-Bubble Foam | Visible large bubbles or a rough texture | Aggressive agitation, undissolved ingredients, or poor emulsification | Lower the speed, use shorter bursts, dissolve additions first, and strain only if appropriate | Powders, syrups, and rich additions can change texture |
| Foam Collapses Quickly | The cap sinks or drains soon after frothing | Warm ingredients, weak bubble structure, or an incompatible addition | Use colder ingredients, stop earlier, and compare the plain batch with a tested stabilizer | Plant formulations vary considerably |
| Warm Milk | Foam forms but loses structure quickly | The milk or equipment was too warm for the tested method | Chill the ingredients and equipment where safe, then repeat the test | Follow the product’s storage and handling directions |
| Over-Frothing Failures | Foam becomes dry, stiff, cracked, or uneven | Too much air or excessive agitation | Stop sooner and use a brief settling period before serving | Rich milks and thick additions may need a different endpoint |
| Altitude | Results differ from one location to another | Changes in environment can affect bubble behavior | Run a small comparison test and record the method that works in your kitchen | Do not assume that a timing adjustment will work for every tool |
Use this table as a diagnostic reference, not as a set of guaranteed corrections. The most reliable approach is to keep a plain control batch and change only the suspected cause.
Method Shootout By Texture, Time, Yield, And Cleanup
No method can guarantee a particular texture, time, or yield across all milks. A handheld frother is convenient and easy to control. A blender can add air forcefully but requires more cleaning. A French press offers a manual alternative, while a jar shaker needs little specialized equipment but may create larger bubbles. Choose the method that fits your equipment, then measure its result before scaling up.
| Method | Texture / Stiffness | Froth Time | Yield | Noise | Cleanup |
|---|---|---|---|---|---|
| Handheld Milk Frother | Adjustable; stop at glossy foam | Record your tested time | Measure each batch | Usually low to moderate | Rinse and clean the whisk |
| French Press Plunging | Manual control; bubble size varies | Record your tested time | Measure each batch | Usually moderate | Clean the plunger and beaker |
| Immersion or Stand Blender | Forceful aeration; may become coarse if overdone | Use short pulses and record the total | Measure each batch | Usually higher | Clean the jar, blades, and lid |
| Jar Shaker and Fine-Mesh Strainer | Often lighter; straining can remove large bubbles | Record your tested time | Measure each batch | Usually moderate | Clean the jar, lid, and strainer |
For a daily method, start with the tool that is easiest to clean and control. Use a blender when you need to compare a more forceful method, a French press when you already own one, and a jar shaker when portability matters. Let your measured texture, yield, and cleanup decide which method wins.
Sanitizing Gear, Dairy Safety, And Storage Windows
Wash equipment after every use, disassemble it where the manufacturer permits, and let clean parts dry fully. Clean any surface that contacts milk or foam before preparing another batch. Do not rely on a rinse alone when residue remains, and follow the equipment manufacturer’s cleaning instructions.
| Category | Temperature | Fridge Hold Time | Notes on Texture and Quality |
|---|---|---|---|
| Dairy cold foam | Keep refrigerated according to the milk label | Use promptly and follow applicable food-safety guidance | Texture usually changes during storage |
| Plant-based cold foam | Keep refrigerated according to the product label | Use promptly and follow applicable food-safety guidance | Stability varies by formulation |
Do not treat the table as a universal storage schedule. Product labels, local food-safety rules, preparation conditions, and refrigerator performance determine safe holding. If foam has an off smell, unusual appearance, or uncertain storage history, discard it. When serving others, verify the relevant food-safety requirements rather than relying on a general time limit.
Foam quality declines during storage even when the milk remains safe. For the best texture, prepare only what you expect to serve promptly and keep unused milk refrigerated according to its label.
Quick Summary
Baseline: measure the milk and finished foam in your own kitchen, then use that measured ratio as your recipe. Cold milk, controlled aeration, and a short settling period are useful starting practices, but the result varies by product and tool.
Frequently Asked Questions
Can I Apply These Cold Foam Techniques To Hot Drinks Or Is It Strictly For Cold Beverages?
The process here is intended for chilled drinks. Heat changes the temperature and behavior of the foam, so a topping made for an iced drink may lose its structure more quickly on a hot beverage. Test a small amount if you want to use cold foam on a hot drink.
If Space And Budget Are Limited, Which Method Provides The Best Balance Of Yield, Texture, And Cleanup?
A handheld frother and a suitable vessel require little specialized equipment and allow direct control over the foam. A jar shaker is another low-equipment option, while a blender can offer forceful aeration at the cost of additional parts to clean. Compare measured yield and texture before choosing.
What Should I Adjust First If My Foam Volume Is Low Or The Texture Is Off?
First check that the milk is chilled, the vessel has room for expansion, and the tool is drawing in air rather than simply circulating liquid. Then compare a plain batch with a different milk or formulation. Record the change instead of adjusting several ingredients at once.
If the problem remains, test a small, measured amount of a stabilizer that is appropriate for the recipe and follow its product guidance. Stop if the texture becomes gummy, gritty, or strongly flavored.
What Signs Indicate I Should Discard The Foam Rather Than Reuse Or Rework It?
Discard foam with an off smell, unusual appearance, uncertain storage history, or visible spoilage. A watery or collapsed texture alone is primarily a quality issue, but it is not a reason to ignore food-safety concerns.
What Would I Check To Verify A Store’s Or Recipe’s Foam Claim In My Own Kitchen?
Use the same milk type, tool, and preparation conditions described by the recipe. Measure the starting milk and finished foam, record the active frothing and settling process, and observe how the texture changes before serving. Repeat the test before treating the result as a reliable claim.
If I Want To Scale This For A Party, What Plan Would Minimize Waste And Ensure Consistency?
Run a small test batch first, then scale only after you have measured its yield and texture. Keep the milk refrigerated according to the label, use the same tool and process for every batch, clean equipment between uses, and prepare foam close to serving time. If the texture changes as the batch grows, return to smaller measured runs rather than assuming the original result will scale exactly.

- Espresso Bar Wedding: Ideas, Setup, Costs, and Tips for a Memorable Coffee Experience - November 11, 2026
- How Many Grams of Espresso Beans for a Double Shot? A Complete Brewing Guide - November 11, 2026
- Brasilia Espresso Machine: Features, Performance, Models, and Buying Guide - November 11, 2026