
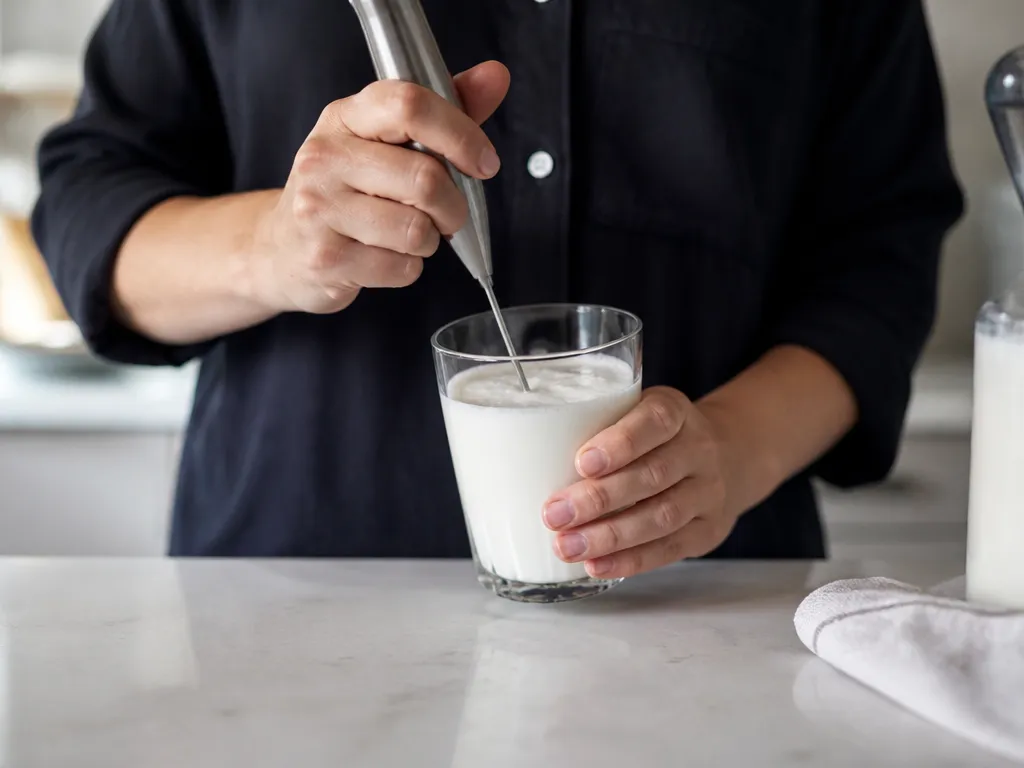
To make cold foam, start with well-chilled milk and froth it until it looks glossy and thick, like wet paint. Stop before it becomes a mass of dry, airy bubbles. Spoon or pour it over an iced coffee, cold brew, or iced latte immediately.
Use a small serving of chilled dairy milk or a barista-style plant alternative. Sweeten it before frothing with simple syrup or sugar if you like. If the foam is thin, the usual causes are warm milk, an unsuitable milk alternative, too little air, or frothing beyond the point where the texture looks thick.
What Is The Base Cold Foam Recipe With Exact Quantities?
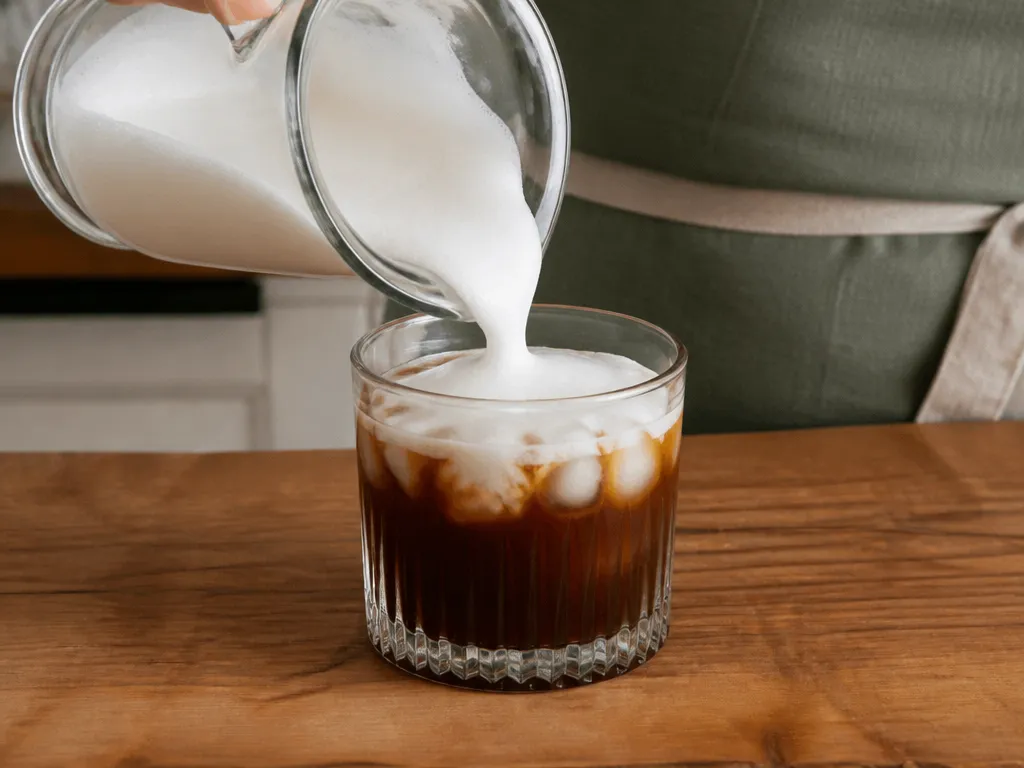
There is no single exact quantity that works with every frother, milk, and container. For a dependable starting point, use a small serving of chilled milk in a narrow cup, leaving enough room for the liquid to expand as air is incorporated. Add sweetener before frothing if desired.
Controls That Make This Recipe Reliable
The main variables are temperature, milk composition, container shape, and how aggressively you introduce air. Keep the milk cold, use the same vessel each time, and change only one variable when troubleshooting.
Why Does This Base Foam Work At The Microfoam Level?
Frothing disperses air through the milk. The milk’s proteins, fats, and other solids help form a film around the bubbles, while the liquid’s thickness affects how quickly those bubbles rise, merge, and disappear. Cold milk generally gives you more working time than warm milk.
The tool matters too. A whisk, jar, blender, and handheld frother introduce air in different ways, so they can produce different bubble sizes and textures. A good result is not the largest possible volume. It is a fine, glossy foam that sits briefly on the drink instead of separating into liquid and large bubbles.
| Ingredient system | What it does at the microfoam level | What you’ll notice if it’s missing |
|---|---|---|
| Milk fat and solids | Help give the foam body and a creamy texture | Foam may feel thin or break down quickly |
| Milk proteins | Help form the films around air bubbles | Bubbles may merge and disappear sooner |
| Cold temperature | Helps the foam remain workable while you froth and serve | Foam may loosen quickly |
A stabilizer such as xanthan gum can make the liquid feel thicker and may help suspend bubbles. Use only a very small amount, disperse it thoroughly, and expect a different texture if you add too much. Excess can make the foam feel gummy rather than creamy.
Which Variables Change The Foam And By How Much?
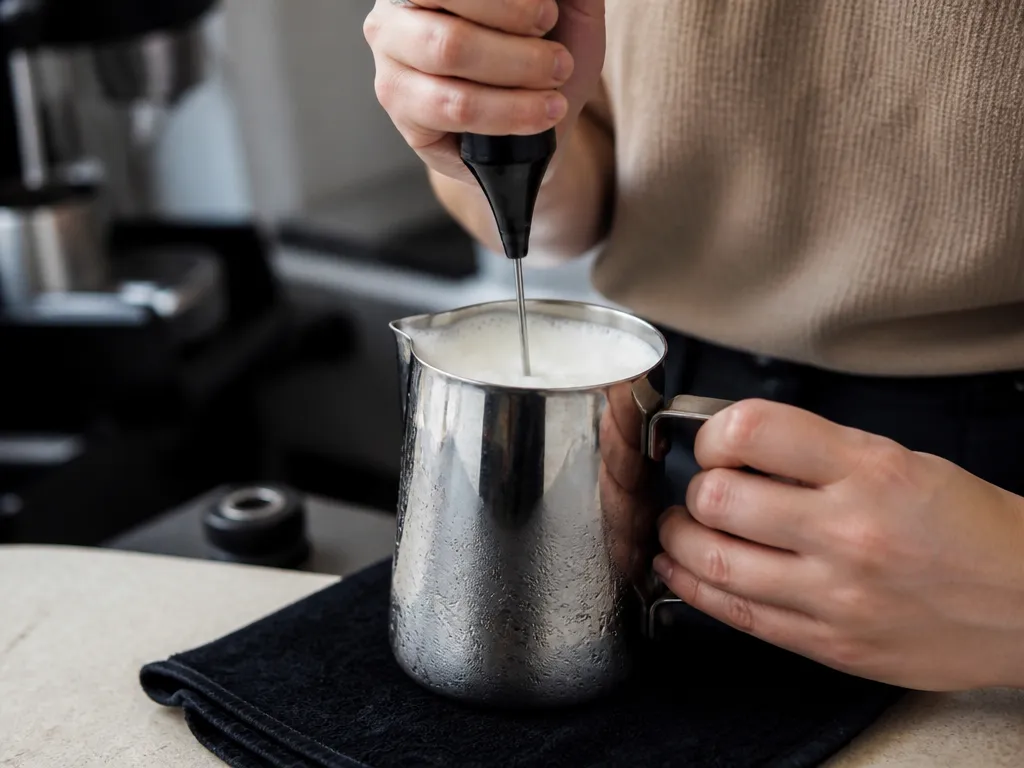
Foam quality depends on a few practical variables. Adjust one at a time so you can tell which change helped.
Rule of thumb for controllability: Keep the milk, vessel, and tool consistent. First fix the temperature and stopping point. Then experiment with milk type, sweetener, or a stabilizer.
How Do I Froth Cold Foam With A Handheld Milk Frother?
Pour a small serving of chilled milk into a tall cup and use a handheld frother until the liquid becomes glossy, thick, and spoonable. The process can be quick, but texture matters more than a fixed time. If you want extra stability, you can whisk a very small amount of xanthan gum into the milk before frothing, although it is optional.
How Do I Adapt The Base Recipe For A Blender?
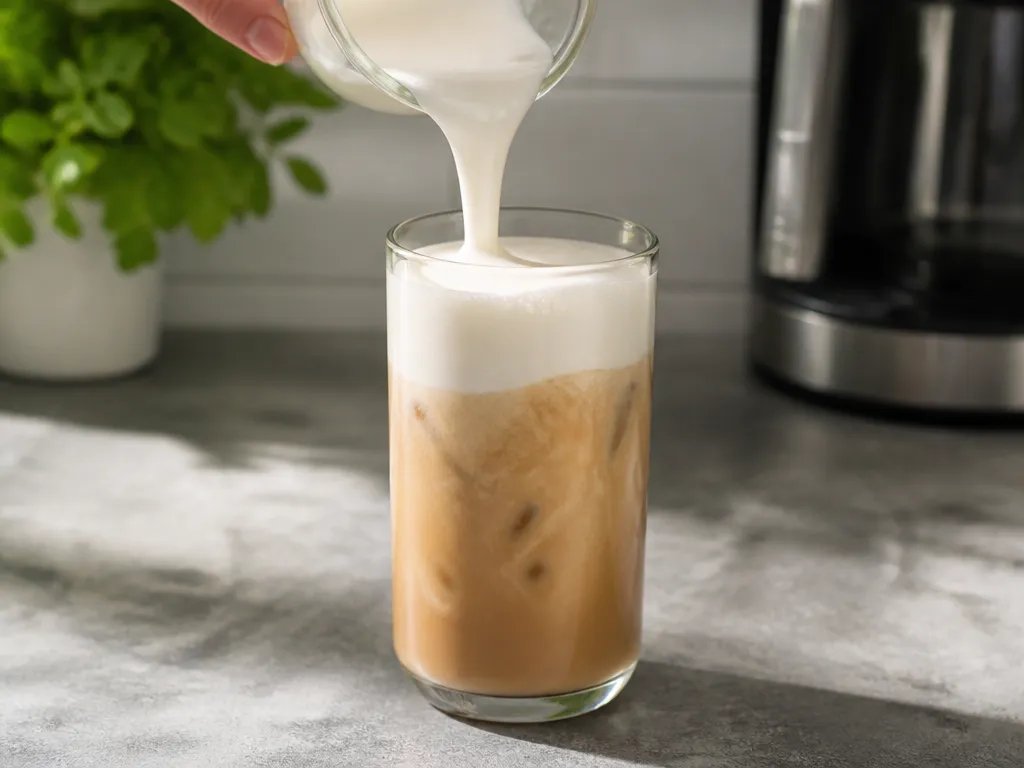
A blender can make cold foam, but it may introduce larger bubbles or create more foam than you need. Use chilled milk, avoid filling the blender deeply, and stop as soon as the texture becomes thick and glossy.
How Do I Adapt The Base Recipe For A Jar With Lid Shake?
For the jar method, add a small serving of cold milk to a clean jar with plenty of empty space above the liquid. Secure the lid and shake until the milk becomes visibly foamy and thick. Serve promptly.
How Do I Adapt The Base Recipe For A Whisk Or Manual Frothing?
Manual whisking works best with a small balloon whisk, a narrow bowl, and well-chilled milk. Build the foam gradually instead of beating as hard as possible from the start.
What Are The Common Failure Modes And Fixes For Cold Foam?
Cold foam usually fails because of temperature, milk choice, container shape, or technique. Change one variable at a time and serve each batch promptly.
Best-practice caution: if the foam smells off or looks visibly curdled or separated, discard it and start with a fresh cold portion. Cold foam should look smooth and aerated, not lumpy.
What About Edge Cases With Plant Milks Or Nonstandard Tools?
Plant milks and unusual frothing tools can behave very differently from dairy milk. Their fat, protein, and solids vary by product, so the same method may produce either a thin foam or a quick collapse. Start with a plant milk labelled for foaming and adjust the technique before adding a stabilizer.
Plant Milks That Foam Well Vs. Those That Don’t
Oat and soy drinks are often useful starting points because many have enough body to create a thicker foam. Almond drinks can work, but some are relatively thin. Rice drinks may produce a lighter foam that does not hold as long. These are general tendencies, not guarantees, so the product label and your own test matter more than the category alone.
If a plant foam becomes glossy and watery quickly, the base may not have enough body for the texture you want. If it turns grainy, reduce agitation and make sure it stays cold. Switching products is often more effective than simply frothing longer.
| Plant milk type (common) | Typical outcome | What to do next |
|---|---|---|
| Oat | Often produces a fuller foam | Keep it cold and stop when the surface becomes glossy |
| Soy | Often produces a stable, creamy texture | Use a gentle technique and serve promptly if it loosens |
| Almond | May be lighter or thinner | Try a barista-style version or switch to a milk with more body |
| Rice | May remain foamy for a shorter time | Serve immediately or choose a different plant base |
Alternative Tools Or Additives For Tricky Foams
If a handheld frother gives inconsistent results with a plant milk, try a jar or blender. Stop as soon as the foam looks thick rather than chasing maximum volume. A small amount of stabilizer may help a thin base, but too much can make the texture gummy.
For nonstandard creamer products, check how the product behaves rather than assuming it will foam like milk. If it repeatedly collapses, change the base before extending the frothing time. More agitation can make a weak foam break down faster.
Quick Summary
Make cold foam by frothing a small serving of well-chilled milk until it looks glossy and thick, like wet paint. Use dairy milk or a barista-style plant alternative, sweeten it before frothing, and serve it immediately.
Your results change mainly with these conditions:
Next action: Make one small test batch with chilled milk, sweeten it if desired, froth until it looks like wet paint, and spoon it onto the cold drink immediately.
Frequently Asked Questions
How Long Does Cold Foam Stay Thick Before It Collapses?
Cold foam gradually loosens as it warms and sits. Make it immediately before serving and add it to the drink as soon as it reaches the texture you want.
If it becomes runny quickly, check the milk temperature, milk type, and stopping point. Change one of those variables in the next batch.
Will I Get Similar Results If I Use A Different Milk Brand, Even With The Same Type?
Not necessarily. Brands can differ in fat, protein, solids, and added stabilizers, all of which may affect texture.
Change only the brand on your next attempt and keep the tool and technique the same. Choose the product that gives you a thick, spoonable foam without excessive frothing.
What Is The Fastest Workflow If I’m Making Multiple Drinks?
Prepare the cold drinks first, then froth each topping close to serving time. Small batches are easier to control than one large batch left standing.
Use the same milk, vessel, and method for each drink. Add the foam while it still looks glossy and thick.
How Can I Verify That My “Foam Is Thick Enough” Claim Is Real?
Lift a spoonful from the vessel. It should form a soft mound and settle slowly, rather than running like liquid or breaking into large bubbles.
You can also test a small amount on a cold drink. If it spreads immediately into a thin layer, make the next batch colder, change the milk, or stop at a different point.
What Should I Do If My Cold Foam Keeps Failing And I Do Not Know Which Variable Is Wrong?
Change one variable at a time. Begin by keeping the milk colder and using a narrow vessel. Then check whether you are stopping when the foam looks glossy rather than dry.
If the technique is consistent but the result remains thin, try a different milk, preferably one marketed for foaming. Additives and sweeteners should be tested only after the basic method works.
When Is It Reasonable To Stop Diy Attempts And Get Help?
Stop and start again with fresh milk if the foam repeatedly looks curdled, smells off, or separates unusually. Those signs can indicate a problem with the milk or equipment rather than a small technique error.
If a particular appliance gives inconsistent results, review its controls and cleaning routine. Then make a small test batch with cold milk before changing several ingredients at once.

- Espresso Bar Wedding: Ideas, Setup, Costs, and Tips for a Memorable Coffee Experience - November 11, 2026
- How Many Grams of Espresso Beans for a Double Shot? A Complete Brewing Guide - November 11, 2026
- Brasilia Espresso Machine: Features, Performance, Models, and Buying Guide - November 11, 2026