
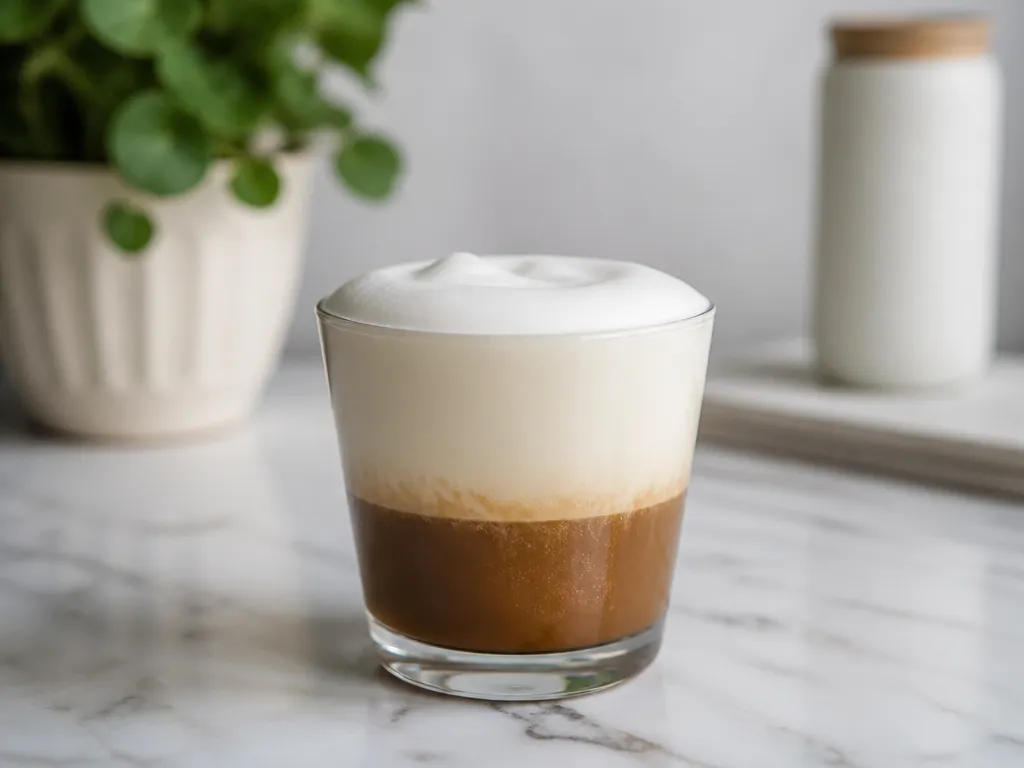
Cold foam is a chilled, airy topping for iced coffee. Start with very cold milk or cream, aerate it until it looks thick and glossy, and spoon it onto the drink while it is fresh. A concentrated mixture and quick serving help it keep its shape.
For a simple home batch, use a small pour of cold milk and add a little syrup if you want sweetness. Froth with a handheld milk frother, blend, or shake in a sealed jar. Stop when the foam has small bubbles and holds briefly on a spoon.
What Is How To Make A Cold Foam For Coffee?
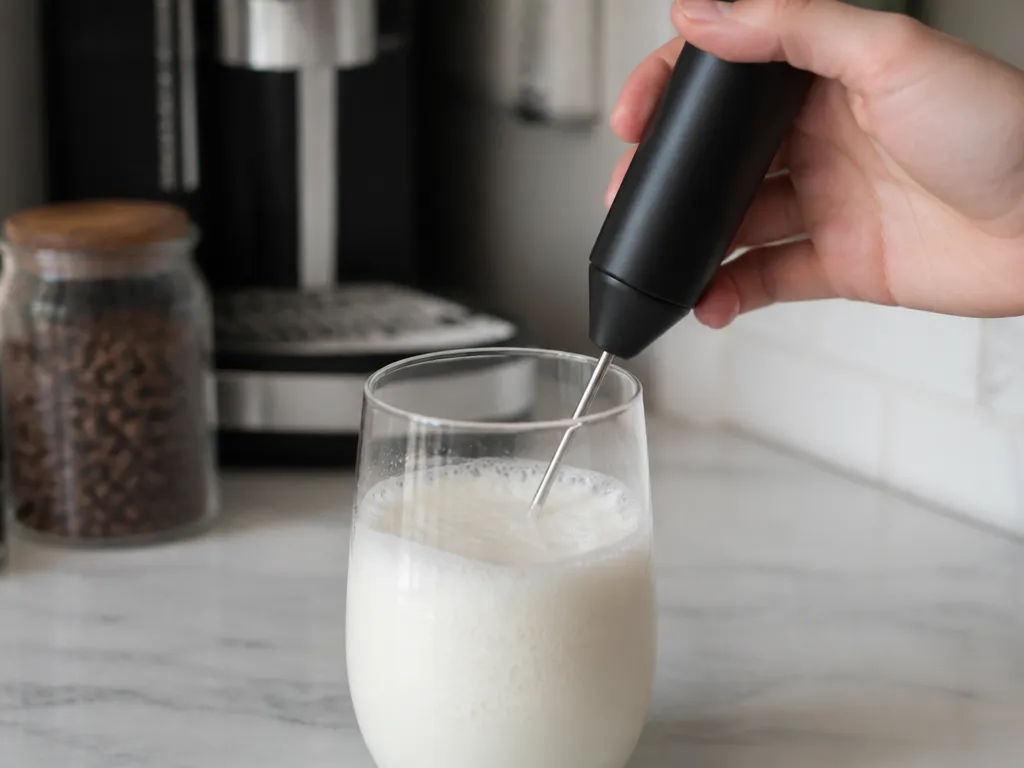
Cold foam is a chilled milk topping made by trapping air in the liquid. Unlike a loose froth, it should form a distinct, spoonable layer over iced coffee or cold brew.
There is no single required ingredient. The result depends on the temperature of the base, how concentrated it is, and how vigorously you aerate it. If the foam is thin, adjust one of those variables rather than changing everything at once.
Use a thick, glossy cap as your quality target. It should sit on the coffee briefly instead of immediately spreading into the drink.
How It Works
A reliable order is simple: chill the base, flavor it if needed, aerate it until thick, and spoon it onto the finished iced drink. If the result collapses, check the base temperature, the amount of added liquid, and the timing before changing tools.
Key Benefits
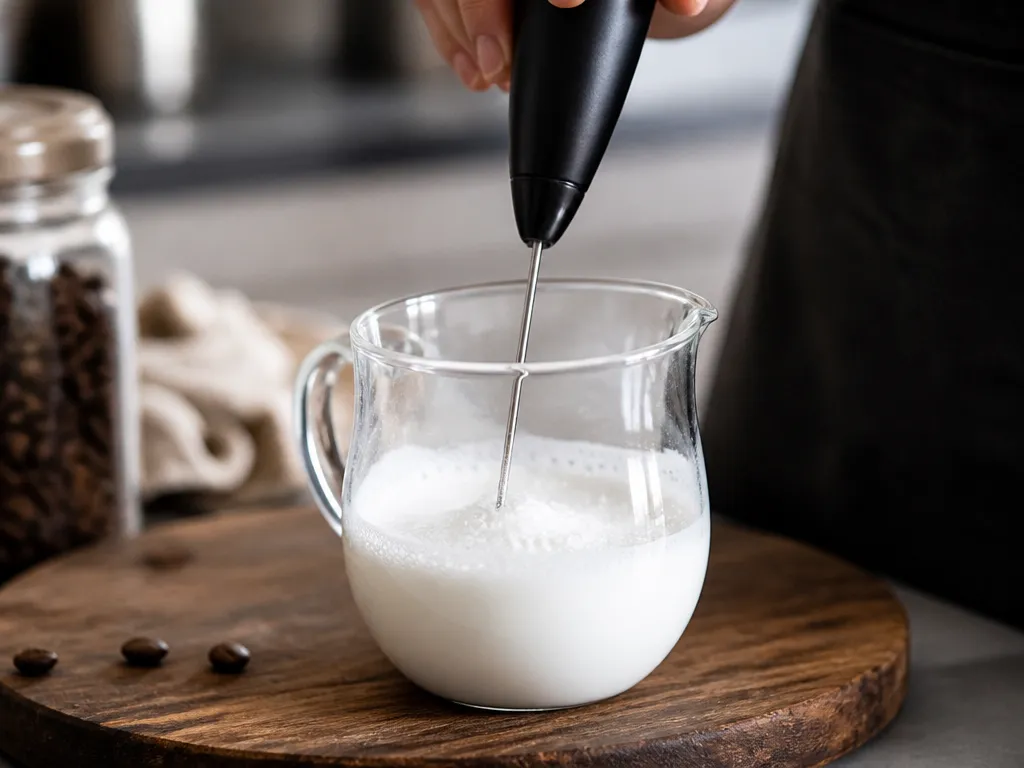
Cold foam gives iced coffee a creamy top layer without stirring all the milk through the drink. The appeal is mainly textural: the coffee stays distinct underneath while the foam adds a soft, rich finish.
Choose cold foam when you want a separate creamy layer. If you prefer milk fully mixed into the coffee, pouring it directly into the drink is simpler.
Step-by-step Guide
Prepare the coffee before making the foam. That way, the topping can go straight from the mixing tool to the drink.
Best practice: finish the coffee before frothing, then serve the foam as soon as it reaches a thick, spoonable texture.
Common Mistakes To Avoid

Most failed batches come from a warm base, too much added liquid, weak aeration, or a long wait before serving.
Tips For Success
Control the process in this order: keep the base cold, avoid unnecessary liquid, aerate until thick, and serve without delay.
Chill the mixing container if your kitchen is warm or if you tend to pause between steps. Measure and flavor the base before you start frothing so the finished foam does not sit while you prepare the coffee.
Use visual cues rather than a fixed timer. Good foam looks glossy and has fine bubbles. It should sit on a spoon briefly instead of flowing like plain milk.
If the foam separates, fix the most likely cause first. Chill the base again if it warmed up, reduce the added syrup if the mixture is loose, or aerate longer if the bubbles are large and wet.
Best practice: Make one small test batch and note which method, base, and flavoring give you the texture you prefer. Repeat that combination before making changes.
Real Examples
Use these combinations as starting points. Keep the base cold, flavor it before frothing, and top the drink immediately.
| Drink (iced base) | Cold-foam build | When to top | What “done” looks like |
|---|---|---|---|
| Cold brew (plain) | Cold dairy milk, aerated until thick | Immediately after frothing | A spoonable cap with small bubbles |
| Iced latte-style coffee (milk-forward) | Cold milk or a milk-and-cream mixture | After the coffee and ice are ready | A glossy, dense surface |
| Vanilla sweetened cold brew | Cold milk with a modest amount of vanilla syrup mixed in before frothing | Immediately after the final aeration | Flavored foam that stays distinct from the coffee |
For a quick texture check, spoon a little finished foam onto a chilled plate. If it keeps its ridges briefly, it is ready to use. If it immediately turns liquid, check whether the base was cold enough and whether you added too much flavoring.
For vanilla foam, mix the syrup into the cold base before aerating. Start with a modest amount and add more to the next batch if needed. The foam should be judged by its final texture as well as its sweetness.
When the drink is layered, prepare the coffee and ice first, then add the foam at the end. This keeps the topping fresh while the drink is being served.
Quick Summary
Make cold foam with chilled milk or cream, aerate it until thick and glossy, and spoon it onto iced coffee or cold brew immediately.
For vanilla, cinnamon, or cocoa foam, mix the flavoring into the cold base before aerating. Keep the addition modest so it does not weaken the mixture. Unsweetened foam is a useful starting point when you are trying to solve a texture problem.
Next action: Chill a small amount of milk, flavor it if desired, froth it, and judge the result by whether it forms a glossy layer before adjusting the recipe.
Frequently Asked Questions
What Does A Homemade Batch Actually Cost Me Per Drink?
The cost depends on the milk, cream, syrup, and equipment you choose. It also varies by brand and location, so there is no useful universal price.
Use your receipt to calculate it: divide the container price by the number of portions it provides, then add the cost of the flavoring. A jar costs nothing beyond what you already have, while a powered frother is an equipment purchase that can be used for future drinks.
Can I Whip A Pitcher Ahead Of Time For Guests?
Foam gradually loses structure as it sits, and the rate depends on the base, temperature, container, and amount of foam. For the best texture, froth close to serving time.
If you need to stage the drinks, keep the unwhipped base chilled and make the foam in small batches. A narrow container can help limit the exposed surface, but serve the foam as soon as practical.
Does Cold Foam Work On Hot Coffee Or A Hot Latte?
It can be added to a hot drink, but it will not keep the same texture for as long as it does over ice. Heat quickly loosens the chilled foam.
The result may become a thin milky layer rather than a distinct cap. For hot coffee, use milk that is prepared for hot foaming instead, and reserve this method for iced drinks.
What Do I Lose If I Skip The Foam And Just Pour Milk?
You lose the separate top layer. Plain milk mixes into the iced coffee immediately, while cold foam adds a distinct creamy texture at the surface.
That may be exactly what you want. If the coffee is strong and you only need a small amount of dairy, pouring in milk is the simpler option. Choose foam when the topping itself is part of the experience.
At What Point Should I Stop Troubleshooting And Buy A Tool Or A Ready-made Foam?
Consider a powered frother after you have tried cold milk, a concentrated mixture, and prompt serving but still cannot create the texture you want. The tool may make aeration easier and more consistent.
If the base is cold and the mixture is not overloaded with liquid, persistent thin foam may be a sign that your chosen method is not producing enough aeration.
Ready-made foam makes sense when you need convenience or consistent results across several drinks. For occasional use, try borrowing a frother or using a jar before buying equipment.
How Do I Test Whether A Failed Batch Is My Milk Or My Method?
Change one variable at a time. Use the same base and container, then compare a colder batch with one that has been allowed to warm. If the colder batch performs better, temperature was the likely issue.
Next, compare a richer base with the original, then compare a shorter and longer aeration. Keeping the tests separate makes it easier to see whether the problem is the base, the temperature, or the technique.

- Espresso Bar Wedding: Ideas, Setup, Costs, and Tips for a Memorable Coffee Experience - November 11, 2026
- How Many Grams of Espresso Beans for a Double Shot? A Complete Brewing Guide - November 11, 2026
- Brasilia Espresso Machine: Features, Performance, Models, and Buying Guide - November 11, 2026
1 thought on “How To Make A Cold Foam For Coffee? Steps, Ratios, Fixes”