

For stable cold foam, froth cold milk with a handheld milk frother until it becomes thick and pourable, then add it to the drink immediately.
Cold foam is unheated milk that has been aerated into a layer for iced coffee or another cold drink. Start with a small portion of cold milk, use a frother or another method below, and stop when the foam looks dense and holds its shape briefly. Add it to the drink right away for the best texture.
How Cold Foam Gets Made In Under A Minute
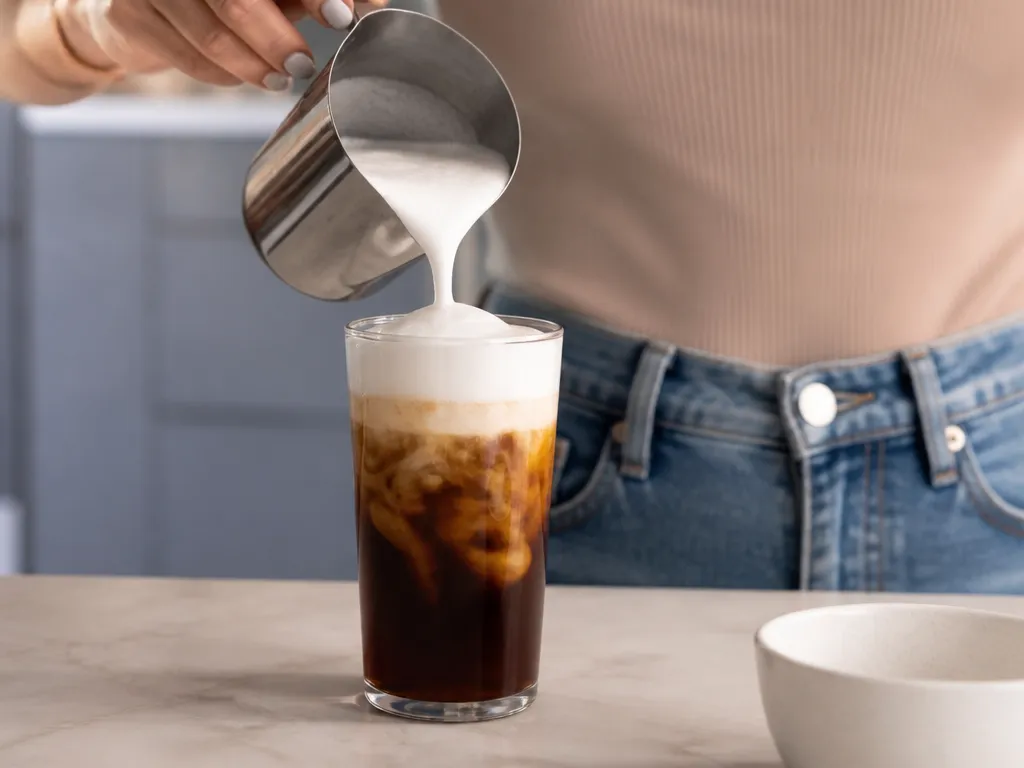
Cold foam is unheated milk aerated into a thick, pourable layer that you spoon or pour onto iced coffee or another cold drink. For beginners, a handheld milk frother offers direct control: keep the tip submerged, move it gently, and stop when the foam forms a dense cap.
If your foam changes from thick and mound-like to loose and sliding, stop aerating sooner next time and pour it promptly.
Why Cold Milk Froths And What Holds The Bubbles
Frothing forces air into milk. The milk’s composition and the amount of agitation affect whether the bubbles form a creamy cap or quickly collapse.
Air and agitation create the foam. A frother pulls air into the milk and disperses it through the liquid. Keeping the head below the surface helps create smaller, more even bubbles instead of a splashy layer with large bubbles.
Milk proteins help form bubble walls. They gather around air bubbles and can help the foam hold together. The result varies with the milk, the tool, and any ingredients mixed into it.
Fat changes the texture. Higher-fat milk can taste creamier, while the foam may feel denser. The best choice depends on the product and tool, so use texture rather than a fixed rule as your guide.
Cold milk needs mechanical aeration. It has not been heated, so the foam develops through agitation alone. Stop as soon as it reaches a dense, pourable texture; continued processing can make it coarse, overly airy, or less stable.
If the foam turns runny, first check the milk temperature, the position of the tool, and when you stopped frothing before changing several ingredients at once.
Which Milk Froths Best And How Long Foam Lasts
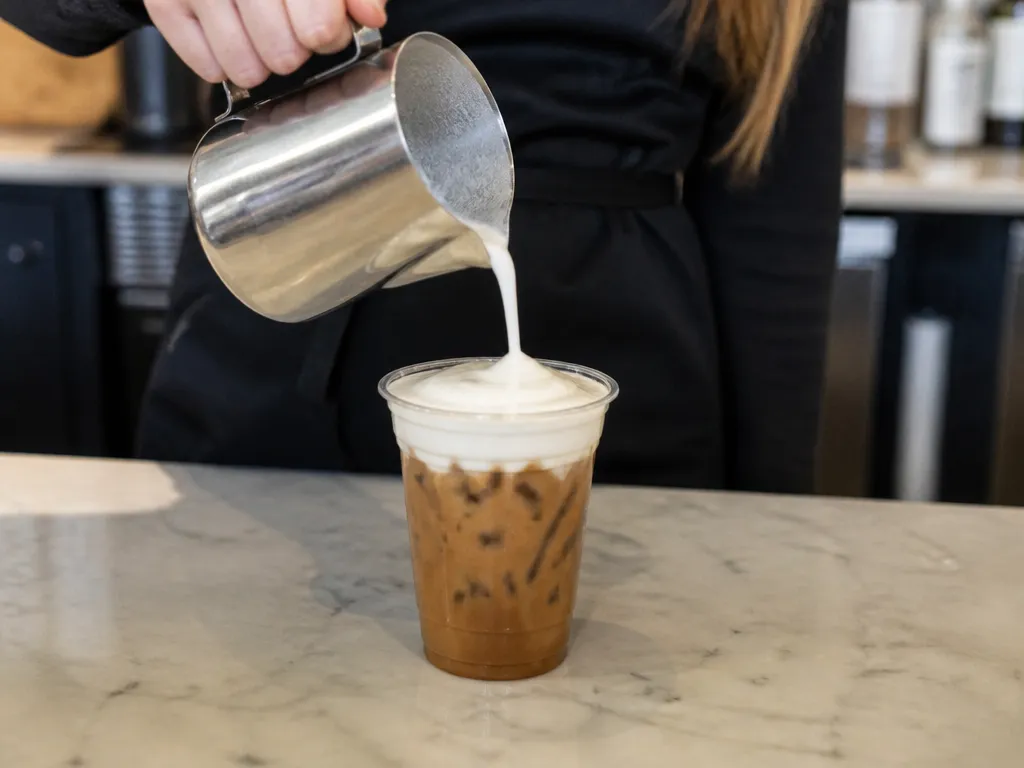
Milk choice affects the foam, but the product and technique matter as much as the category. Test one milk with one method so you can tell what caused a change.
Practical selection rule: Begin with a dairy milk or a barista-style oat milk. If the foam is airy, thin, or quick to separate, try another product before changing the entire technique.
Measurements, Sweeteners, And Flavoring Amounts
Use a modest portion of milk for the topping and keep the mixture simple while you learn the method. More foam comes from starting with more milk, not from adding a large amount of syrup or powder to a small batch.
For one drink, use enough cold milk to make the topping you want without filling the cup so high that it spills during frothing. Add sweeteners and flavorings sparingly. If the foam becomes unstable after flavoring, put the flavor in the drink instead and froth plain milk.
| What you’re adding | Starting amount relative to the milk | When to add for best stability |
|---|---|---|
| Sugar | A small amount, fully dissolved | Dissolve before frothing |
| Syrup | A small splash | Add it to the drink if the foam becomes thin |
| Powdered sweetener | A small amount that disperses completely | Mix thoroughly before frothing |
Vanilla, cinnamon, cocoa, and salt can be mixed into the milk, but use light amounts and disperse them fully. Undissolved solids can make the foam grainy or uneven.
Cinnamon and cocoa add solids that may weigh down the foam when used heavily. Salt should be used sparingly for flavor. If a flavoring makes the milk look curdled or grainy, leave it out of the foam.
Acidic ingredients and some alcohol-based flavorings can interfere with milk texture. Keep them in the main drink unless you have tested them successfully in the foam.
If the foam separates after sweetening, move the sweetener and flavoring into the iced coffee and froth a simpler milk mixture.
Milk Frother Cold Foam, Step By Step With Timings
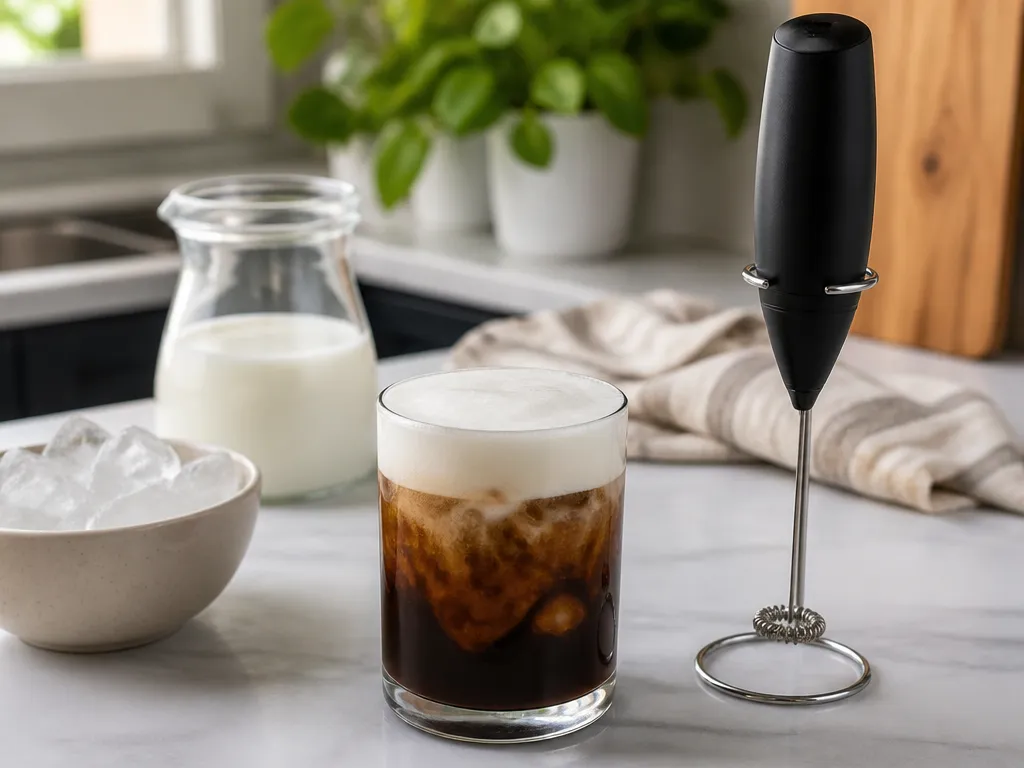
Use a handheld milk frother, cold milk, and a cup with enough headspace. Aerate until the foam becomes dense and pourable, then add it to the drink without a long delay.
For thinner or thicker foam: Stop earlier for a lighter layer. Continue briefly for more body, but stop if the bubbles become large, dry, or unstable.
When to stop before the foam breaks down: Stop when the surface is creamy and the milk below has thickened. If the foam becomes granular, pulls away from the liquid, or develops a watery ring, more agitation is unlikely to improve it.
Jar Shaking Vs. Immersion Blender, Timed Side By Side
Choose a tool based on the control and cleanup you want. Jar shaking is accessible but variable. An immersion blender can be more consistent, though it may create large bubbles or splatter if it is lifted too high.
Texture comparison: Jar shaking can produce a thick cap but depends heavily on how vigorously and evenly you shake. Immersion blending offers more control but requires care to avoid splashing and oversized bubbles. A French press is a contained alternative when you do not have a frother.
Reading Foam Texture And Pouring Without Sinking It
Judgment call: If the foam ribbons and drips slowly, pour it immediately. If it looks runny or pools flat, adjust the next batch rather than waiting for it to recover.
Fixing Thin, Bubbly, Collapsing, Or Curdled Foam
Most failures come from a mismatch between the milk, the tool, and the timing. Change one variable at a time so you can identify the useful adjustment.
| Failure you see | Likely cause | What to do next |
|---|---|---|
| No foam or barely any foam | The milk is too warm, the agitation is too gentle, or the product does not froth well with the tool. | Start with cold milk, keep the tool submerged, and aerate until the texture becomes thick and pourable. |
| Foam is airy with large, soapy bubbles | The tool is drawing in too much surface air or the milk has been over-agitated. | Lower the tool, move it more smoothly, and stop earlier. |
| Foam collapses quickly | The cap is too thin, the drink is not cold, or an add-in has weakened the mixture. | Use colder ingredients, build a denser cap, and keep sweeteners or flavorings out of the foam while troubleshooting. |
| Foam separates or leaves a watery puddle | The bubbles are unstable, the mixture has been overworked, or ingredients were added after frothing. | Mix additions into the milk first, avoid stirring after frothing, and pour soon after the foam is ready. |
| Curdling or grainy texture after adding flavors | An acidic ingredient or a concentrated mixture has affected the milk texture. | Remake the foam without the ingredient. If you test it again, use a small amount mixed thoroughly into the milk before frothing. |
| Foam is too thick or stiff to pour | The foam has been over-aerated or has rested too long. | Spoon it onto the drink or reduce the aeration during the next batch. |
If you change only one thing, focus on foam density. Aim for a thick cap that pours without spreading flat, then adjust the milk, flavorings, or tool technique as needed.
Quick Summary
Use cold milk and a handheld frother to make a thick, pourable foam cap. Aerate until the surface looks dense and holds briefly, then add it to the cold drink immediately.
| Decision condition | What to do | Factor that changes the outcome |
|---|---|---|
| Want consistent beginner results | Submerge the frother and move it steadily through the milk. | Froth until the texture looks dense and pourable |
| Milk volume mismatch | Use the same small starting portion and leave plenty of headspace. | Available cup space and desired topping size |
| Foam not holding | Try a dairy milk or barista-style non-dairy product and keep the ingredients cold. | Milk composition and product formulation |
| Foam timing window | Pour it promptly after frothing instead of letting it sit. | Delay between frothing and serving |
Next action: Add cold milk to a roomy cup, froth it until the foam forms a dense cap, and pour it onto the cold drink immediately.
Frequently Asked Questions
What’s The Cheapest Way To Make Cold Foam That Still Gives Repeatable Results?
If you already have a jar, shaking is the lowest-equipment option. A handheld milk frother usually gives you more direct control over the texture, but the result still depends on the milk and your technique.
Choose one method and use it consistently for several attempts. That makes it easier to learn how the tool behaves with your chosen milk.
What Should I Do If I Start Blending, Walk Away, And The Foam Has Already “Fallen”?
Remake it from cold milk if the foam has collapsed substantially. Cold foam begins to loosen after aeration stops, so the most reliable workflow is to prepare the drink first and froth immediately before topping it.
You can still add softened foam for flavor and some texture, but it will mix into the drink more readily.
Can I Make Cold Foam With Non-dairy Milks, And Which Ones Fail The Most?
Yes, but non-dairy products vary widely in texture and stability. Barista-style oat milk is a reasonable starting point, while almond, coconut, and standard oat products may produce different results depending on the formulation.
If the foam is bubbly, thin, or watery, try a different product while keeping the tool and technique the same. A dairy milk can also help you determine whether the problem is the method or the milk.
Do Sweeteners Or Flavored Syrups Always Ruin Cold Foam?
No. They can change the texture, though, particularly when they add liquid, solids, or acidity. Mix them thoroughly into the milk before frothing and use a light amount while testing.
For the most predictable foam, put the sweetener or flavoring in the iced drink and froth plain milk for the topping.
How Can I Verify A “Stable” Cold Foam Claim Before Trusting A Recipe?
Judge the result by its texture. A useful cold foam cap should pour or spoon onto the drink, remain visibly separate for a while, and avoid turning watery immediately.
Repeat the method with the same milk, tool, and technique. Consistent results in your own setup are more useful than a fixed promise about how long the foam will last.
When Is It Worth Asking For Professional Help (Instead Of Troubleshooting At Home)?
Professional help is rarely necessary for a home drink. Consider asking someone experienced if the foam repeatedly fails after you have controlled the milk temperature, tool position, and timing.
If you are preparing drinks for a workplace or event, test the process in advance. A different milk or tool may be needed when consistent service matters.

- Espresso Bar Wedding: Ideas, Setup, Costs, and Tips for a Memorable Coffee Experience - November 11, 2026
- How Many Grams of Espresso Beans for a Double Shot? A Complete Brewing Guide - November 11, 2026
- Brasilia Espresso Machine: Features, Performance, Models, and Buying Guide - November 11, 2026