
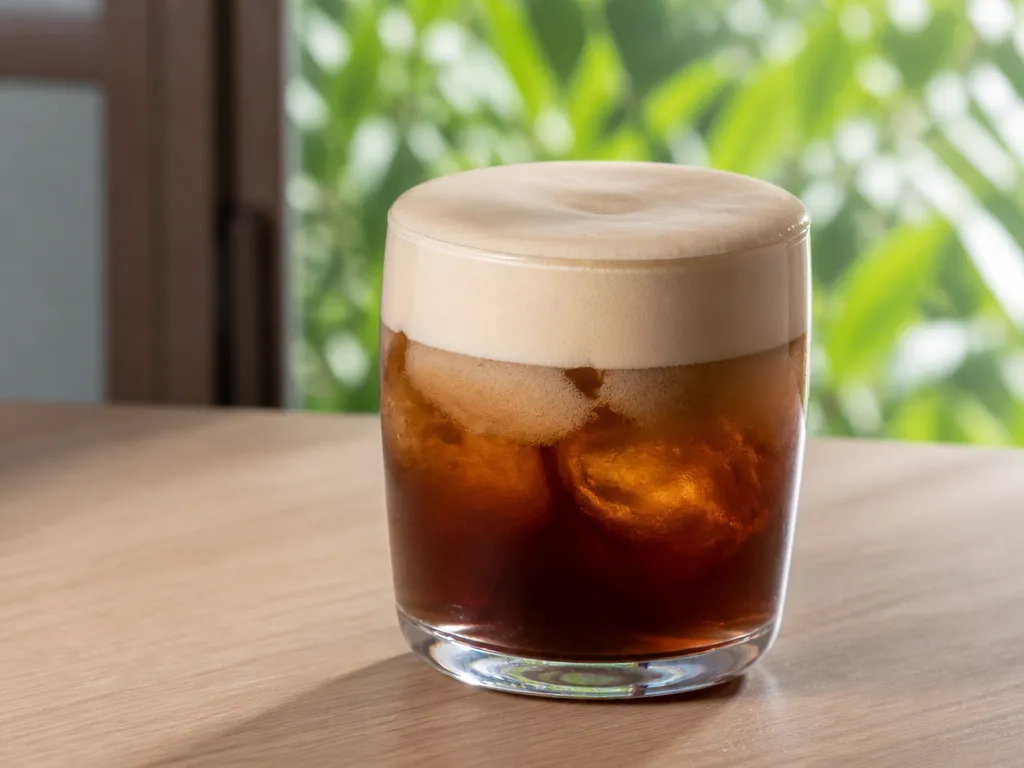
Cold foam works best when you start with refrigerator-cold dairy or non-dairy milk and aerate it just before serving. Use a small batch for each drink. Smaller batches are easier to foam evenly and less likely to sit around while you prepare the coffee.
With a handheld frother, work until the milk looks glossy, airy, and thick enough to cling briefly to a spoon. A whisk takes longer, while a blender or jar creates a coarser foam. Pour the foam onto iced coffee as soon as it reaches the texture you want. Cold foam is temporary, so treat it as a finishing ingredient rather than something to prepare far in advance.
What Is Cold Foam And Why Use It On Iced Coffee?
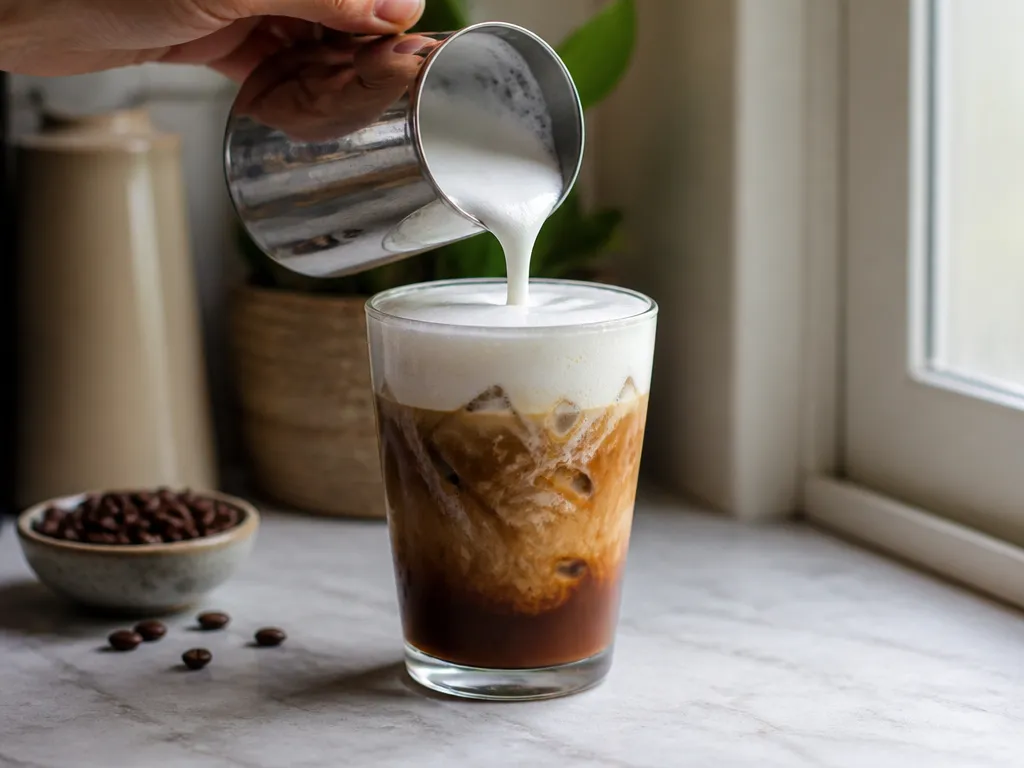
Cold foam is aerated, chilled milk or non-dairy milk that sits on top of iced coffee. The bubbles create a soft, creamy cap without heating the drink. It adds a smoother mouthfeel and lets you change the character of the coffee without mixing a large amount of milk into the glass.
Unlike hot foam, cold foam begins with a cold liquid and is intended for a chilled drink. That makes it easier to serve over iced coffee without introducing heat. The foam will still lose volume over time, especially if it is made from a weak base or handled roughly.
The amount you use changes the drink. A thin layer keeps the coffee prominent, while a deeper cap makes the drink feel creamier and more dessert-like. Add the foam last so it remains visible and does not disappear into the coffee before the first sip.
| Goal | What cold foam gives you | How to aim in the glass |
|---|---|---|
| Creamy top, clean coffee flavor | A soft surface layer that does not immediately mix in | Use a modest cap so the coffee remains the main flavor |
| Dessert-like iced drink | More milk body and a softer texture | Build a deeper cap and add it as the final layer |
Cold foam is best thought of as a topping with a limited working window. Make it after the coffee is ready, then float it gently on the surface.
Why Does Foam Form, And What Makes Cold Foam Different?
Foam forms when air becomes trapped in a liquid. Milk proteins and other components of the liquid help form a film around the bubbles. If that film remains intact, the foam looks smooth and creamy. If it breaks quickly, the result is a thin liquid with large bubbles on top.
The tool controls how much air enters the milk, while the milk itself affects how well the bubbles hold. A suitable base produces smaller, more even bubbles. An unsuitable base may look foamy for a moment but separate quickly.
| Control | What changes | What you’ll see |
|---|---|---|
| Air amount (aeration) | More air increases the volume of the foam | A taller cap, though excessive aeration can create large, dry bubbles |
| Protein and fat (milk or non-dairy base) | The base affects the strength and feel of the bubble film | Some milks produce finer, smoother foam than others |
| Surface tension modifiers | Formulated ingredients can change how readily a non-dairy base foams | Barista-style products may produce more consistent results |
Cold milk is usually easier to use for a cold topping than warm milk because it starts closer to the temperature of the drink. Warm foam can look thick briefly, but it may loosen as it cools or mixes with the coffee.
Look at the texture rather than relying on a timer. Glossy foam with small, even bubbles is ready to use. Watery liquid underneath, large bubbles, or a grainy surface means the structure is weakening.
How Do I Make Dairy Cold Foam Step By Step?
Start with chilled whole milk for a rich, creamy result. Lower-fat milk can also foam, but it may feel lighter and lose its shape sooner. Add a small amount of fine sugar if you want sweetness, along with a little vanilla if desired. Because different milks and frothers behave differently, begin with a modest amount and adjust the next batch rather than making a large quantity.
Stir the sweetener into the cold milk before aerating. Fine sugar dissolves more easily than coarse sugar. If you use syrup, add only enough for flavor because extra liquid can make the foam looser. Vanilla and other flavorings should be used sparingly; a large addition can thin the base or overpower the coffee.
Whisk, Blender, And Steam Wand: What Each One Actually Gives You
A handheld frother offers the most control for a single drink, but other tools can work if you adjust your expectations.
Keep the milk cold while you work. Do not freeze it to speed up the process, because melting ice can make the texture uneven. If the milk warms noticeably during frothing, stop and chill it again before trying to improve the foam.
The foam is ready when it has visibly expanded, looks smooth rather than bubbly, and clings briefly to a spoon. Do not keep frothing simply because more volume seems desirable. Excessive aeration can leave a dry top layer with thin liquid underneath.
How Do I Make A Non-dairy Cold Foam Step By Step?
Use chilled barista-style oat milk or another non-dairy product labeled for foaming. These products are formulated differently from standard cartons and may produce a fuller, more consistent foam. Add fine sugar and vanilla if desired, but keep the flavoring modest until you know how the base behaves.
How Can I Adjust Thickness And Texture Across Recipes?
Three choices have the biggest effect: the milk base, the amount of air, and the size of the batch. Change one factor at a time so you can tell what improved or weakened the result.
| Variable | Typical range | Effect of increasing it | Effect of decreasing it |
|---|---|---|---|
| Fat content | Use a fuller dairy milk or a barista-style non-dairy blend | Richer body and a creamier feel | Lighter texture and potentially faster collapse |
| Froth time | Adjust by texture rather than a fixed timer | More volume, followed by a risk of dry or clumpy foam | Looser, more pourable foam |
| Base volume | Use a small batch for each drink | Slower, less even aeration | Faster and easier aeration |
| Added sugar | Use enough for flavor, dissolved before aeration | More sweetness and potentially a thinner base if added as liquid | Less sweetness and less flavor interference |
Calibrating Foam For Different Drinks
Match the foam to the drink. A large iced coffee can take a looser, more pourable cap. A smaller drink may look better with denser foam, but it should still be smooth enough to sip through.
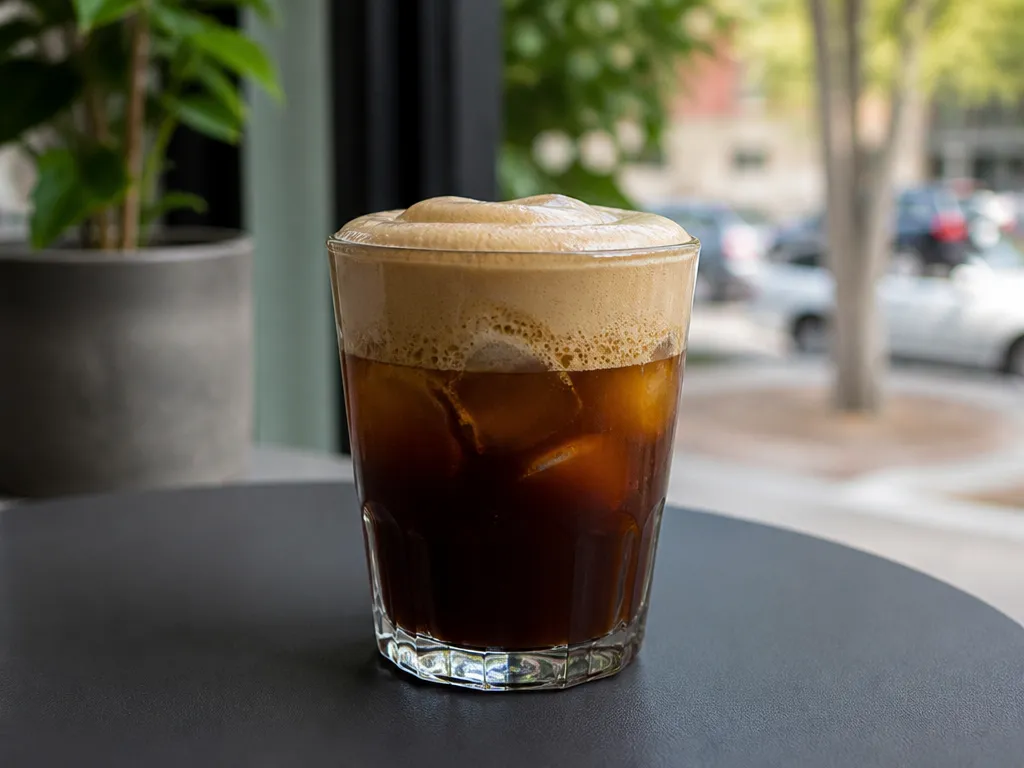
If the coffee already contains milk or syrup, the foam may blend into it more readily. A slightly thicker cap can help, but do not compensate by whipping until the foam is dry. For black iced coffee, a softer foam often looks and tastes more natural than a stiff mound.
What Pouring Method Keeps Foam On Top Of The Drink?
Add the foam last and handle it gently. Stirring, pouring from a height, or dropping a dense spoonful onto the drink can break the bubbles and push the foam beneath the surface.
Prepare the coffee, ice, milk, and syrup before you make the foam. Leave room at the top of the glass, then add the foam without disturbing the liquid below. A chilled glass can help keep the drink cold, but it will not rescue foam that has already become watery.
| Method | Use when | How |
|---|---|---|
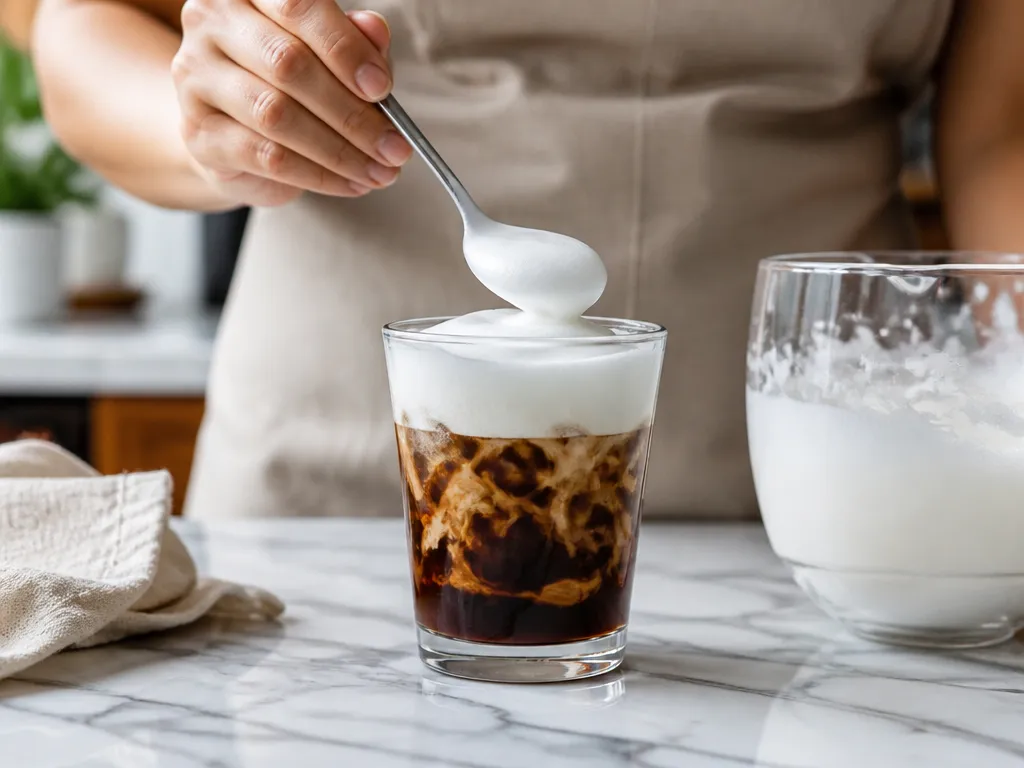
| Spoon | Foam is thick enough to mound | Scoop it gently over the back of a spoon held close to the surface |
| Slow pour | Foam is loose but still cohesive | Pour from a narrow spout close to the drink, preferably against the inside wall |
| Hard pour | Never | A forceful or high pour drives the foam into the coffee |
Use a spoon for a defined dome and a slow pour for softer foam. Neither method will keep the layer intact indefinitely, so serve the drink soon after assembling it.
Insert a straw from the side rather than punching through the center. Do not add ice after the foam, and avoid heavy garnishes. A light dusting of cocoa or cinnamon is fine if desired, but a heavy syrup topping can weigh down the surface.
What Are The Common Failures And How Can I Fix Them?
Most problems come from the milk base, the tool position, excess air, or waiting too long to serve. Change one thing at a time so you can identify the cause.
How Long Does Cold Foam Last And How Should I Store It?
Cold foam is not a long-term make-ahead topping. It gradually loses volume as the bubbles drain and merge, and the speed depends on the milk, tool, temperature, and handling. Use it promptly rather than relying on a fixed hold time. For food safety, follow the storage instructions on the milk package and avoid leaving dairy or non-dairy milk at room temperature longer than recommended.
Can You Make Cold Foam The Night Before?
You can prepare the sweetened milk base ahead and refrigerate it, provided you follow the product’s storage guidance. Froth it shortly before serving for the best texture. Foam made the previous night is likely to lose much of its volume and become closer to flavored milk.
A barista-style non-dairy product or fuller dairy milk may produce a more substantial foam, but the result still depends on the specific brand and tool. Test a small amount before relying on it for a prepared drink.
Quick Summary
Chill dairy or barista-style non-dairy milk, sweeten it lightly if desired, aerate until smooth and thick, then float it onto iced coffee immediately. The method matters more than a fixed timer: use the texture as your guide.
Four conditions change the result:
Next action: chill a small amount of milk, prepare your iced coffee, then froth and pour the topping as the final step.
Frequently Asked Questions
How Much Cold Foam Can I Make Without It Collapsing?
Make only what you plan to use soon. A small batch is easier to aerate evenly and less likely to separate while you prepare the drink. If you need foam for several drinks, froth separate batches close to serving rather than making everything at once.
If the edges look wet or the foam is losing its shape in the container, use it immediately. It will not become more stable simply by sitting.
Can I Sweeten Cold Foam, And Will Sugar Make It Fail?
You can sweeten cold foam. Add fine sugar or a small amount of smooth syrup before aerating so the flavor is distributed without stirring finished foam. Sweetener is for taste, not a guaranteed thickener.
Too much syrup can add enough liquid to loosen the base. Test a small batch when using a new sweetener, especially if the foam will be the main feature of the drink.
What If I Skip Chilling, And Just Foam Room Temperature Milk?
Room-temperature milk may foam, but it usually gives you less time to work before the foam loosens. Cold foam is easier to serve when the base and coffee are both chilled.
If you have already frothed warm milk, use a smaller cap and serve it immediately. Add it gently rather than stirring it through the drink.
What Should I Do If My Coffee Tastes “Fine” But The Cold Foam Feels Too Thin Or Too Airy?
Thin foam may mean the base does not provide enough body, the frother is not drawing in air effectively, or the batch is too large for the tool. Try a different milk, a smaller batch, or a narrower container.
Airy foam with large bubbles usually needs refinement rather than more whipping. Move the frother slightly deeper and use gentler motion, then stop when the texture becomes smooth.
How Can I Tell Whether My Non-dairy Milk Will Work For Cold Foam?
Non-dairy products vary widely. Start with a barista-style oat or soy milk, then test a small amount with your chosen tool. The foam should look even, cling briefly to a spoon, and remain on top of iced coffee long enough to serve.
If the product separates or leaves a watery layer, try a different formula. Changing the frothing technique may help, but some bases are simply not designed to make a stable foam.
When Would It Be Worth Troubleshooting Versus Replacing Equipment?
First test the same tool with a different milk and a smaller, colder batch. Clean the frother thoroughly and make sure the whisk or blade is moving freely.
If one method consistently produces good foam, keep using it rather than replacing equipment. Consider servicing or replacing the tool only when several suitable bases fail despite careful technique and proper cleaning.

- Espresso Bar Wedding: Ideas, Setup, Costs, and Tips for a Memorable Coffee Experience - November 11, 2026
- How Many Grams of Espresso Beans for a Double Shot? A Complete Brewing Guide - November 11, 2026
- Brasilia Espresso Machine: Features, Performance, Models, and Buying Guide - November 11, 2026