
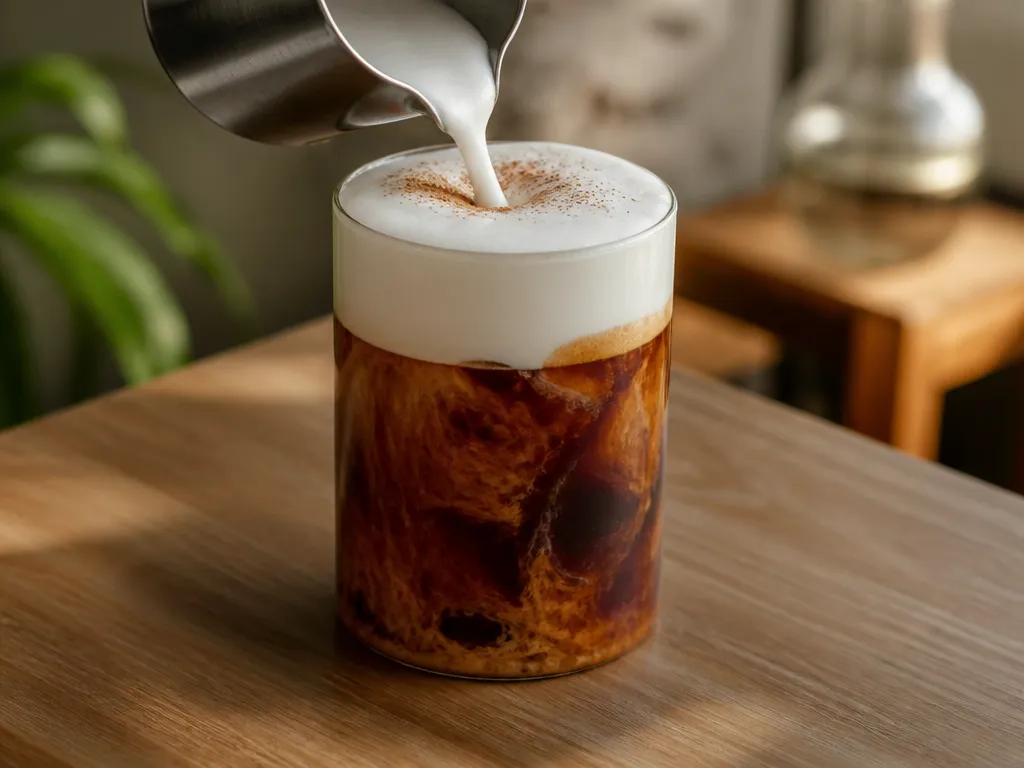
Use dairy straight from the refrigerator and start with roughly equal parts heavy cream and 2% milk. Cold dairy holds air better, while cream supplies body and milk supplies protein. Add a small amount of vanilla syrup for sweetness, then agitate the mixture until it looks glossy, thick, and pourable.
For one cold drink, combine equal parts heavy cream and 2% milk with about a tablespoon of vanilla syrup. Froth until the mixture forms soft peaks and falls in a slow stream, then spoon it onto the drink immediately.
Start With A Cold 1 To 1 Cream Foam
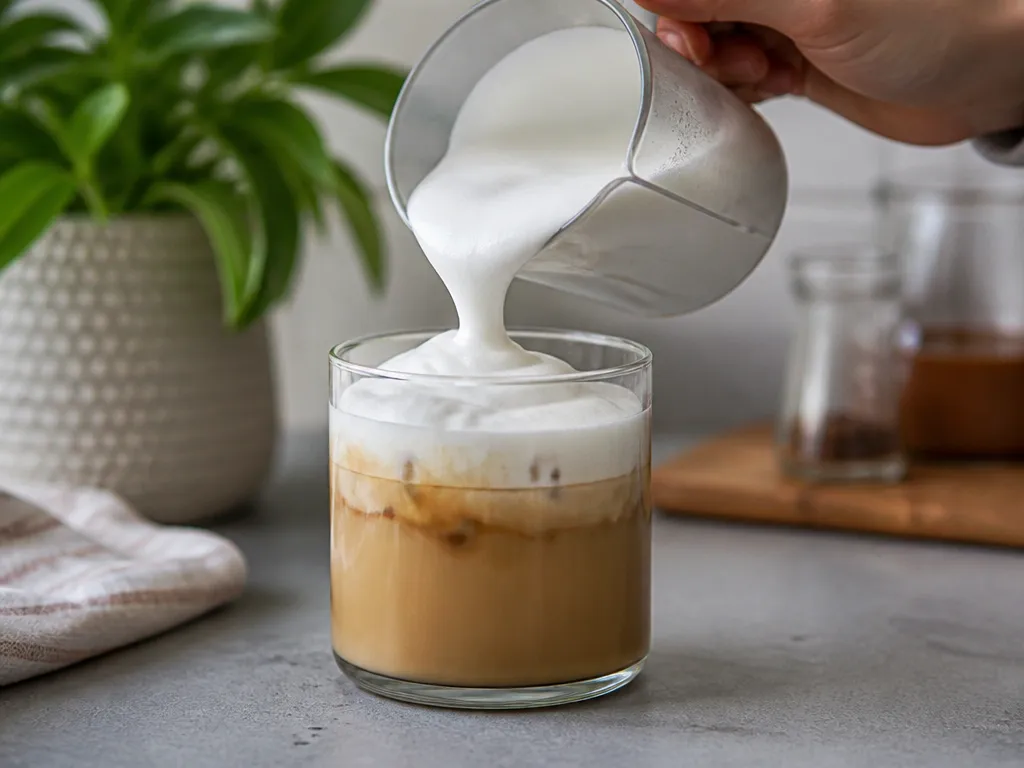
For the most forgiving homemade foam, combine equal parts heavy cream and 2% milk with a modest amount of vanilla syrup. The cream provides fat, the milk provides protein, and cold temperatures help the bubbles last. A handheld frother is the best first tool because it gives you direct control over the texture and works well for a single serving.
| Volume representation | Metric representation |
|---|---|
| Equal parts heavy cream and 2% milk, plus a small amount of vanilla syrup | Weigh equal amounts of heavy cream and 2% milk, then add syrup to taste |
Keep the dairy cold from the refrigerator. The colder the mixture remains while you work, the more time the foam has to form and hold its structure.
What Makes Cold Foam Hold Its Structure?
Cold foam works when three things meet: cold dairy, a base with enough fat and protein, and agitation that introduces small air bubbles. Sugar adds sweetness, but it cannot create the structure by itself. The foam needs a suitable liquid base before the sweetener goes in.
Choose The Tool And Use The Right Timing
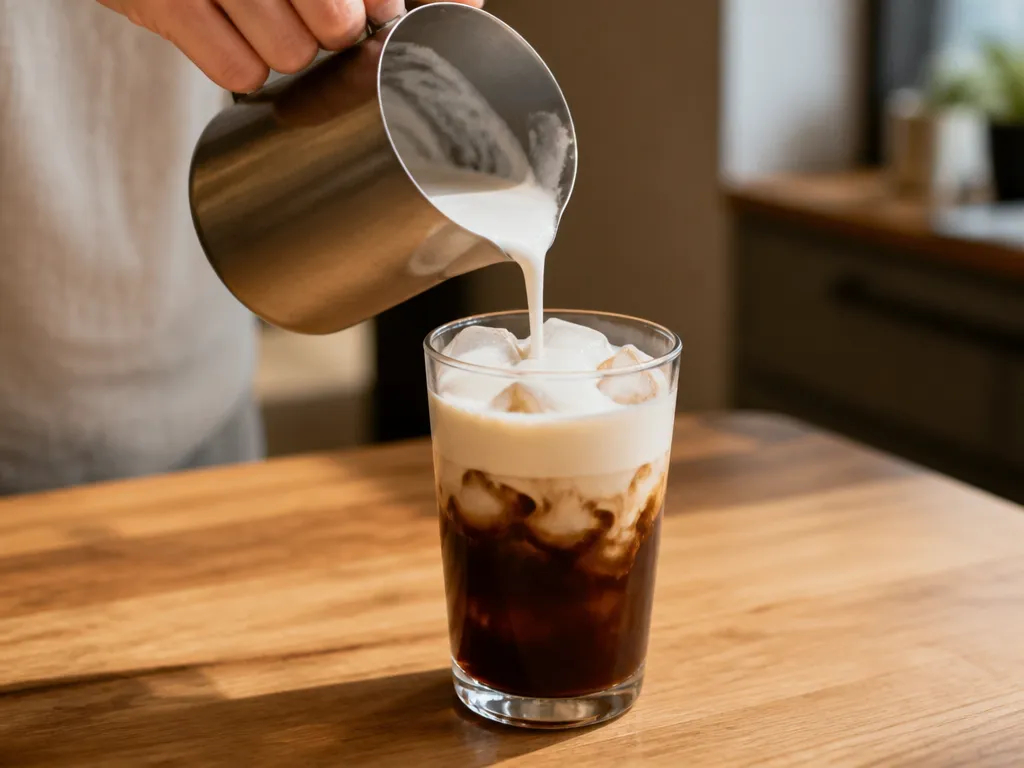
Ranked by control and consistency, a handheld frother is the best choice for one drink. A French press is the strongest alternative for a larger batch, followed by a mason jar, blender, cocktail shaker, and whipper. With every tool, use the texture rather than a fixed timer as your stopping point.
| Tool | Time | Method | Expected result |
|---|---|---|---|
| Handheld frother | About half a minute to under a minute | Move the whisk through the mixture until it thickens and falls in a slow stream. | Best control and the smoothest cascading foam |
| French press | Several dozen seconds or longer | Pour the mixture into the press and plunge firmly and repeatedly, keeping the lid secure. | Large, airy foam with a somewhat looser texture |
| Mason jar | About a minute, depending on the batch | Fill the jar no more than halfway, seal it, and shake vigorously. | Convenient foam with larger bubbles |
| Blender | A brief blend | Blend at moderate speed and stop as soon as the mixture expands and thickens. | Fast for several portions, but easy to over-aerate |
| Cocktail shaker | A brief, vigorous shake | Lock the lid in place and shake firmly. | Light foam when no other tool is available |
| iSi whipper | Follow the device instructions | Fill, charge, shake, and dispense according to the manufacturer’s directions. | Dense, consistent foam with little manual agitation |
Use the frother for the most reliable single serving. French presses and jars create larger bubbles, so let the foam settle briefly before spooning it onto the drink. A blender is useful for multiple portions, but stop as soon as the mixture is aerated. Continued blending can make a small batch thin.
An iSi whipper needs more care than a jar or frother. Check that the bottle, gasket, nozzle, and cap are clean and undamaged. Stay within the fill line, use only the charger specified for that model, and follow its operating instructions. Never unscrew or open a pressurized whipper. Dispense a small test amount into a separate cup before topping the drink.
Make A Starbucks-style Vanilla Sweet Cream Foam
For a Starbucks-style vanilla sweet cream foam, use roughly one part heavy cream to two parts milk and make it sweeter than the firmer base. This is a copycat proportion, not an official formula. It produces a thinner, milkier topping with a stronger vanilla flavor, so pour it as soon as it thickens.
| Ingredient | Volume | Weight |
|---|---|---|
| Heavy cream | One part | Use the same unit as the milk |
| 2% milk | Two parts | Use twice the cream’s amount |
| Vanilla syrup | A generous amount, adjusted to taste | Weigh only if the syrup label provides a conversion |
Make only the amount you plan to use. Syrup is denser and sweeter than milk, so volume and weight will not match ingredient for ingredient. If you have a scale, follow the syrup’s own weight information rather than assuming that a spoonful weighs the same as a spoonful of milk.
Why The Copycat Ratio Behaves Differently
Compared with the equal-parts base, this mixture contains more milk relative to cream and more syrup. Both changes make the foam lighter and less persistent. The added milk reduces the proportion of fat available to support the bubbles, while extra syrup makes the liquid phase heavier and more difficult to keep aerated.
Do not try to solve an overly sweet, loose mixture by frothing indefinitely. More agitation can add volume without giving the foam stronger walls. If the copycat version remains runny, reduce the syrup and add a little more cream on the next attempt.
Froth only the serving you are about to pour. Stop when the mixture resembles pourable whipped cream rather than stiff peaks. Use this formula when the sweet cream flavor matters most. Use the equal-parts base when you want a firmer topping that holds its shape longer.
Know Which Non-dairy Milks Can Foam
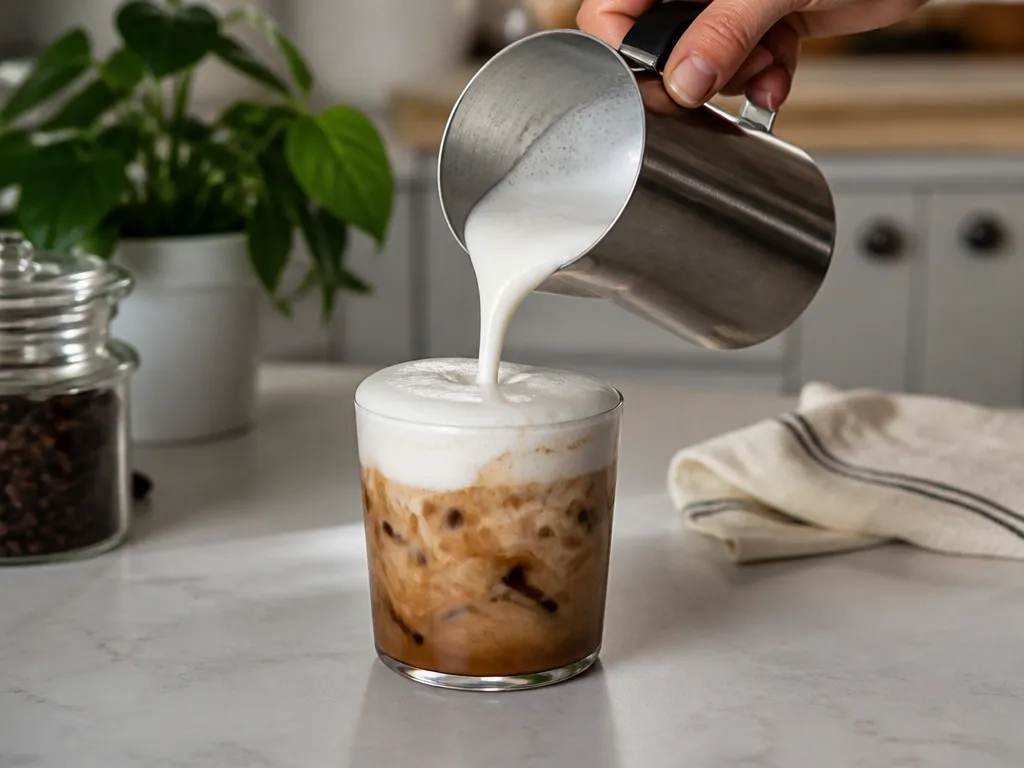
Barista-edition oat milk is the strongest non-dairy starting point because it is formulated for a fuller, more stable texture than many ordinary drinking milks. Chill it before frothing and test a small portion before making a full drink.
Standard almond milk often becomes airy briefly but fails to form a lasting spoonable layer. That does not necessarily mean the frother is at fault. Many ordinary almond milks simply lack the body needed to support the air introduced during agitation.
For a blended workaround, use mostly your preferred non-dairy milk and replace part of it with a barista version from the same general category. Froth a small test batch and watch how it behaves after sitting briefly. If it drains like liquid, use more barista milk rather than adding extra syrup.
A little dairy cream can give standard almond milk more body, but the result is no longer dairy-free. If the drink must remain fully dairy-free, stay with a barista-formulated non-dairy milk instead.
Non-dairy formulas vary considerably between brands and products. Keep the milk refrigerator-cold, test one serving first, and make the foam immediately before serving.
Flavor, Pour, And Serve The Foam Immediately
Add flavor before frothing so it disperses through the liquid instead of tearing through the bubble network afterward. The following variations are sized for one serving of the equal-parts base. Use them as starting points and reduce any thick or sugary add-in if the foam becomes loose.
| Variation | Add to one serving | The catch |
|---|---|---|
| Vanilla cinnamon | A modest amount of vanilla syrup and a pinch of cinnamon | Stir the cinnamon into the syrup first. Dry powder dropped straight into the dairy can clump and float. |
| Salted caramel | A small spoonful of caramel sauce and a pinch of salt | The sauce is thick and heavy. Thin it with a little milk before adding, without warming the dairy. |
| Mocha | A little cocoa powder and chocolate syrup | Sift the cocoa and whisk it into the syrup first to prevent gritty streaks. |
| Brown sugar cinnamon | A modest amount of brown sugar syrup and a pinch of cinnamon | Dissolve the cinnamon into the syrup before frothing. |
| Maple | A small pour of maple syrup | Maple syrup has no dry solids, so it is one of the easier add-ins to incorporate. |
Caramel sauce and cocoa powder can make the foam softer because they add solids that interfere with the bubble walls. Use those versions immediately after frothing. If a flavored batch is thin, reduce the add-in next time and add a little cream rather than simply whipping longer.
Pour It Over The Back Of A Spoon
Cold foam floats best on a cold, still drink. A gentle pour preserves the bubbles; pouring directly into the coffee breaks them apart and leaves a cloudy drink.
Fix Thin Foam And Foam That Collapses
There are two different failures: foam that never becomes thick, and foam that looks right in the cup but sinks after it reaches the drink. Diagnose the texture before changing the recipe.
Thin, Bubbly Foam That Never Thickens
This usually means the mixture lacks body, the dairy is too warm, or the bubbles have not been broken down enough. Large bubbles sitting on liquid will drain quickly instead of forming a dense, spoonable layer.
Foam That Collapses In The Drink
If the foam was thick in the cup but failed on the drink, the problem is usually heat, dilution, or delay. A warm coffee, warm glass, or foam that sat too long can pull the structure apart.
If you change only one habit, keep the dairy, glass, and coffee cold, then froth until the mixture is glossy and pourable. Temperature and agitation matter more than swapping between small flavor variations.
Decide Whether Homemade Foam Is Worth It
The exact cost of homemade foam depends on local prices, package sizes, brand, and syrup choice. Check your own receipt rather than relying on a universal per-serving figure. The ingredient cost will generally be a fraction of the price of a comparable café drink, but the size of that difference varies by location.
| Component | Per serving | Share of a grocery package | Approximate cost |
|---|---|---|---|
| Heavy cream | Equal part of the base | Depends on package size | Check the current price and package label |
| 2% milk | Equal part of the base | Depends on package size | Check the current price and package label |
| Vanilla syrup | Small amount to taste | Depends on bottle size | Check the current price and package label |
| Total per drink | One serving of foam | – | Add the ingredient portions using your own prices |
| Café cold foam drink | One drink | – | Check the current menu price |
Cream is usually the ingredient most worth watching because it is more expensive than milk and may spoil before you use the whole container. Make only what you plan to serve. The equal-parts base is also easier to adjust: add cream for body, milk for a lighter texture, or syrup for sweetness.
The choice between recipes is mainly a texture decision. The equal-parts base is firmer and more forgiving. The Starbucks-style copycat is sweeter and milkier, so it is closer to the café flavor but less persistent. Choose the copycat when taste comes first and the firmer base when you want the foam to remain visible longer.
Quick Summary
Use refrigerator-cold dairy, start with equal parts heavy cream and 2% milk, add a modest amount of vanilla syrup, and froth until the mixture is glossy and thick. The cold temperature, dairy balance, and agitation create the foam. Syrup mainly provides sweetness.
Four conditions change that answer:
| Your situation | What changes |
|---|---|
| No handheld frother | Use a French press, half-filled mason jar, blender, or cocktail shaker. Work in short bursts and stop when the foam thickens. |
| You want the café taste | Use roughly one part cream to two parts milk with a generous amount of vanilla syrup, then pour as soon as it thickens. |
| You avoid dairy | Start with cold barista-edition oat milk. Standard almond milk may become airy but often will not hold a lasting foam. |
| You want to make it ahead | Mix and chill the liquid base, but do not froth it until just before serving. |
Your next action: chill the heavy cream and 2% milk, combine equal parts with a modest amount of vanilla syrup, and froth one serving immediately before pouring it over the cold drink.
Frequently Asked Questions
Can I Make Cold Foam With Just A Whisk?
A balloon whisk and a cold bowl can produce foam, but this is the slowest option. Whisk quickly and continuously until the mixture mounds slightly instead of sliding straight off the whisk. The exact time depends on the temperature, dairy, batch size, and whisk, so judge the texture rather than following a fixed duration.
Use a chilled metal bowl and whisk. If the kitchen is warm, set the bowl inside a larger bowl of ice water. Hand-whisked foam is usually looser than frother-made foam, so pour it gently and serve it promptly.
Does The Brand Or Type Of Heavy Cream Change The Result?
Yes. Creams differ in fat content and added stabilizers, and those differences can affect how easily they trap air and how long the foam lasts. Read the carton instead of relying only on the product name. If one brand repeatedly produces thin foam, try another cream before changing your technique.
Check the ingredient line as well. Added stabilizers may help the foam hold its structure, although they can create a slightly different mouthfeel. Keep the cream cold regardless of brand.
Can I Mix The Base Ahead Of Time And Keep It In The Fridge?
You can mix the cream, milk, and syrup ahead of time and keep the liquid base refrigerated in a sealed container. Follow the storage guidance on the dairy packaging and use clean equipment. The cream may separate and rise, so stir or shake the base before frothing.
Do not treat a pre-mixed liquid base as ready-to-serve foam. Add air immediately before serving. Once the mixture is aerated, it begins to lose structure.
How Do I Know The Foam Is Ready Before I Pour It?
Stop the frother and drag a spoon through the surface. The trail should remain visible briefly, and the foam should fall from the spoon in a slow stream rather than run like milk. If the channel closes immediately and the surface looks like large, soapy bubbles, continue frothing for a short time.
You can also tilt the container slightly. Ready foam moves as one slow mass. Liquid foam runs quickly toward the edge and will probably disappear into the drink.
Can I Use Granulated Sugar Or Honey Instead Of Vanilla Syrup?
Granulated sugar does not dissolve readily in a cold dairy base. It can sink, leave grit, or remain suspended as crystals. If you want to use it, dissolve it in a small amount of hot water first, then cool that mixture completely before adding it to the dairy.
Honey is already liquid but is thicker and heavier than syrup. Start with less honey than the syrup amount you would otherwise use, taste the base, and adjust carefully because extra honey can make the foam slump.
Does Buying A Frother Pay For Itself, And When Should I Just Buy The Foam?
Compare the current price of a frother with the difference between your local café price and your own ingredient cost. Divide the frother price by the amount saved per homemade drink to estimate how many uses it would take to break even. Prices vary, so use current local figures.
Buy the foam instead when you want it only occasionally, are serving a crowd without suitable equipment, or do not have dairy that can provide enough body. Ready-made and canned products are different from fresh foam and may have a firmer, more uniform texture.

- Espresso Bar Wedding: Ideas, Setup, Costs, and Tips for a Memorable Coffee Experience - November 11, 2026
- How Many Grams of Espresso Beans for a Double Shot? A Complete Brewing Guide - November 11, 2026
- Brasilia Espresso Machine: Features, Performance, Models, and Buying Guide - November 11, 2026