
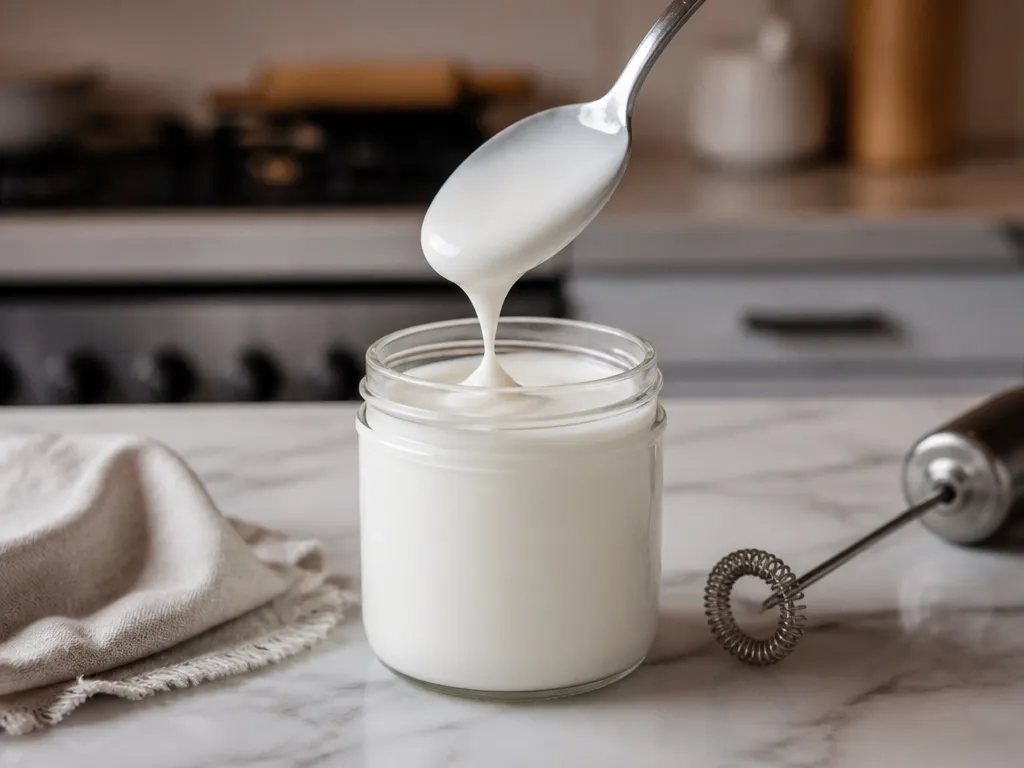
Use cold, unsteamed milk and aerate it until it becomes thick, glossy, and pourable. Cold foam is fine milk microfoam, not whipped cream and not foam made by steaming. The milk matters most: nonfat or skim dairy is usually the easiest place to start, 2% can also work well, and whole milk or plant milks may produce a softer or less stable result.
For one topping, start with a small amount of milk, sweeten it if you like, and froth it with the tool you have. Stop when the foam looks smooth and cohesive rather than bubbly. Spoon or pour it onto iced coffee immediately. A small batch gives you a better chance of creating a thick cap instead of a thin layer of bubbles.
What Is Cold Foam And How Is It Different From Steamed Foam?
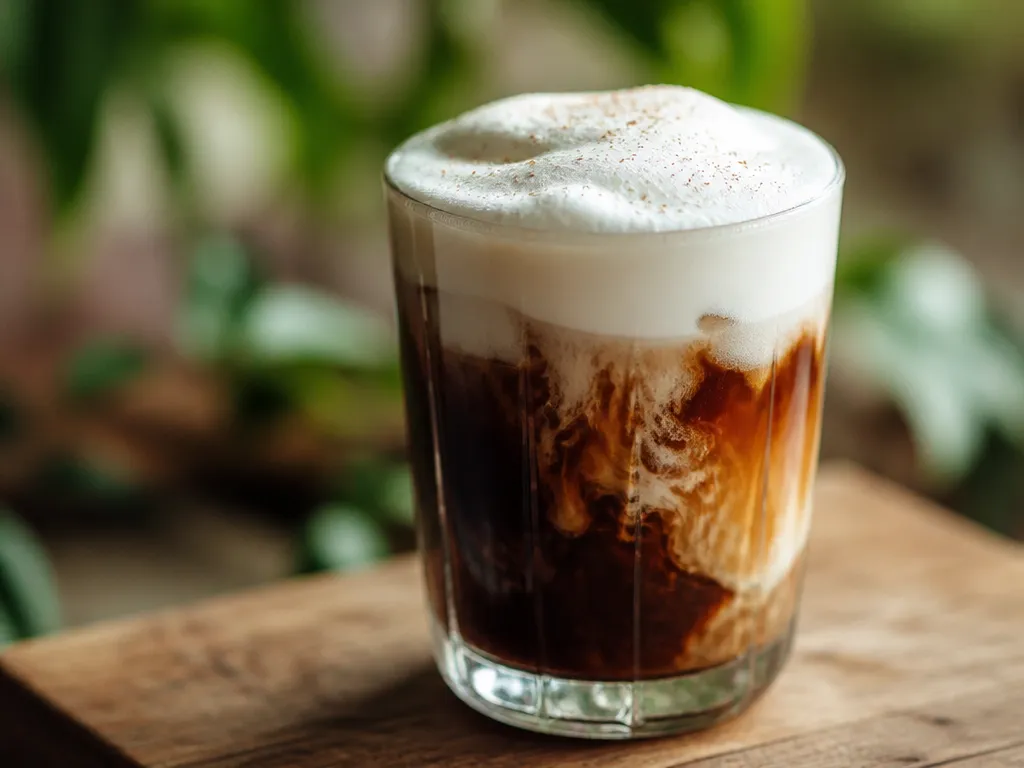
Keep the definition simple: cold foam is cold, unsteamed milk aerated into microfoam. If the milk is hot, the topping is whipped cream, or the bubbles are large and airy, you are making something else.
Which Milks Work Best For Cold Foam And Why?
Milk choice often decides whether cold foam becomes thick and stable or stays thin. Nonfat and skim dairy are the most dependable starting points. Two-percent milk can also foam well while giving the topping a fuller taste. Whole milk may foam, but its texture is more likely to be loose or quick to collapse.
Plant milks vary considerably by brand and formulation. A carton labeled for barista use or frothing may hold foam better than a regular version, but the label does not guarantee the same result in every tool.
| Milk | What you may get | Practical guidance |
|---|---|---|
| Nonfat or skim dairy | Usually the firmest, most microfoam-like topping | Use it as your baseline when you want the most repeatable result |
| 2% dairy | Good foam with a somewhat richer mouthfeel | Try it when you prefer more flavor than skim provides |
| Whole milk | Often softer and more likely to lose volume | Use it if taste matters more than maximum foam height, and expect to serve it promptly |
| Oat milk labeled for barista use | Potentially better foam than regular oat milk | Test the specific carton; formulations differ |
| Regular oat milk | Variable, sometimes thin or prone to separation | Froth a small trial before using it for a full drink |
| Almond milk | Often lighter or less cohesive unless formulated for frothing | Choose a barista version when available, then test it with your tool |
Protein helps milk form the structure around air bubbles, while fat and other ingredients can change how that structure behaves. That is why nonfat and skim are useful starting points, 2% can still work well, and whole milk may produce a softer topping.
Plant milks add another variable. Oils, gums, sweeteners, and the amount of protein differ from one product to another. Shake the carton before measuring, then keep the tool and technique constant while you compare products.
Which Tools Make Cold Foam And How To Use Them Precisely?
Use a small amount of cold milk and work it until the surface becomes smooth and dense. There is no dependable universal stopwatch time for every tool. Motor speed, whisk size, milk type, and batch size all change the result. The texture is the stopping point: stop when the foam looks glossy and holds together, before it becomes a mass of large bubbles.
Equipment decision: Use an electric frother for the most convenient repeatable process. A French press, immersion blender, jar, or whisk can work if you already own one. The milk and the stopping point matter more than buying a special tool.
What Is The Per-serving Cold-foam Recipe (Milk, Sweeteners, Flavors)?
For one topping, start with a small serving of chilled, unsteamed milk. Add a modest amount of liquid vanilla syrup or finely powdered sugar, then froth until the mixture becomes thick and pourable. The exact amount depends on how sweet the syrup is and how sweet you want the drink.
| Serving target | Milk | Sweetener option | Flavor option | When to add |
|---|---|---|---|---|
| One topping portion | A small serving of cold milk | A modest splash of vanilla syrup or a small spoonful of powdered sugar | Vanilla syrup, or plain milk with flavor added separately | Mix it into the milk before frothing |
Start with vanilla syrup mixed into the cold milk, then froth immediately. If you do not have syrup, use powdered sugar and stir it into the milk until it is evenly dispersed. Granulated sugar is more likely to remain gritty in cold liquid.
Add more flavor only after the first batch works. Large amounts of syrup or sugar can make the milk thinner or change how quickly it foams. If you want a stronger flavor, adjust the amount gradually rather than changing the milk and the sweetener together.
How To Add Flavor During Frothing (So It Dissolves, Not Curdles)
Add syrup or powdered sugar before frothing so the tool distributes it through the milk. Adding sweetener after aeration can leave a concentrated layer underneath and disturb the finished foam.
Keep acidic ingredients such as citrus, fruit puree, and tart syrups out of dairy foam unless you have tested them. They can make dairy milk grainy or cause separation. Add those flavors to the drink below the foam, or test a small amount with the milk before making a full serving.
How To Pour To Achieve The Cascading Top And Thickness?

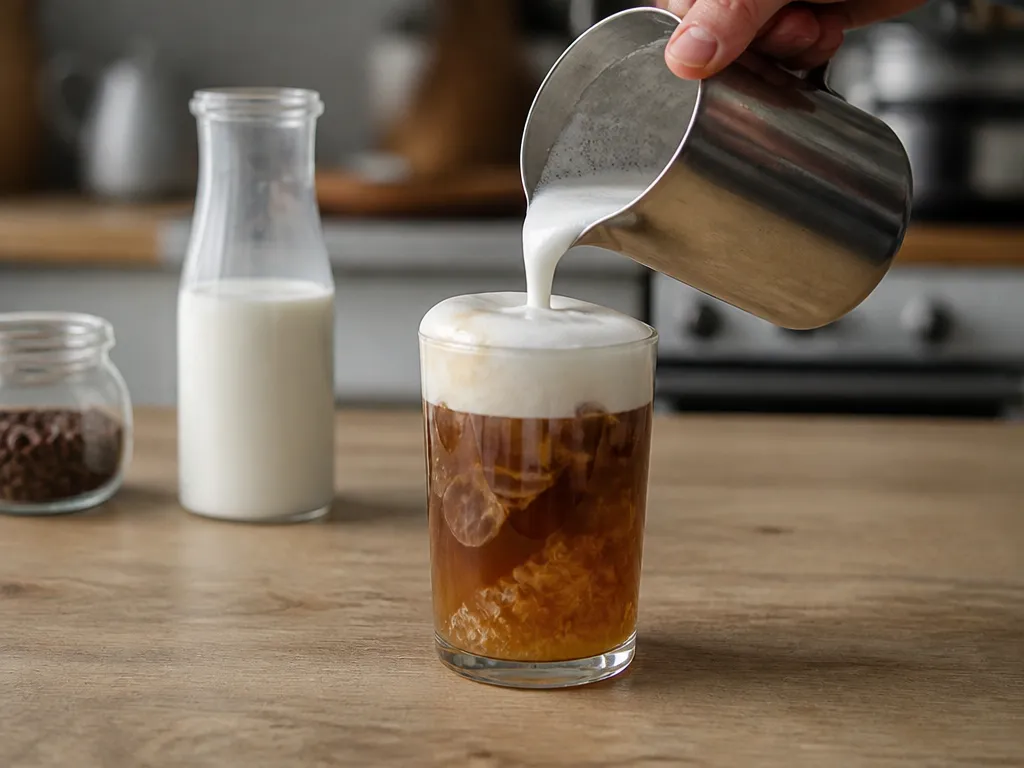
Pour as soon as the foam is ready. A slow, narrow stream gives you the visible cascade while preserving the boundary between the topping and the drink.
If the foam spreads thinly, it probably needs more aeration or a more suitable milk. If it lands in stiff clumps, let it settle briefly or stir it gently before pouring. Do not keep frothing after the foam has become coarse and bubbly.
What Are The Common Failure Modes And How Can You Fix Them?
Most failures come from the milk, the amount of air, the tool, or waiting too long before pouring. Change one variable at a time so you can tell what helped.
Can Cold Foam Be Made Ahead And How Long Does It Hold?
Cold foam is best made just before serving. It gradually loses air and separates into foam and liquid, so the topping will become looser the longer it sits. There is no dependable universal holding time for homemade cold foam because milk, tool, temperature, and storage all affect it.
If you must hold it, keep it covered and cold, then inspect and gently re-aerate it before serving. Do not expect stored foam to have the same cascade as a fresh batch. Barista-style plant milks may hold their structure differently from dairy, but that result depends on the product.
How Long Each Stage Lasts
| Hold time | What you get | What to do |
|---|---|---|
| Immediately after frothing | Best volume, gloss, and cascade | Pour it onto the drink |
| After a short wait | Usually still usable, but softer | Pour gently or give it a brief, careful stir |
| After extended refrigeration | More separation and a thinner cap | Re-aerate only if it still looks and smells normal |
| After visible spoilage or an uncertain storage history | Not suitable to serve | Discard it and make a fresh portion |
How To Store And Revive It
If the topping matters, froth to order. Fresh foam takes less effort than trying to restore a batch that has separated.
Edge Cases, Extras, And Equipment Notes To Guide Decisions
Most unusual results come from ingredients added to the milk or from equipment that is dirty, too large, or poorly matched to the batch.
Nothing here requires a special purchase. Start with the milk and tool you already have, then buy an electric frother only if the hand method proves that cold foam is something you will make often.
Quick Summary
Cold foam is cold, unsteamed milk aerated into thick microfoam. Start with chilled nonfat, skim, or 2% dairy, add a modest amount of vanilla syrup or powdered sugar if you want sweetness, and use the tool you own until the foam becomes glossy and pourable. Serve it immediately for the best cascade.
| Condition | What changes |
|---|---|
| Your milk is whole or a difficult plant formula | The foam may be softer or collapse sooner. Test nonfat, skim, 2%, or a barista plant milk. |
| The milk is warm or was steamed | Chill fresh milk and keep the process cold. |
| You add too much sweetener | The mixture may become thinner or foam differently. Start with a modest amount and adjust gradually. |
| You want to make it ahead | Expect separation and a weaker cascade. Fresh foam is the better choice. |
Your next step is simple: use chilled milk, aerate a small serving with the tool you have, and stop when the foam looks smooth rather than bubbly. Pour it over the drink immediately. If the result is thin, change the milk before buying new equipment.
Frequently Asked Questions
Is Homemade Cold Foam Cheaper Than Buying It At A Coffee Shop?
It can be, but the answer depends on your local milk price, sweetener, and whether you already own a frothing tool. There is no universal cost for a homemade serving.
To calculate your own cost, divide the package price by its usable volume, multiply by the milk used, and add the portion of syrup or sugar. Compare that figure with the local price of a drink topped with cold foam.
Can I Make One Large Batch For Several Drinks?
You can scale the ingredients, but a large batch may be harder to aerate evenly with a small home tool. Foam near the surface can become airy while the milk below remains thin.
For consistent drinks, make separate small batches. If you make one larger batch, distribute it promptly and expect some variation between servings.
Does Lactose-free Milk Work For Cold Foam?
Lactose-free labeling does not guarantee a particular foaming result. Products vary in formulation, so one may foam differently from another dairy milk.
Test a small amount while keeping the tool, milk temperature, and batch size consistent. Compare it with the milk that normally gives you a reliable result.
Can Coffee Creamer Or A Ready-made Protein Drink Replace The Milk?
They are not automatic substitutes. Creamers and protein drinks may contain sugar, oils, thickeners, or other ingredients that change both flavor and aeration.
Test an unfamiliar product in a small batch. If it produces large bubbles, separates, or refuses to hold its shape, return to a milk that has already worked for you.
How Can I Verify Whether A Milk Claim Is True For My Own Equipment?
Run a side-by-side test with the same chilled amount, tool, processing time, and no flavoring in either sample.
Compare how much each sample expands, whether the bubbles look small and glossy, and whether the foam remains cohesive while you transfer it. Your own result is more useful than a general ranking when products and equipment differ.
When Should I Stop Using A Frother And Have It Checked?
Stop using an electric frother if it has a damaged cord, exposed wiring, sparking, a burning smell, or unusual heat. Do not keep testing it in liquid.
Unplug it and follow the manufacturer’s cleaning, repair, and service instructions. A foam problem alone usually calls for changing the milk or technique, not repairing the appliance.

- Espresso Bar Wedding: Ideas, Setup, Costs, and Tips for a Memorable Coffee Experience - November 11, 2026
- How Many Grams of Espresso Beans for a Double Shot? A Complete Brewing Guide - November 11, 2026
- Brasilia Espresso Machine: Features, Performance, Models, and Buying Guide - November 11, 2026