
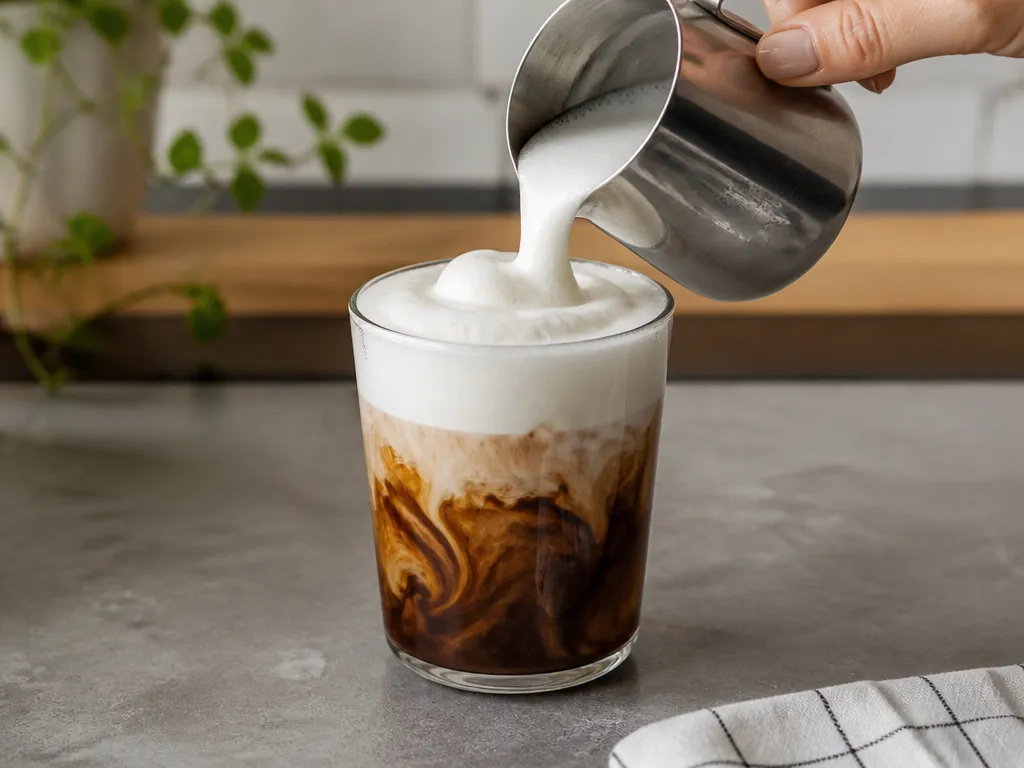
Cold milk foam starts when air is incorporated into chilled milk and the bubbles become fine, dense, and glossy. Use milk straight from the refrigerator, work quickly, and stop as soon as the foam looks smooth rather than dry or bubbly.
For one iced drink, begin with a small serving of cold milk in a narrow container. Aerate it with your chosen tool, then spoon or pour the foam onto the drink immediately. The finished amount depends on the milk, container, and tool, so use the texture and volume you want as your guide rather than a fixed time.
Direct Method To Make Cold Milk Foam
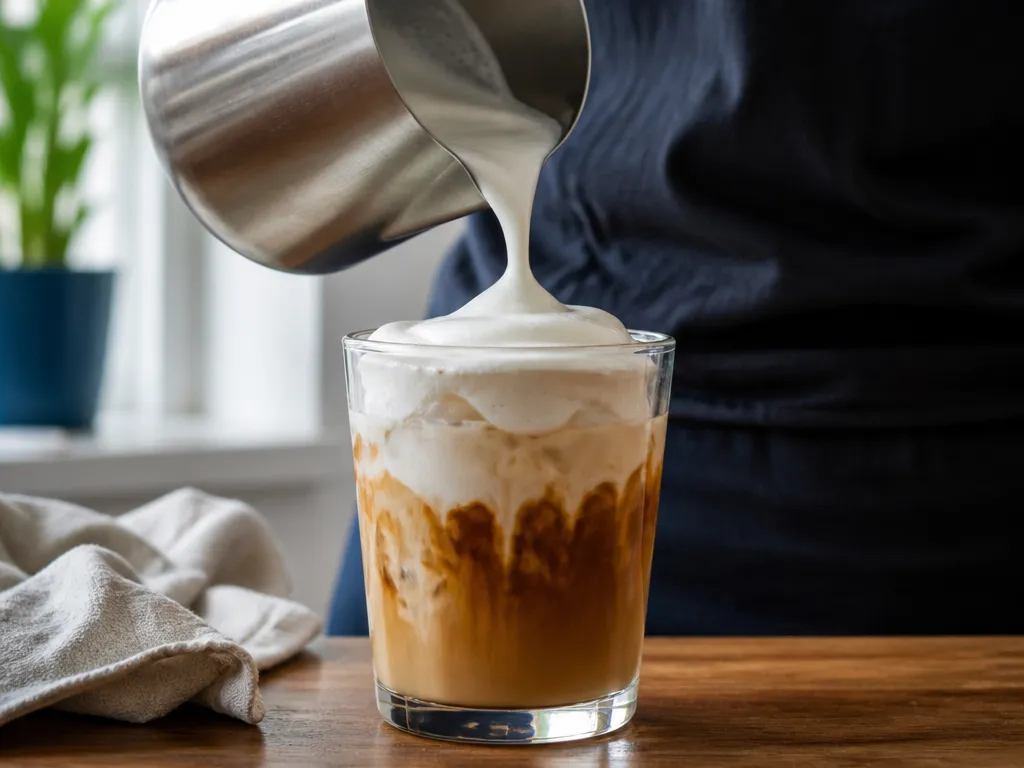
Make cold milk foam by chilling the milk, adding air with one tool, and stopping when the texture becomes glossy and dense. The amount of milk is flexible. Start with enough for one topping and adjust after you see how much your tool expands it.
Quick, Ready-to-use Formula (Milk Type, Ratio, Tool)
Use a small serving of cold milk for one drink, then aerate it until it reaches the amount and thickness you want. There is no single fixed milk-to-foam ratio that works for every tool or milk type. Stop when the foam looks glossy and dense, and scale the starting amount to the size of the drink and the capacity of your container.
What You’ll Need To Start Instantly
Prepare cold milk, a narrow container, and one clean foam-making tool. A chilled serving glass can help keep the finished topping cool. Have the iced drink ready before you start, because the foam is most useful immediately after it forms.
Why Cold Milk Foam Forms
Frothing traps air in milk and creates a network of bubbles surrounded by milk proteins, fat, and liquid. The aim is fine, closely packed bubbles rather than a loose layer of large bubbles. Chilled milk generally gives the foam more time to hold its shape while you transfer it to the drink.
Microfoam Basics (Air, Fat, Proteins)
Milk becomes foam when a tool pulls air into the liquid and breaks it into bubbles. Milk components help form a film around those bubbles. The result can feel smooth and thick when the bubbles are small, or coarse and fragile when the bubbles are large.
Microfoam describes the smoother end of that range. It looks glossy and feels dense because the bubbles are closely packed. Over-frothing can introduce larger bubbles and leave the surface dry, which makes the foam less cohesive.
How Cold Temperature Affects Stability
Cold milk usually gives you a longer working window than warm milk. As the milk warms, the foam can lose its structure more quickly. Chilling the milk and the container also gives you more time to move the foam onto the drink.
Use the foam as soon as it reaches the right texture. Even a well-made foam can thin or separate if it sits for too long or is moved repeatedly.
Foam Variables And Exact Ratios
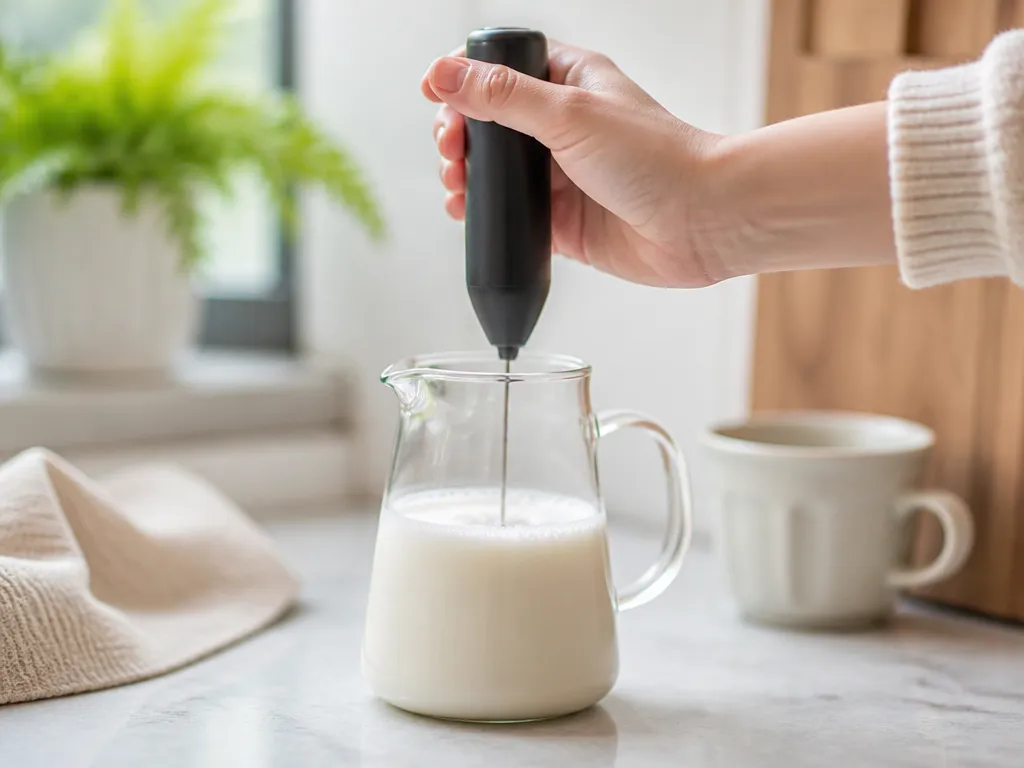
Cold foam changes with the milk, temperature, container, tool, and intensity of agitation. Because those variables differ from one kitchen to another, use a repeatable starting amount and adjust one factor at a time rather than relying on a universal ratio or timing.
| Variable | What to lock | What to change next (one at a time) |
|---|---|---|
| Milk base | Use the same chilled serving amount | Milk type, then starting amount |
| Frothing intensity | Stop when the foam looks glossy | Shorten or lengthen agitation slightly |
| Tool technique | Keep the motion and position consistent | Change agitation style to reduce large bubbles |
Step-by-step Cold Foam Recipe
Follow the same sequence each time: chill the milk, prepare the tool, aerate until the foam looks glossy, and serve it immediately.
Ingredients And Amounts For 1 Serving
Use a small serving of cold milk as your base. The exact amount depends on the size of the drink and how much topping you want. Keep the milk chilled until you are ready to start.
Target Look And Immediate Serving
The finished foam should look glossy and tightly packed rather than dry, rough, or uneven. Spoon or pour it onto the iced drink as soon as it reaches that stage.
For a thicker topping, stop at the first dense, glossy stage and transfer it gently. Pressing or stirring the foam releases air and reduces its loft.
Milk Options And Their Impact On Foam
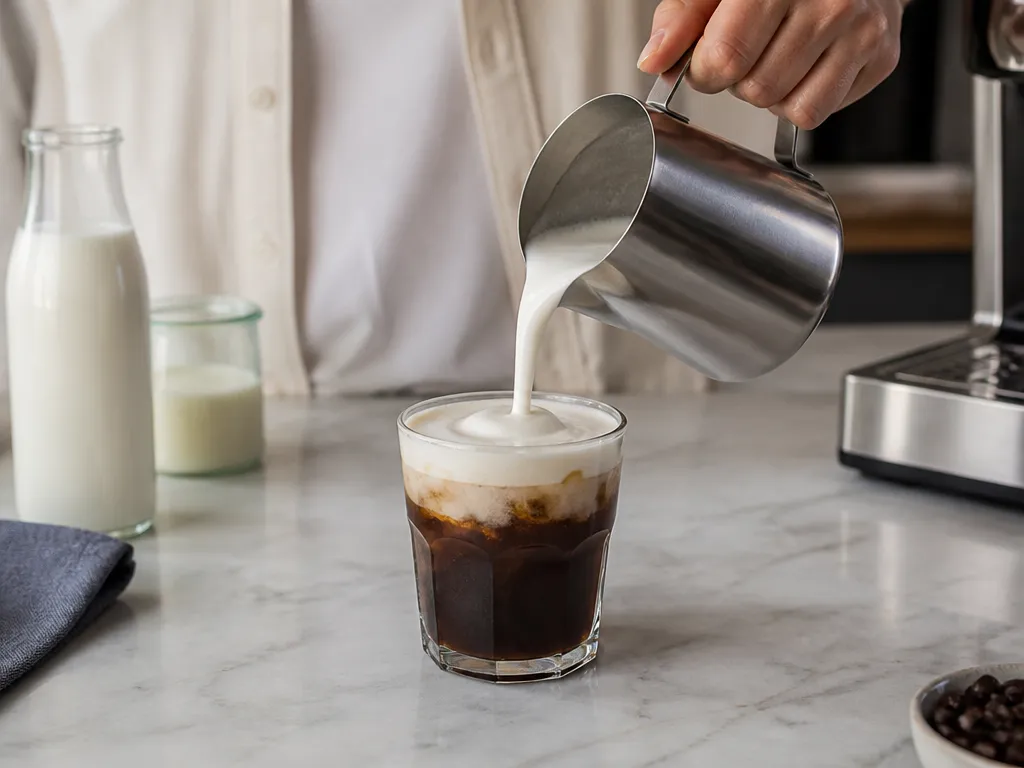
When switching milk types, keep the container, temperature, tool, and starting amount the same. Change one variable at a time so you can tell whether the difference comes from the milk or the method.
Troubleshooting Common Foam Issues
Most cold-foam problems come from the starting temperature, the amount of air incorporated, the agitation technique, or the time between frothing and serving.
Flavor And Texture Variations
Flavorings can change the weight and texture of the milk, so add them sparingly and test the result before making a larger batch. Start with plain cold foam, then adjust sweetness or flavor in small steps.
Flavor additions work best when they are blended into the base before or during frothing rather than stirred into finished foam. Serve flavored foam promptly, since additions can change how quickly it separates.
Stability, Serving, And Storage Tips
Cold foam is most stable when the milk and serving vessel are chilled, the finished foam is moved gently, and the drink is assembled without delay.
Quick Summary
Make cold milk foam by starting with chilled milk, incorporating air with one tool, and stopping when the foam looks glossy and dense.
Next action: Pour a small serving of cold milk into a narrow container, froth it until the surface turns glossy, then spoon it onto your iced drink immediately.
Frequently Asked Questions
How Long Will My Cold Foam Stay Usable Once I Stop Agitating?
Cold foam is time-sensitive. It usually looks best immediately after the texture becomes glossy, then gradually relaxes as the bubbles merge and liquid drains from the foam.
For the best result, keep the container cold, minimize movement, and serve as soon as the foam is ready.
Can I Make Cold Foam Ahead And Store It?
You can refrigerate cold foam briefly, but expect the texture to become thinner and less uniform. If you store it, keep it covered and cold, then check the texture before serving. A brief re-froth may restore some body.
Freezing is not a reliable storage method for finished foam because freezing and thawing can destroy its bubble structure.
What If I Start With Warm Milk By Mistake, Will It Still Work?
Warm milk may produce foam, but the result can lose its structure sooner. Cool the milk before trying again if possible, then use the same glossy, dense stop point.
If you cannot cool it fully, make the foam immediately before serving and expect a shorter stability window.
Why Do My Results Vary Even When I Use The Same Milk Amount And Stop At The Same Visual Texture?
The result can change with the frother speed, tool angle, immersion depth, milk temperature, container shape, or the force of your motion. The same visual cue does not always mean the same amount of air has been incorporated.
To identify the cause, make two batches with the same chilled vessel, tool setting, motion, and milk. Change only one detail in the next attempt.
What Should I Do If My Cold Foam Looks Fine At First, But Collapses By The Time I Pour It On The Drink?
Make the foam closer to serving time, keep the container cold, and transfer it gently. Avoid stirring or repeatedly re-frothing after the texture has formed.
If you need to move it, use a small, stable container with a secure lid and keep the time between frothing and serving as short as possible.
When Is It Worth Getting Help Versus Continuing To Troubleshoot?
If the foam repeatedly fails despite a cold base, clean equipment, and consistent technique, test a different milk or tool. Compare one tool-method combination at a time so you can isolate the variable.
Contact the tool manufacturer if the device behaves inconsistently, the whisk does not move correctly, or an attachment appears damaged. A different milk formulation may also be the simplest solution if the tool works normally.
How Can I Verify Whether I’m Actually Building Dense Microfoam And Not Just A Temporary Froth?
Dense microfoam looks smooth, glossy, and tightly packed. It keeps a soft shape when you stop agitating. Temporary froth looks dry or airy and quickly exposes liquid underneath.
Check the foam immediately after stopping and again shortly afterward. If it rapidly thins or separates, use colder milk, gentler agitation, or a shorter transfer time.

- Espresso Bar Wedding: Ideas, Setup, Costs, and Tips for a Memorable Coffee Experience - November 11, 2026
- How Many Grams of Espresso Beans for a Double Shot? A Complete Brewing Guide - November 11, 2026
- Brasilia Espresso Machine: Features, Performance, Models, and Buying Guide - November 11, 2026