

For one iced coffee or cold brew, start with a small serving of cold milk and vanilla sweetener. A practical starting point is about 120 mL (4 oz) milk with 1 to 2 teaspoons of vanilla syrup, or vanilla extract or bean paste plus separate sweetener. Froth until the mixture looks thick, glossy, and pourable, then add it to the drink immediately.
What You’ll Need To Make Vanilla Sweet Cold Foam

You need cold milk or a plant-based alternative, a vanilla source, a sweetener, and a tool that can aerate the mixture without warming it. The amounts below are practical starting points, not fixed requirements. Milk, syrup, and frothing tools vary, so adjust to the texture and sweetness you want.
Single-serving starting point: use about 120 mL (4 oz) cold milk for one topping. This amount may produce more or less foam depending on the milk and tool.
Vanilla sweetener options: syrup is the simplest choice because it combines vanilla and sweetness. If you use extract or bean paste, add sweetener separately and taste before frothing. Add any vanilla source a little at a time, especially when switching brands or forms.
Milk and fat choices: richer dairy can give the foam a fuller mouthfeel, but it may also make the mixture heavier. Lower-fat milk can produce a lighter foam. Plant milks differ considerably, so treat the first batch as a test and adjust the milk or frothing method rather than changing every ingredient at once.
Choose your frothing tool: a handheld milk frother is the easiest option for one serving. A blender can handle more volume but may make the foam too dense if run too long. A sealed jar or shaker works without special equipment, although the foam may be lighter and less persistent.
| Tool | Best use | What to watch |
|---|---|---|
| Handheld frother | Single-serving foam | Keep the whisk near the surface without splashing |
| Blender | Larger amounts | Use short pulses and check the texture frequently |
| Shaker or sealed jar | No frother available | Shake vigorously; the foam may thin sooner |
Step-by-step Recipe For 1 Serving Vanilla Cold Foam
Prepare the cold drink first. Then mix and aerate the milk immediately before serving.
If the drink is not ready, prepare the coffee first or wait to froth the milk. Finished foam loses volume as it sits, so a delayed topping may look smoother and less airy.
Why Cold Foam Holds: Emulsions, Bubbles, And Viscosity
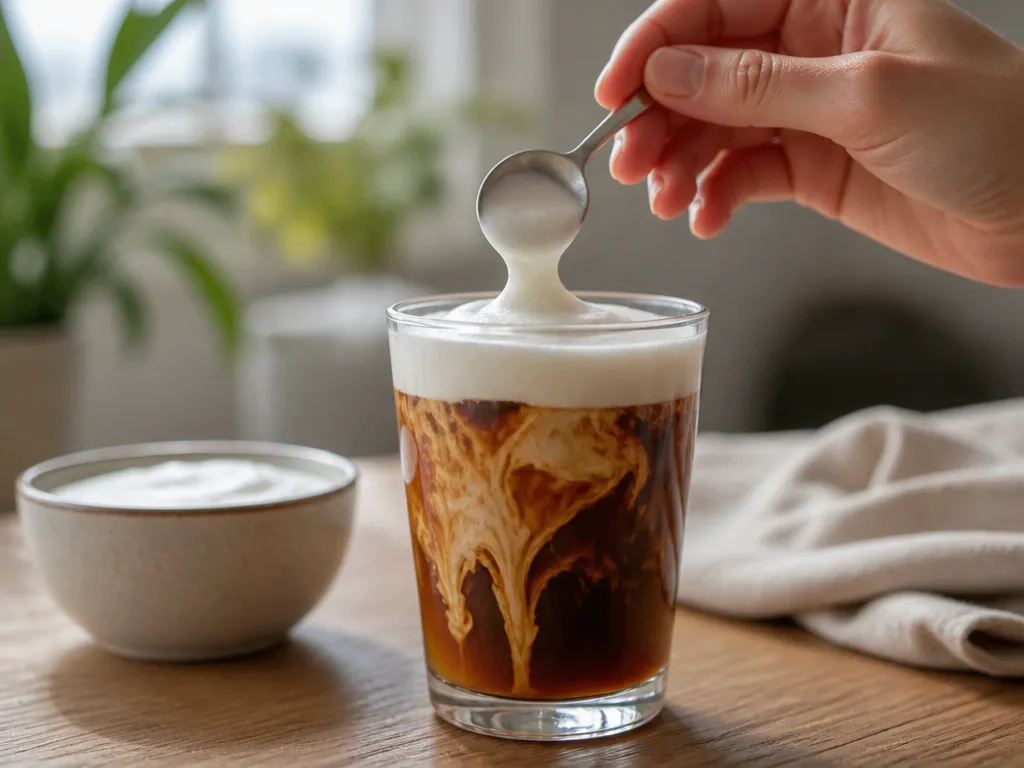
Frothing adds air to the milk and creates bubbles surrounded by liquid components. The final texture depends on the milk, the sweetener, the temperature, and the amount of agitation. Cold ingredients are a useful starting point because warm foam tends to loosen more quickly during serving.
What Makes Foam: Air Bubbles + Protein/fat Structure?
Frothing disperses air through the milk. Milk composition affects how dense and creamy the result feels, so whole milk, low-fat milk, half-and-half, and plant milks will not behave identically. Fine bubbles usually create a smoother-looking foam than large bubbles.
Use the foam itself as the checkpoint: it should be airy but still pourable, with no large pocket of liquid sitting underneath.
How Sweetness Affects Stability, And Why Some Sweeteners Weigh Down Foam
Sweeteners change the mixture’s taste and thickness. A large amount of syrup can make the base feel heavier, while undissolved sugar can leave it gritty. Mix the sweetener thoroughly before adding air, and reduce the amount if the foam becomes heavy or the flavor is overpowering.
Why Cold Ingredients Matter, And What “Proper Thickness” Means
Cold milk is a practical starting point for cold foam. The finished mixture should look glossy and dense, with small bubbles and enough body to mound briefly before leveling. Do not continue frothing solely to achieve a particular time if the foam has already reached that texture.
| Foam checkpoint (before topping) | Looks/feels like | Action if off |
|---|---|---|
| On track | Thick, pourable, and finely bubbled | Top the drink promptly |
| Too thin | Flows like milk or loses bubbles immediately | Froth in short bursts; consider a different milk |
| Too thick | Gloopy or difficult to pour | Stir in a small splash of cold milk and refroth briefly |
Adjusting Sweetness, Vanilla Flavor, And Milk Choice
Quick consistency target: the finished foam should be airy, finely bubbled, and thick enough to mound briefly. If it is runny, try colder milk, shorter additional frothing bursts, or a milk with a richer texture. If it is too heavy, reduce the syrup or add a small splash of cold milk.
Tool-specific Troubleshooting For Foam That Won’t Work
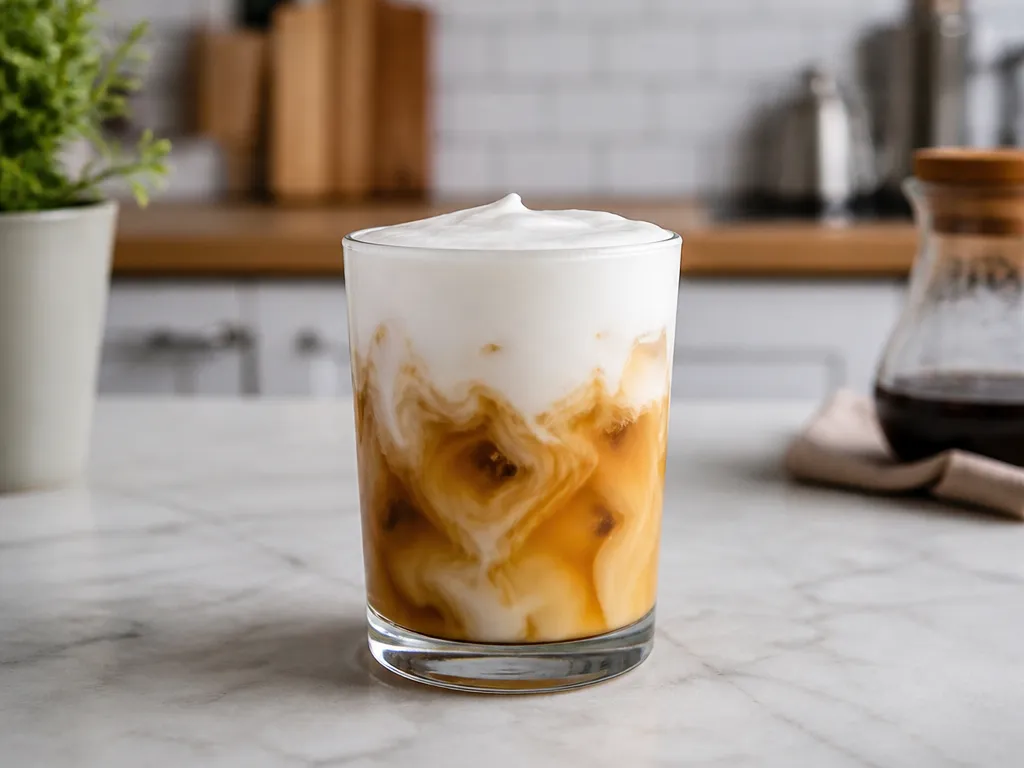
When the foam fails, check the milk temperature, the position of the frother, the amount of sweetener, and the time between frothing and serving. Make one change at a time.
| What you see | Most likely tool cause | Exact adjustment to make now |
|---|---|---|
| Watery foam, no thick layer | Too little aeration or the whisk is not drawing enough air into the mixture | Move the handheld whisk close to the surface and froth in short bursts, checking after each one |
| No bubbles, barely any foam | The milk may be too warm, the tool may be too weak, or the mixture may not be agitated enough | Use colder milk and increase agitation gradually; shake a jar vigorously if using the shaker method |
| Foam forms, then disappears fast | The foam sat too long, or the milk produces a loose texture | Pour immediately and test a different milk in the next batch |
| Foam turns thick or gloopy | Over-frothing, too much syrup, or a particularly rich base | Stir in a small splash of cold milk and refroth briefly; reduce sweetener or frothing time next time |
With a handheld frother, keep the whisk near the surface without splashing. With a blender, use short pulses. With a shaker, allow for a lighter foam and serve promptly. The right stopping point is a thick, pourable texture, not a fixed duration.
Troubleshooting Vanilla Cold Foam Failures After Making
If the same milk and tool repeatedly produce curdled or oily foam, change one element at a time. A different milk, vanilla product, or frothing method may be more compatible with your setup.
Serving Timing And Scaling For Multiple Drinks
Froth close to serving time. The longer finished foam rests, the more likely it is to lose height and become liquid at the edges.
Edge Cases That Break The Obvious Recipe
When the basic method fails, avoid changing several ingredients at once. Check the vanilla form, milk temperature, and milk type, then repeat the method with one controlled adjustment.
Vanilla Forms And Conversions
Vanilla syrup, extract, and bean paste are not interchangeable by volume. Syrup usually contributes sweetness, while extract and paste generally require separate sweetening. Begin with a small amount of any unfamiliar product and adjust after tasting the liquid base.
A thick paste or concentrated product can change the body of the foam. If the mixture becomes difficult to pour, reduce the vanilla product and add flavor gradually in the next batch.
Milk Temperature, Warm Liquids, And Very Cold Gear
Warm milk can produce a softer result that loses its shape sooner. Start with cold milk and cool any warm coffee or syrup before combining it with the foam. If the milk is so cold that it pours poorly or contains ice crystals, let it become pourable while keeping it cold, then froth.
Non-dairy Foam Swaps
Plant milks vary in protein, fat, stabilizers, and sweetness, so one product may foam differently from another. Keep the starting volume around 120 mL (4 oz), then adjust the tool and sweetener only after testing the milk.
If a non-dairy foam becomes grainy, oily, or separates, remake it with a product designed for foaming rather than trying to repair a collapsed batch. Change the milk first, then retune the vanilla and sweetness.
Quick Summary
Mix cold milk with vanilla sweetener, froth until thick and finely bubbled, and pour it over iced coffee or cold brew immediately. For one serving, about 120 mL (4 oz) milk and 1 to 2 teaspoons of vanilla syrup are practical starting amounts, but adjust them to your ingredients and taste.
| Decision condition | What changes | Starting point |
|---|---|---|
| Milk type | Changes body, flavor, and how the foam aerates | Use the milk that gives you a thick, pourable result |
| Vanilla source and sweetness | Changes flavor, sweetness, and thickness | Start with about 120 mL (4 oz) milk and add sweetener gradually |
| Ingredient temperature | Can affect how quickly the foam loses its shape | Start with cold ingredients |
| Time between frothing and topping | Foam gradually loses volume while it rests | Froth immediately before pouring |
Next action: Mix about 120 mL (4 oz) cold milk with a small amount of vanilla sweetener, froth until thick and pourable, then top the drink immediately.
Frequently Asked Questions
Can I Sweeten The Foam With Sugar Instead Of Syrup Or Extract?
Yes, provided the sugar dissolves well enough for your taste. Undissolved crystals can make the foam gritty. Liquid sweetener is often easier to mix into cold milk, while granulated sugar may need thorough stirring before frothing.
How Can I Tell, Before I Top The Drink, Whether My Foam Is “Ready” Or Going To Separate?
Look for a thick, pourable mixture with fine bubbles. If liquid pools immediately or the mixture flows like milk, froth it briefly again. If it separates repeatedly, test a different milk or reduce the amount of syrup.
What Happens If I Wait Too Long And Foam Sits After Frothing?
It will usually lose height and become less airy. Pour it as soon as possible. If it is still fluid and tastes fine, a brief re-froth may restore some volume, but freshly frothed foam will generally look fuller.
Can I Make Vanilla Sweet Cold Foam Ahead And Store It?
You can mix and chill the liquid base ahead of time, but froth it close to serving. Finished foam may thin or separate while stored, so it is not a dependable make-ahead texture.
How Much Does This Cost Per Drink, And What Costs The Most?
Exact per-drink pricing depends on your milk, vanilla product, sweetener, and local pantry prices. The costliest ingredient is often the vanilla product, but you should check the price and amount used in your own kitchen. Add the cost of the measured milk, vanilla, and sweetener to estimate one serving.
When Should I Stop Troubleshooting At Home And Switch To A Different Method Or Get Help?
If the foam repeatedly turns curdled, grainy, or oily after you have tried cold ingredients, a clean container, and careful mixing, change one variable at a time. Test another milk, vanilla form, or tool. If the issue continues, ask a barista or retailer familiar with the equipment for advice about that specific product.
How Can I Verify That My Vanilla Flavor Is Coming From The Right Ingredient And Not “Over-sweetening”?
Taste the liquid base before frothing. If it is very sweet but lacks vanilla, reduce the sweetener and add a small amount of vanilla source. If the vanilla tastes harsh, reduce the extract or paste first, then adjust sweetness separately.

- Espresso Bar Wedding: Ideas, Setup, Costs, and Tips for a Memorable Coffee Experience - November 11, 2026
- How Many Grams of Espresso Beans for a Double Shot? A Complete Brewing Guide - November 11, 2026
- Brasilia Espresso Machine: Features, Performance, Models, and Buying Guide - November 11, 2026