
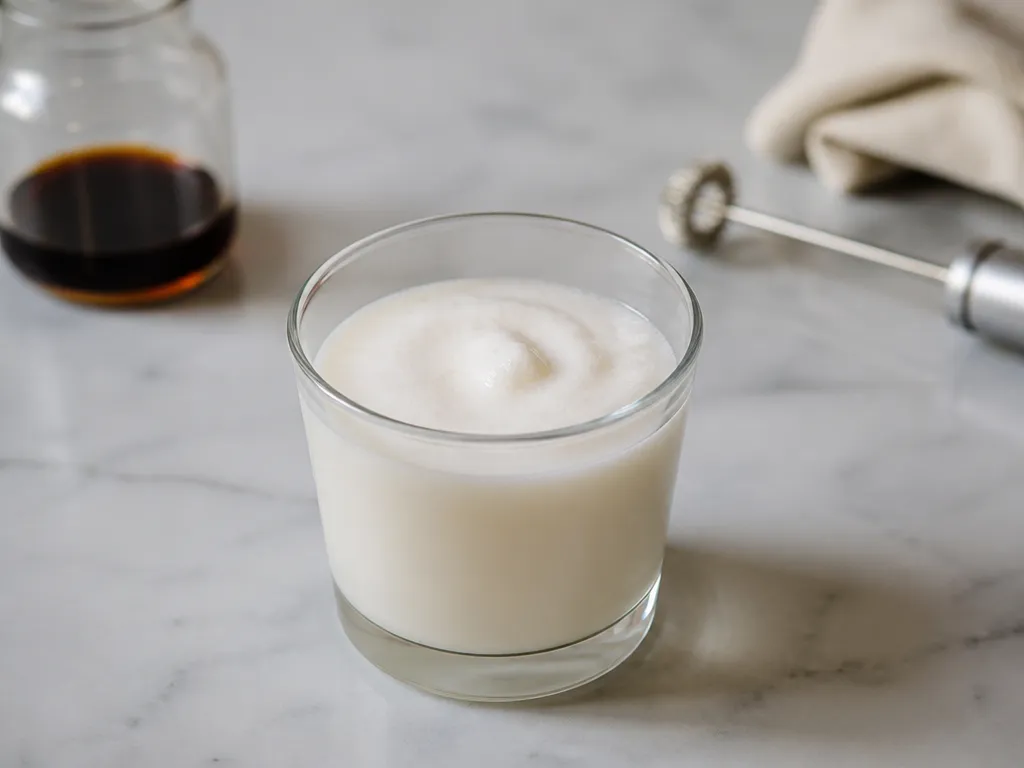
Froth cold milk until it looks smooth, glossy, and thick enough to hold a soft peak briefly. Stop as soon as it reaches that stage, then spoon it over your iced coffee or cold brew and serve it promptly.
To make vanilla cold foam at home, combine cold milk or plant milk with vanilla extract, vanilla bean paste, or syrup. Add sweetener only if needed. Froth immediately with a handheld frother, whisk, blender, or French press, then adjust the flavor and texture before serving.
How Do I Make Vanilla Cold Foam At Home Quickly?

Use a small serving of cold milk or plant milk, flavor it with vanilla, and aerate it until the surface is glossy and the foam holds its shape briefly. The amount of milk depends on the size of your drink and your equipment. Leave enough room in the vessel for the foam to expand.
Which Variables Affect Foam Quality And What Are Practical Ranges?
Foam quality depends mainly on the milk’s composition, the amount of air introduced, the size of the batch, and the vessel. Product labels vary, especially among plant milks, so use the carton’s ingredient and nutrition information as a guide rather than treating any composition as fixed.
There is no universal fat or protein figure for each milk category. Brands and formulations differ, particularly among barista-style products. Test the milk you actually buy and keep the other variables consistent.
| Liquid | What to check | Possible foam behavior |
|---|---|---|
| Skim milk | Protein and total solids on the label | Can produce a lighter, airier foam |
| Whole milk | Fat and protein on the label | Often gives a creamy texture and good body |
| Half-and-half | Fat level and thickness | May produce a dense mixture that is harder to aerate |
| Heavy cream | Fat level and intended use | Can become very thick and is usually better blended with milk |
| Barista oat | Added oils, stabilizers, and protein | Often designed to foam more readily than standard oat milk |
| Regular oat | Fat, protein, and stabilizers | May produce a softer or shorter-lived foam |
| Soy | Protein and sugar content | Can form substantial foam, though flavor varies by brand |
| Almond | Usually low protein; check the label | May create a thinner layer of bubbles |
| Coconut beverage | Fat, solids, and whether it is a barista formula | Results vary widely between beverages |
Start with a milk that foams easily with your equipment, then change one variable per batch. Altering the milk, flavoring, vessel, and technique at once makes the result difficult to diagnose.
What Equipment Options Reliably Produce Foam And When To Choose Them?

A handheld frother is the simplest starting point for one drink. A French press can aerate a larger batch, while a blender or immersion blender provides stronger agitation but creates more cleanup. A whipped-cream siphon is a specialist tool for people who want repeatable dispensing and already understand how to use the equipment safely.
| Tier | Best equipment | Advantages | Limitations | Choose it when |
|---|---|---|---|---|
| Basic | Manual whisk or battery hand frother | Simple setup, easy control, and suitable for a single serving. | A manual whisk takes more effort. A small frother may leave uneven bubbles. | You are making one glass and want the least complicated method. |
| Powered | Countertop blender or immersion blender | Strong agitation and useful for thicker mixtures or several servings. | More cleanup and a greater risk of coarse, over-aerated foam. An immersion blender needs a tall vessel. | You want strong aeration or are making more than one drink. |
| Manual batch | French press | The plunger moves through the batch and requires no dedicated frother. | Less convenient for a very small portion and requires prompt cleaning. | You want to aerate a larger amount by hand. |
| Specialist | Whipped-cream siphon | Can dispense a light foam with a polished appearance. | Requires compatible chargers, careful straining, cleaning, and correct pressure handling. | You make foam often and value controlled dispensing. |
For most home kitchens, begin with a handheld frother. Keep the whisk head partly submerged so it draws in air without throwing liquid around, and tilt the vessel slightly to help the mixture circulate. A tall container also helps contain splashes when using an immersion blender.
A siphon is not a fix for an unbalanced mixture. Strain the flavored milk if the manufacturer calls for it, follow the device instructions, avoid overfilling, and never open a pressurized siphon. Use this method only when its dispensing control is worth the added handling.
How Do Dairy And Plant Milks Compare For Foam, And How Can I Optimize Each?
Dairy and plant milks behave differently because their protein, fat, solids, and stabilizer levels vary. Oat and soy products often foam more readily than low-protein plant beverages, but the exact result depends on the brand and the tool. Choose based on both flavor and the texture you can reproduce.
What Vanilla Foam Variants Can I Try And How Should I Adjust?
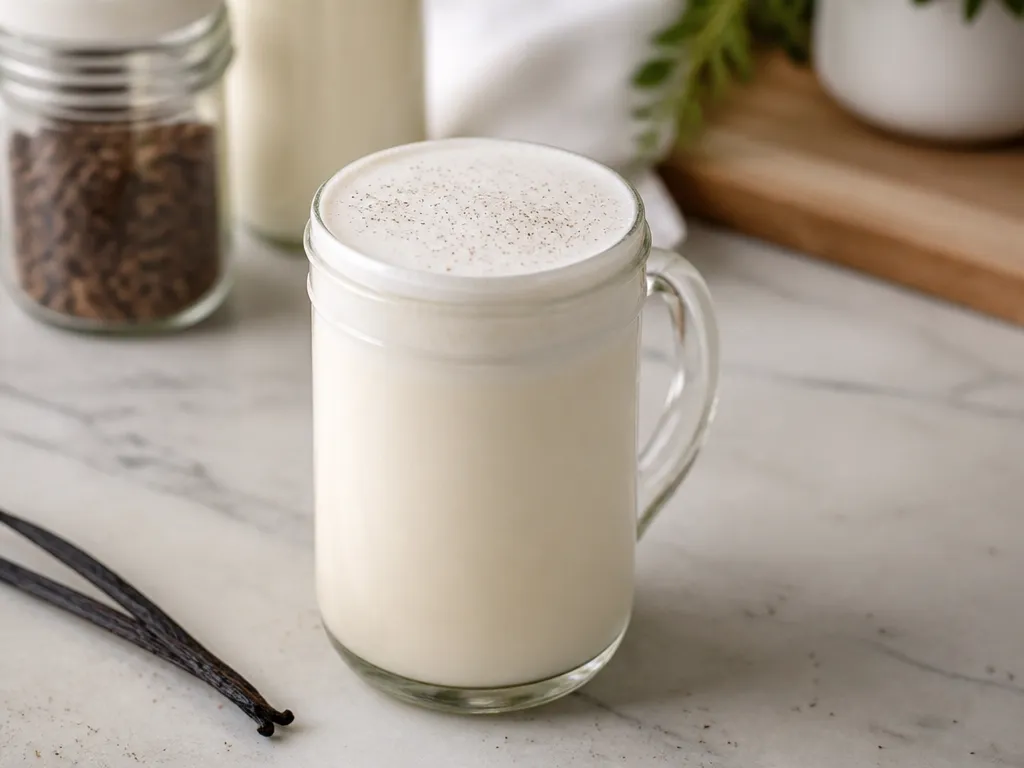
Vanilla products vary in strength, sweetness, and thickness. Add a small amount first, taste the mixture, and increase it only as needed. The right amount depends on the milk, the drink underneath, and your preference.
For a single iced coffee, vanilla extract is a practical starting point because it adds concentrated flavor without much extra liquid. Choose paste for a richer, speckled appearance and syrup when you specifically want a sweeter drink.
What Affects Foam Texture And Stability, And How Can I Maximize Longevity?
Cold foam is most successful when the liquid is chilled, the milk suits the tool, and air is introduced in a controlled way. Aim for a smooth, glossy cap rather than the greatest possible volume.
What Are Common Issues And How Can I Fix Them?
Cold foam problems usually come from the liquid, the tool, the temperature, or the amount of aeration. Change one factor at a time so you can tell which adjustment helped.
| Issue | Most likely cause | Fix to try next |
|---|---|---|
| No foam or flat | Warm liquid, insufficient agitation, or an unsuitable vessel | Use cold milk, check that the tool contacts the liquid, and froth until glossy |
| Weak foam | Low body in the milk or too little controlled aeration | Try a more foam-friendly milk and adjust the technique before adding more flavoring |
| Soapy or rough | Over-aeration or large bubbles | Shorten the aeration and use brief passes |
| Quick collapse | Warmth, large bubbles, or a milk that does not support much foam | Keep it cold, top the drink promptly, and test another milk |
| Burnt or off flavor | Milk warmed during preparation or too much flavoring | Use cold milk and add vanilla gradually |
| Separates when warmed | Cold foam is not designed to remain stable as a hot topping | Add it at the end and serve promptly |
How Should I Serve, Store, And Re-froth Vanilla Cold Foam, And What Ideas Work Best?
Serve vanilla cold foam soon after making it. Keep any remainder chilled, expect the texture to soften, and re-aerate it gently only when necessary.
Make-ahead storage: keep it cold and expect texture to relax. Refrigerate leftover foam in a sealed container and use it as soon as practical. When it settles, whisk or froth it gently and use it promptly.
My rule: if you want the “barista look,” assemble right before serving, top with a thick foam cap, and garnish only at the end.
Quick Summary
Make vanilla cold foam by combining chilled milk or plant milk with vanilla flavoring and optional sweetener, then frothing until the mixture looks glossy and holds a soft peak briefly. The exact ingredient amount and aeration time depend on the milk, tool, and drink size, so begin conservatively and adjust by taste and texture.
| Condition that changes the result | What to use | What to expect |
|---|---|---|
| Batch size | A serving that suits your vessel and tool | Enough liquid for the tool to work, with room for foam to rise |
| Vanilla dose | A small amount at first | Concentrated flavor without making the mixture watery or overpowering |
| Added sweetness | Optional sugar, paste, or syrup | A sweeter foam, though extra liquid can make some mixtures looser |
| Frothing time | Stop at the glossy, soft-peak stage | Under-aeration leaves thin foam; over-aeration can create coarse bubbles |
Next action: Start with a small serving of cold milk, add a modest amount of vanilla extract, and froth until the foam is glossy and thick. Taste it, adjust the sweetness, and spoon it over an iced drink immediately.
Frequently Asked Questions
How Can I Verify My Vanilla Foam Is Stable, Without Trusting “It Should Hold For X Minutes” Claims?
Use a visual test. After frothing, watch whether the surface stays glossy and domed. If it turns dull, spreads flat, or pulls away from the sides, it is settling. Vessel size, batch volume, milk type, and tool all affect how quickly that happens.
What Should I Do If I Do Nothing Differently And My Next Batch Turns Out Worse (Even Though I Used The Same Recipe)?
Change one variable and keep the rest consistent. Check the milk’s temperature, shake plant milk before pouring, and make sure the tool is working through the liquid rather than only the surface. Stop when the foam is glossy instead of continuing to aerate automatically.
Do Different Vanilla Products (Extract Vs Paste Vs Syrup) Create A Flavor That Clashes With Certain Coffees?
Extract usually gives the clearest vanilla note. Paste tastes fuller and may add visible seeds, while syrup adds sweetness and can overwhelm an already sweet drink. Match the vanilla to the coffee and add it gradually.
Which Milk Should I Buy If My Goal Is The Most Consistent Results, Not The Creamiest Taste?
Choose a product that foams reliably with your tool and follow its label instructions. Barista-style oat and some soy products may be practical starting points, but formulations differ. Test one milk at a time while keeping the vessel and technique consistent.
How Do I Estimate Cost And Effort Without Exact Pricing?
Cost depends mainly on the milk, vanilla product, and equipment you already own. A hand frother requires little setup, a French press suits a larger batch, and a blender or siphon adds cleanup and equipment requirements. Compare your actual package prices rather than relying on a general estimate.
When Is It Worth Switching Tools Or Getting Help Instead Of Troubleshooting Forever?
Switch tools if the foam remains inconsistent after you have controlled the milk temperature, batch size, and technique. A different vessel or milk may solve the problem before new equipment is necessary. For siphon systems, consult the manufacturer’s instructions or qualified support if you are unsure about charging, cleaning, or releasing pressure.

- Espresso Bar Wedding: Ideas, Setup, Costs, and Tips for a Memorable Coffee Experience - November 11, 2026
- How Many Grams of Espresso Beans for a Double Shot? A Complete Brewing Guide - November 11, 2026
- Brasilia Espresso Machine: Features, Performance, Models, and Buying Guide - November 11, 2026