
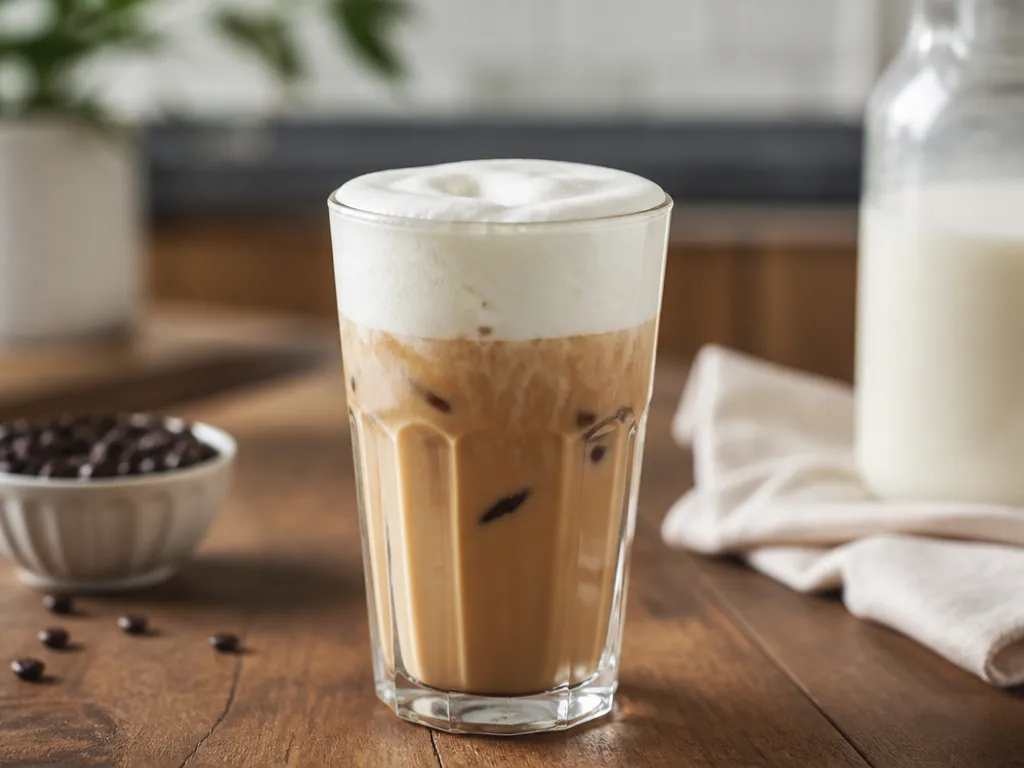
Sweet cream cold foam without heavy cream needs a cold liquid base, a fat or creamy substitute, sweetness, and vigorous aeration. The available evidence does not establish a validated ingredient ratio, yield, holding time, or temperature target, so use the methods below as controlled test formulas rather than guaranteed specifications. Start with a small batch, keep every ingredient cold, and serve the foam immediately after whipping.
For dairy foam, combine cold whole milk with a small amount of softened or melted butter, then chill the mixture again before aerating. For dairy-free foam, test a barista-style oat or soy milk with coconut cream or another compatible dairy-free fat. Add sweetener gradually, because thick sauces and undissolved powders can make the foam heavy or uneven.
What Can I Use To Make Sweet Cream Cold Foam Without Heavy Cream?

You can replace heavy cream with a cold milk base plus a small amount of fat, then aerate the mixture with the tool available to you. Whole milk and butter are the closest dairy-style starting point in this guide. Evaporated milk can provide a richer base, while barista-style oat or soy milk can form the foundation of a dairy-free version.
Pick the method based on the ingredients and texture you want. Dairy usually gives the most familiar sweet-cream profile. For dairy-free foam, use a plant milk that is intended for coffee or foaming, then add a creamy fat only if the mixture needs more body.
| Method path | Use this base | Best tool | When to choose |
|---|---|---|---|
| Dairy, whisked | Cold whole milk with a small amount of butter | Electric whisk or hand whisk | You want direct control and easy cleanup |
| Dairy, immersion-blender | Cold whole milk with butter fully emulsified | Immersion blender | You want faster aeration and a fine texture |
| Dairy-free, blender-safe | Foaming plant milk with a creamy dairy-free fat | Blender or electric whisk | You want a smooth, drinkable foam |
| Dairy-free, frother | Foaming plant milk with a well-emulsified fat | Hand frother or immersion blender | You need a quick foam with minimal equipment |
Serving yield: the available evidence does not establish a reliable yield for any of these mixtures. Make enough base for the drink you are serving, then adjust the batch after observing how much foam your tool produces.
Why Sweet Cream Foam Works: Air, Proteins, And Sugar Timing
Cold foam forms when whipping or blending disperses air through a liquid that can hold bubbles. Milk proteins and other emulsifying ingredients help support the bubble walls, while fat contributes richness and body. The exact balance depends on the milk, fat, sweetener, and tool.
Air Trapping Depends On Fats And Proteins (Or Close Substitutes)
Shear breaks the liquid into bubbles. Proteins and emulsifiers can form a film around those bubbles, while fat affects the mixture’s richness and flow. When heavy cream is removed, the replacement must still provide enough structure for the chosen tool to create a creamy foam.
A low-protein plant milk, an incompatible oil, or poorly incorporated butter may produce large bubbles and quick separation. A suitable foaming milk and a thoroughly emulsified fat are more likely to give a smooth, pourable result, but the outcome must be tested with the specific products you use.
Sugar Changes Thickness, Slowing Collapse
Sugar adds sweetness and can make the liquid feel thicker once dissolved. Granulated sugar, syrups, sauces, and powders behave differently, so add sweetener to the cold base and mix until smooth before whipping. Large amounts of sauce or undissolved powder may weigh down the foam or leave a gritty texture.
Chilling First Improves Flow, Aeration, And Stability
Chilling keeps the base from warming quickly during mixing and can make it easier to aerate. It does not guarantee stable foam, so keep the mixture cold, use a clean tool, and stop once the texture becomes smooth and pourable.
If the result looks foamy instead of creamy, improve the emulsification, chill the base again, or change the tool. Make one change at a time so you can identify which adjustment helped.
Pick Your Foam Method: 4+ Recipes With Steps, Yield, Stability
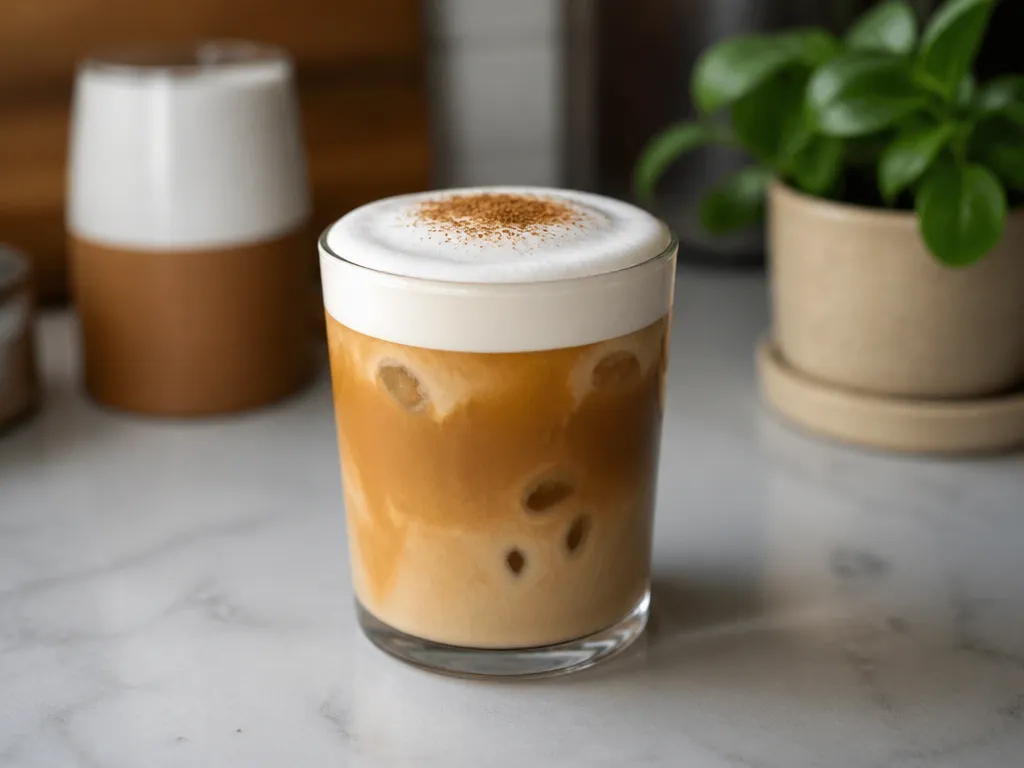
The available evidence does not provide validated quantities, yields, or stability times for these recipes. Each template below is therefore a practical test method rather than a measured guarantee. Use the same small batch while comparing methods, and record how much foam forms and how quickly it separates.
Temperature And Timing: Milk Temps, Chilling, And Pour Windows
Keep the base cold and whip it close to serving. The available evidence does not support a specific temperature, chilling duration, whipping time, storage limit, or pour window, so judge the mixture by texture and record what works with your ingredients.
Flavor Variations: Vanilla, Caramel, And Chocolate Sweet Cream Foam

Add flavorings after the base is smooth and before the final aeration. Start with a small amount, dissolve or disperse it completely, and adjust in the next batch. The available evidence does not establish validated flavor quantities.
Troubleshooting Guide For Failed Foam Results
When cold foam fails, change one variable at a time. Check temperature and emulsification before adding more fat or sweetener.
Allergy-safe Substitutions And Tools That Make It Work
You can adapt the base for dairy-free, nut-free, soy-free, egg-free, or gluten-free needs, but labels still require checking. Products marketed as plant-based can contain shared-facility warnings, and flavored syrups or chocolate may contain unexpected allergens.
| Need | Swap for the dairy base | Swap for the fat | Method fit |
|---|---|---|---|
| Dairy-free | Barista-style oat milk or soy milk | Coconut cream or dairy-free butter | Use a blender, electric whisk, frother, or immersion blender |
| Nut-free | Oat milk or soy milk after checking the label | Coconut cream or a labeled nut-free dairy-free butter | Choose the method that gives the smoothest emulsion |
| Soy-free | Oat milk or another soy-free foaming plant milk | Coconut cream or a compatible dairy-free butter | Test the oat-based method first |
| Egg-free | Whole milk or a suitable dairy-free liquid | Butter, coconut cream, or labeled dairy-free fat | All listed methods avoid egg ingredients |
| Gluten-free flavorings | Check the milk label | Check butter, syrups, chocolate, and cocoa labels | Do not assume a flavored product is gluten-free without label confirmation |
Tools matter because fast, controlled aeration is easier than prolonged mixing. An electric whisk is useful for a bowl, an immersion blender gives strong shear in a narrow container, and a hand frother works for a small batch. A countertop blender can over-aerate a small volume, so use it only when the container and batch size are appropriate.
If liquid and foam separate, chill the base, check the emulsion, and use a shorter aeration burst. If the mixture smells sour, tastes rancid, or has an unusual appearance, discard it rather than trying to repair it.
Nutrition Per Serving And Printable Recipe Card Templates
Nutrition depends on the exact milk, fat, sweetener, and flavoring. The available evidence contains no label data, so exact calorie, protein, carbohydrate, or fat values cannot be supplied without inventing them. Calculate the batch from the labels of the products you use.
| Macro inputs to pull from labels | What to compute | How to use it |
|---|---|---|
| Calories, fat, carbohydrates, and protein for the milk or plant milk | Scale the label values to the amount used | Add the results to the fat and flavoring values |
| Calories, fat, carbohydrates, and protein for butter, coconut cream, oil, or dairy-free fat | Scale the label values to the amount used | Add them to the milk values |
| Calories and carbohydrates for sugar, syrup, sauce, chocolate, or other flavoring | Use the exact amount added | Divide the batch total by the number of servings |
Printable recipe card fields you can copy for any method:
Common substitutions on the card: record the replacement milk and fat rather than assuming they behave identically. Recalculate nutrition from the new labels, and repeat the foam test whenever the brand or product changes.
Quick Summary
Make sweet cream cold foam without heavy cream by combining a cold milk or plant-milk base with a compatible fat, emulsifying the mixture, sweetening it, and aerating it just before serving. The available evidence does not support a universal ratio, yield, temperature, or holding time.
| Decision condition | What to change | Your target figure |
|---|---|---|
| Base temperature | Chill the base and avoid warming it during mixing | Use a thoroughly cold base; no validated temperature was available |
| How hard you whip | Use enough shear to create fine bubbles, then stop when the foam becomes pourable | Use texture as the guide; no validated whipping time was available |
| Flavor add-ins | Add small amounts that fully dissolve or emulsify | Begin with a modest amount and adjust after testing |
| Storage window | Pour immediately and do not assume the foam will remain stable in storage | Use the foam as soon as possible; no validated holding time was available |
Next action: choose a dairy or dairy-free base, emulsify it with a compatible fat, chill it thoroughly, and test a small batch with the tool you have. Record the ingredients, yield, and time to separation so you can refine the formula without changing several variables at once.
Frequently Asked Questions
How Should I Estimate The Cost If I Want To Test All Four Foam Methods Without Heavy Cream?
Exact prices were not available. Add the cost of the milk or plant milk, fat, sweetener, and flavoring used in each test batch. Package size and local pricing will determine the final comparison.
Is There An Exception That Applies To My Kitchen, Climate, Or Equipment That Would Make One Method Clearly Better Than The Others?
No method is guaranteed to work best in every kitchen. Ingredient brands, room temperature, container shape, and tool speed can all affect the result. A barista-style plant milk may outperform another plant milk, while an immersion blender may outperform a whisk for a particular base.
What Happens If I Skip Whipping Altogether And Serve The Beverage Without Foam?
You will have a sweetened milk or cream-style topping rather than cold foam. The air-filled texture comes from whisking or blending, so skipping aeration removes that texture.
When Should I Seek Professional Help Or Commercial Guidance Instead Of Diy Testing?
Seek commercial guidance if you need repeatable high-volume production, a defined shelf life, formal allergen controls, or a product for sale. Home testing does not establish those requirements.
How Can I Verify The Foam Claims At Home Without Relying On Trust?
Use the same ingredients, container, tool, and serving conditions for each test. Record the starting appearance, the amount of foam produced, the time until separation, and whether the foam remains smooth or becomes watery. Repeat the test when you change a product or method.
What Should I Do To Confirm That Flavor Add-ins Are Safe For All Guests?
Read every ingredient and allergen label, check flavored products separately, and avoid serving an ingredient when its allergen status is unclear. For anyone with a severe allergy, follow their established medical and food-safety guidance rather than relying on a homemade test.

- Espresso Bar Wedding: Ideas, Setup, Costs, and Tips for a Memorable Coffee Experience - November 11, 2026
- How Many Grams of Espresso Beans for a Double Shot? A Complete Brewing Guide - November 11, 2026
- Brasilia Espresso Machine: Features, Performance, Models, and Buying Guide - November 11, 2026