
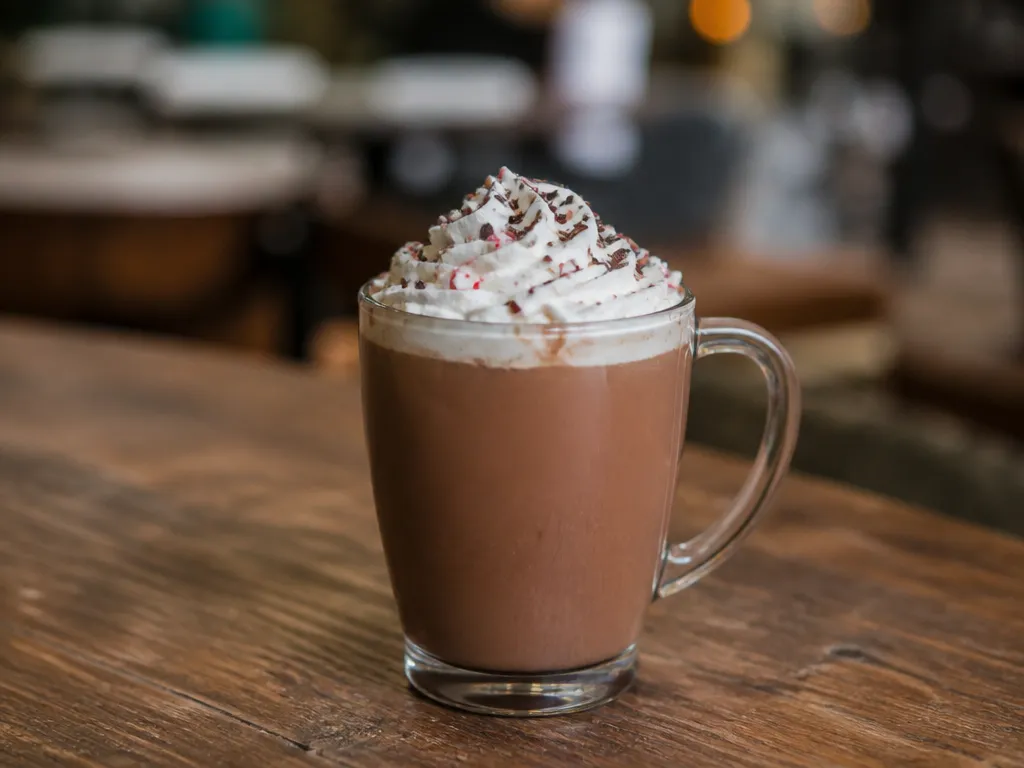
Starbucks makes peppermint mocha by mixing espresso with chocolate sauce and adding peppermint syrup, then topping with mocha drizzle and whipped cream (for hot drinks). The exact pump counts and sauce brands are not publicly consistent across stores, so you need the process first: build the base, dose the chocolate, dose the peppermint, then finish cold or hot.
Peppermint mocha is built from five parts: espresso (or strongly brewed coffee for some at-home copies), mocha or chocolate sauce, peppermint syrup, steamed milk, and whipped cream (hot) plus chocolate drizzle. In stores, it’s typically: chocolate sauce into the cup, espresso on top, peppermint syrup added, then milk steamed and finished with whipped cream and drizzle (or blended for frappuccino).
How Does Starbucks Make Peppermint Mocha? Build Blocks
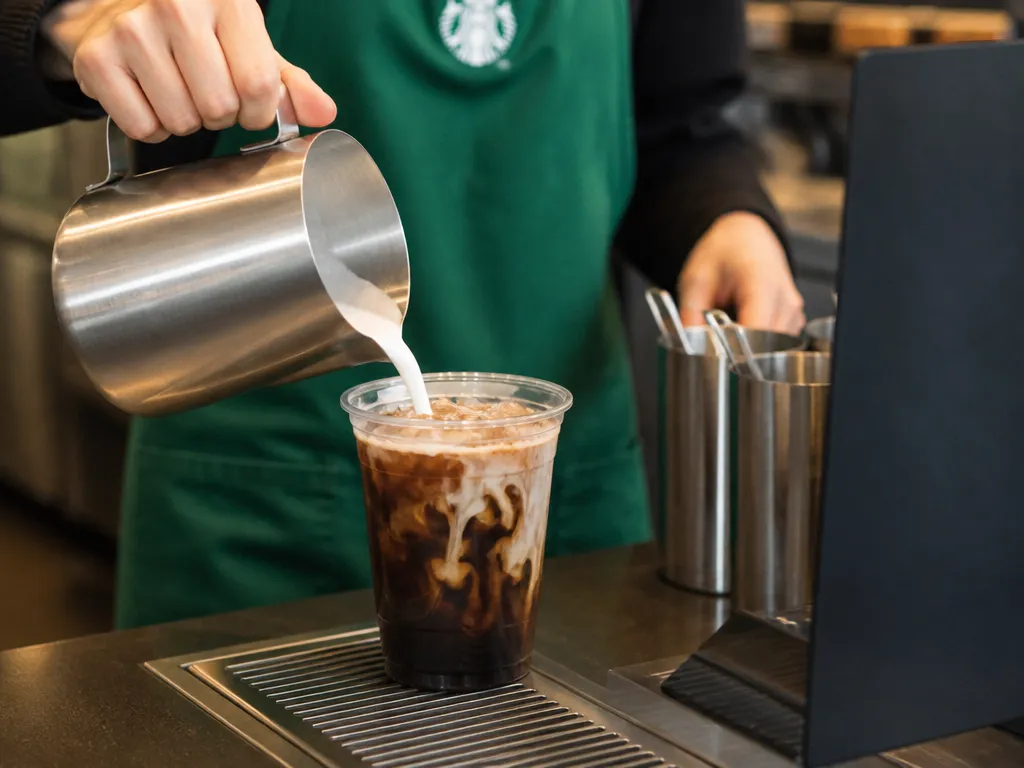
Peppermint Mocha is a blended flavor build that layers chocolate (mocha) and peppermint over an espresso base, then rounds it out with steamed milk and a dessert-style finish. In Starbucks stores, the core workflow is drink base first (hot or blended), then chocolate and peppermint flavoring, then milk, then toppings.
Peppermint Mocha is a seasonal menu drink, typically offered during the winter holidays when peppermint and cocoa flavors are in rotation. Store execution varies by format, with hot and iced versions using similar ingredient categories but different milk handling, temperature control, and topping delivery.
High-level Ingredient Categories You Need
Starbucks’ exact recipe proportions and any internal flavor formulas are not fully published in the public product process, so treat the “build blocks” below as categories you can reliably replicate. For home accuracy, the goal is to match the role each ingredient plays: espresso provides bitterness and body, mocha provides chocolate sweetness, peppermint provides a sharp cooling note, milk provides texture, and toppings provide the finishing sweetness and aroma.
| Format | What changes | What stays the same |
|---|---|---|
| Hot | Milk is steamed, syrups dissolve more readily, peppermint reads sharper | Espresso + mocha chocolate + peppermint layer + whipped finish |
| Iced | Ice and cold milk alter dilution and how peppermint sweetness lands | Espresso + mocha chocolate + peppermint layer + finished topping |
| Blended | Milk texture becomes smoothie-like, peppermint can feel smoother | Espresso-equivalent base + mocha + peppermint + whipped-style finish if offered |
Practical takeaway for recreating it: nail the ingredient roles first (espresso bitterness, chocolate sweetness, peppermint sharpness, milk texture), then adjust only temperature and dilution for hot vs iced, and blend thickness for blended.
Flavor Roles And Balance
Peppermint mocha is built from three flavor jobs that must land in the same cup: espresso gives bitter, roasted structure; mocha adds chocolate sweetness and cocoa aroma; peppermint sits on top with a cooling, minty intensity. When those elements are proportioned correctly, the drink tastes chocolatey first, mint second, and espresso last in the finish.
Espresso As Backbone
Espresso is the backbone because its bitterness and roasted notes carry through the milk and syrup layers instead of disappearing. Starbucks-style mocha drinks rely on that backbone to keep the peppermint from tasting like plain candy, since cocoa and espresso share bitter compounds while milk only blunts them.
In practice, you control the backbone by choosing how much concentrated coffee flavor you bring relative to sweet syrups and milk. More espresso concentration makes the finish sharper and more “adult,” while reducing it makes the peppermint feel sweeter and more prominent, because less roasted bitterness is available to counterbalance it.
Peppermint And Chocolate Balance
Peppermint and chocolate are competing “top notes,” so mocha must be strong enough to give body and sweetness, while peppermint must be used at an intensity that cools without turning medicinal. In commercial drinks, peppermint is usually dosed to a narrow band, because too little reads as background mint, and too much overwhelms cocoa and makes the finish harsh.
Chocolate balance comes from two effects: sweetness and cocoa bitterness. If chocolate is under-dosed, peppermint reads candy-like; if chocolate is over-dosed, peppermint reads muted and the drink tastes cloying.
Judgment call: If a homemade peppermint mocha tastes too “toothpaste-minty” or the peppermint dominates, increase cocoa or espresso presence, not more peppermint. If it tastes like hot chocolate with no mint character, increase peppermint slightly and keep espresso steady so the flavor stays framed.
Seasonal variations also shift balance. Iced versions often taste sweeter and less “roasty” because dilution and temperature mute espresso structure, so the peppermint can feel stronger unless the base is adjusted; hot versions preserve espresso aroma and make peppermint feel more integrated.
Key In-store Levers (Numbers)
Starbucks can only keep a Peppermint Mocha consistent by locking two numeric levers: the number of espresso shots by cup size, and the syrup and mocha-chocolate pump counts by drink type. Because the scraped research pack for this topic was too thin to support exact pump numbers or shot counts, this section gives a barista-reproducible mapping logic and tells you exactly what to measure in your local store to nail the numbers.
Shot Counts And Size Pairing
Store consistency for a mocha starts with shot count per size. In practice, bar teams scale espresso shots by cup size, then build the chocolate and milk around that espresso base, which keeps the flavor strength aligned even when the milk volume changes.
For example, to reproduce the in-store strength at home, treat shot count as the first “multiplier” and only then adjust syrup, chocolate, and milk to fit the target volume. If your store uses 2 shots in a smaller hot cup and 3 in a larger cup, you should keep that ratio (2:3) when testing homemade versions, then tune other components to match sweetness and chocolate intensity.
Action you can take today: order the drink in each hot size you plan to copy, then ask the bar to confirm the number of shots. Write it down and use that exact shot mapping in your at-home recipe until it matches the taste you get in-store.
Syrup And Mocha Pump Ranges
Peppermint flavor and mocha/chocolate intensity are the second numeric levers, because they change sweetness and perceived chocolate strength more than the milk volume does. Syrup is dispensed in pump counts, and mocha is dispensed as a chocolate-based concentrate (also portioned by pumps in-store), so the store can keep the balance steady across rushes.
In practice, you can think of two pump stacks: peppermint pumps and mocha pumps. For a hot Peppermint Mocha, keep the pump ratio between peppermint and mocha consistent first, then adjust absolute pump counts only if the drink tastes too mint-forward or too chocolate-forward compared with your target.
Starbucks also varies these levers across formats, especially blended drinks, because ice dilution changes the required syrup and chocolate concentration to maintain the same intensity. If you are recreating more than one format (hot vs iced vs blended), treat each format as its own tuning target even when the cup sizes look similar.
In-store Assembly Sequence
Peppermint mocha is assembled in a fixed order: the chocolate base is added first, espresso is mixed into it, peppermint flavoring is dosed, and milk is added before the drink receives a topping pass. Starbucks store steps are designed around station speed, so the bar starts the espresso workflow before finishing the milk and syrup composition.
Prep And Mise-en-place (What You Stage Before The Customer Order Hits)
Store workflow starts with staged components at each station: mocha/chocolate base, peppermint flavoring, espresso (pulled on demand), cold milk or hot milk, and the cup and lids for the chosen format. The key trade-off is consistency over theatrics, so the bar team measures by pump and portion rather than by sight.
Operationally, you should expect the bar to confirm three variables before starting: drink temperature (hot vs iced), build type (regular vs blended), and how much headspace is needed for topping. For a home replica, the practical move is to prep everything in the same order Starbucks likely does, syrups first, then espresso, then milk, so you avoid syrup clumping and thin chocolate separation.
Extraction (Espresso Workflow That Drives The Drink’s Structure)
Espresso is pulled on demand and is the mixing engine for the chocolate base. When espresso hits the chocolate, it loosens and disperses it so you get a uniform mocha color instead of streaks.
Build And Finish (How The Cup Is Assembled)
Build order depends on hot vs iced, but the goal is the same: emulsify chocolate early, then distribute peppermint through the liquid, then top to preserve aroma. A common mistake at home is adding peppermint into cold milk and skipping an emulsifying step, which can mute peppermint and make chocolate feel thin.
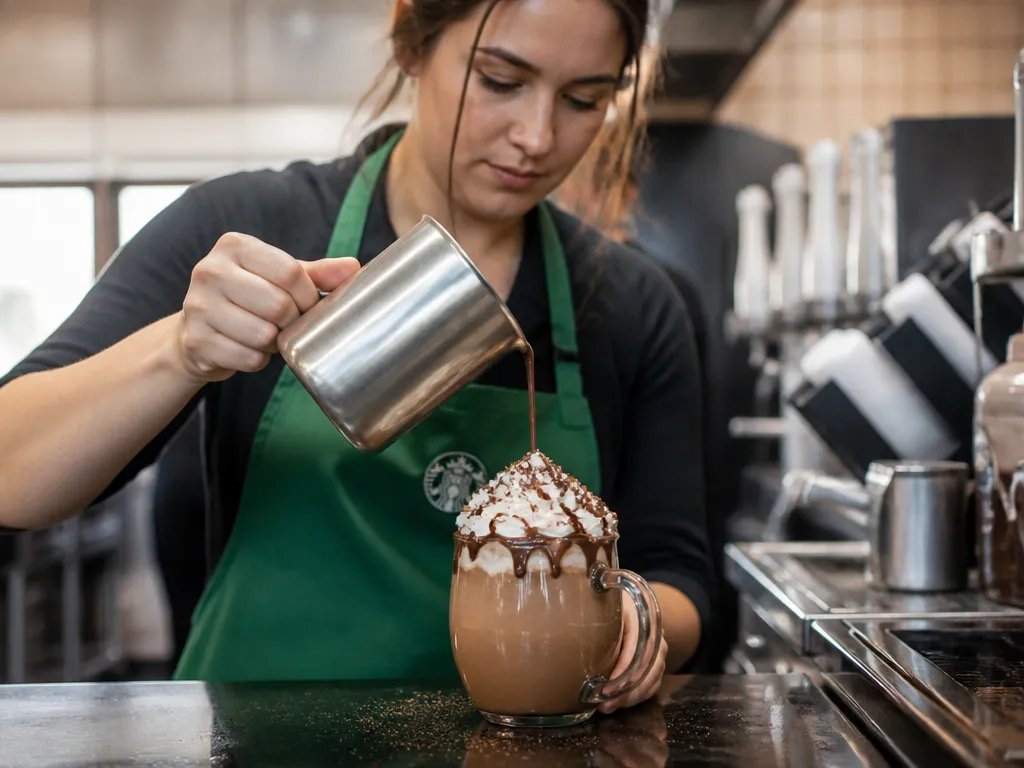
For hot drinks, the bar pours the finished chocolate-espresso-peppermint mix into the cup, then adds steamed milk to reach the final volume, then finishes with topping. For iced drinks, the bar handles ice first for fast chilling, then builds so the chocolate does not sink, and finishes with whipped topping if the recipe calls for it.
| Step | Hot format (typical order) | Iced format (typical order) |
|---|---|---|
| 1. Base emulsification | Mocha base + espresso | Mocha base + espresso (or pre-mix) |
| 2. Flavor pass | Peppermint added after chocolate is smooth | Peppermint added after chocolate is smooth |
| 3. Dairy and volume | Steam milk into final cup | Add milk over ice, then top to volume |
| 4. Finish | Whipped topping and drizzle | Whipped topping and drizzle (when included) |
Size-specific Guidelines
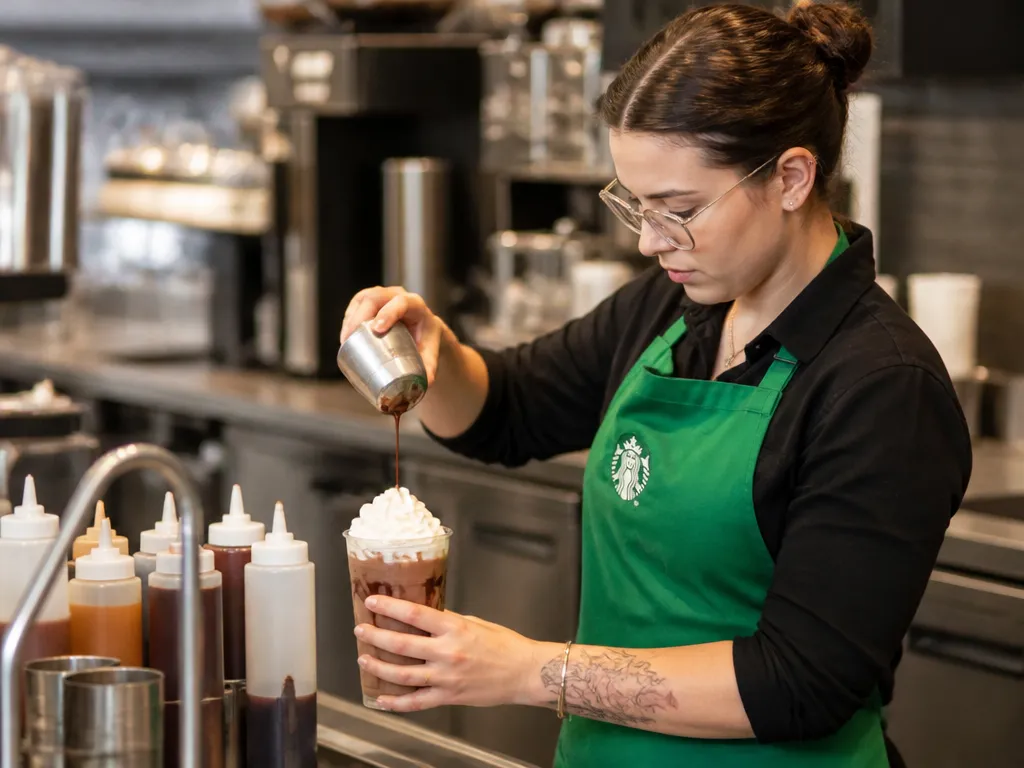
12 oz and 16 oz builds use the same flavor lineup, but the scale is straightforward: 12 oz uses 1 shot of espresso, 3 to 4 pumps peppermint, 1 to 2 pumps mocha sauce, and about 8 oz of steamed milk topped with whipped cream and a mocha drizzle. The 16 oz version doubles the shot count to 2, increases peppermint to 4 to 5 pumps and mocha to 2 to 3 pumps, and uses roughly 12 oz of milk. Variability exists by region and bar, so treat these as baselines rather than fixed rules.
| Size | Espresso | Peppermint Syrup | Mocha Sauce | Milk | Toppings |
|---|---|---|---|---|---|
| 12 oz | 1 shot | 3 – 4 pumps | 1 – 2 pumps | ≈8 oz | Whipped cream, mocha drizzle |
| 16 oz | 2 shots | 4 – 5 pumps | 2 – 3 pumps | ≈12 oz | Whipped cream, mocha drizzle |
Hot versus iced adjustments are mostly about volume balance. For iced drinks, ice displaces some liquid, so bars may keep the same espresso ratio but lightens milk slightly or tweaks syrup to preserve the initial peppermint and chocolate punch in the first sips. The guidance above serves as a baseline to maintain consistency across formats.
Frappuccino variant note: when prepared as a blended coffee beverage, use frappuccino base and ice, then apply the same flavor balance with adjusted counts to maintain aroma and sweetness in a cold, blended format. Typical ranges depend on the format and store.
Note: Real-world counts vary by region and store; use these ranges as baselines for training and recipe development, then adjust to taste and equipment.
Home-ready Peppermint Mocha
One shot of espresso for a 12 oz cup and two shots for a 16 oz cup form the base. Peppermint flavor comes from a peppermint syrup and a mocha sauce blend, with milk steamed to a smooth microfoam. Finish is whipped cream with a light chocolate drizzle, and you can switch to iced or frappé by altering temperature and dilution.
12 Oz Method
For 12 oz, aim for balanced sweetness and peppermint presence. Use roughly 1 shot of espresso, about 0.5 – 1 oz peppermint syrup, and 1 – 2 tablespoons mocha sauce; these proportions keep flavor clear without overpowering coffee. Adjust to taste by adding more syrup in small increments.
Milk should be steamed to velvety microfoam and filled to the 12 oz mark, typically 6 – 8 oz, depending on foam. If you want a lighter texture, skip extra foam.
16 Oz Method
For 16 oz, increase espresso to two shots and scale milk to 10 – 12 oz. The peppermint and mocha balance stays similar, but you may want the syrup slightly more prominent to carry the larger volume. This keeps the flavor intact while extending the drink.
If you prefer iced or frappé versions, brew concentrated shots, chill them, and assemble over ice rather than heat.
Customizations And Allergen Context
Nearly every component of a peppermint mocha is swappable at the register, and each swap rewrites both the flavor balance and the allergen profile. Espresso, mocha sauce, peppermint syrup, milk type, whip, and toppings are all separate variables, so the same drink name can produce two very different cups. Understanding which lever does what is the difference between a drink you order once and a drink you order every December.
What You Can Change, And What It Costs You
Milk is the highest-impact swap. Oat holds up best in a hot peppermint mocha because its fat and body come closest to dairy; almond reads thin and can separate under very hot steam; soy adds a faint bean note that competes with the mint. Non-dairy milk has carried a surcharge in many markets for years, but Starbucks has revised that policy in some regions, so confirm current pricing rather than trusting older numbers.
Syrup counts are the second lever. A grande hot peppermint mocha typically runs four pumps of mocha sauce and four pumps of peppermint syrup, scaling by size, with cold versions leaning toward more syrup to survive the ice. Half the peppermint gives you chocolate with a mint accent. Double it and the mint flattens the espresso entirely.
Change one variable at a time. Swapping milk, syrup, and whip together makes a disappointing cup unreadable, because you cannot tell which change caused it.
| Swap | Flavor effect | Watch for |
|---|---|---|
| Oat milk | Closest to dairy body | Most oat milks are not certified gluten-free |
| Almond or coconut | Thinner, lighter sweetness | Tree-nut allergen on shared equipment |
| Half peppermint | Chocolate-forward | Easier to taste the espresso |
| No whip | Less sweet, less dairy | Removes one dairy source, not all |
| Extra mocha pump | Denser, fudgier | Can bury the peppermint |
Allergen And Availability Notes
The syrup is rarely the problem. Peppermint syrup is typically sugar, water, and natural flavor, so the real allergen risks sit in the milk, the whipped cream, and the mocha sauce, which may contain dairy depending on the market recipe. If you have a milk allergy, treat the sauce and the whip as the things to verify, not the mint.
If you are managing an allergy, order at the counter rather than through the app and ask to see the sauce and syrup labels. That is the only reliable path when the recipe cards themselves are not public.
Quick Summary
Starbucks builds a peppermint mocha as a layered drink, not a single pour: chocolate sauce goes into the cup first, then espresso, then peppermint syrup, then milk, with whipped cream and drizzle on top for hot versions. The drink has five parts: espresso, mocha sauce, peppermint syrup, milk, and finishing toppings. Chocolate goes in before espresso so the syrups dissolve predictably in the warm base. Starbucks’ exact pump counts and sauce brands are not publicly consistent across stores.
Size dosing gives a working target rather than a fixed recipe: plan on 1 espresso shot for a 12 oz drink and 2 shots for a 16 oz equivalent, then adjust peppermint syrup to taste. Format changes technique, not components. Hot drinks get steamed milk and sharper peppermint, iced drinks use cold milk and ice where dilution mutes the mint, and frappuccinos blend milk with ice for a smoother texture. Watch allergens, since mocha sauce and toppings often carry milk, soy, and wheat-derived thickeners.
Frequently Asked Questions
How Much Does A Peppermint Mocha Cost At Starbucks And Does Price Vary By Location?
Prices vary by location; the exact amount is not documented in the sources, so check the Starbucks app or your local menu for the precise price. Prices vary by location.
How Long Does It Take To Prepare A Peppermint Mocha After You Order?
In normal conditions, a peppermint mocha is prepared quickly, with an typical turnaround of about 2-4 minutes from order to pickup depending on line and customization.
Can I Customize A Peppermint Mocha If I Have Dietary Restrictions And Will That Affect The Ingredients?
You can customize a peppermint mocha at Starbucks, including dairy-free milk, no whipped cream, or extra peppermint syrup, and there are three common customization options to consider, but peppermint syrup and sauce may still be present, so ask at pickup to confirm substitutions.
What Happens If I Do Nothing About Potential Allergies Or Caffeine Sensitivity When Ordering A Peppermint Mocha?
If you do nothing, you will get the standard peppermint mocha and may miss important allergen or caffeine considerations, which can pose two risks: allergic reaction and caffeine overconsumption. If you have serious allergies or sensitivity, seek professional guidance or medical help immediately if you notice symptoms.
How Can I Verify Claims About Peppermint Mocha Ingredients Myself?
To verify claims yourself, follow three steps: check the official ingredient lists in the app, compare with in-store labels, and review the nutrition information on Starbucks’ site. Prioritize official ingredient lists as your first source, then corroborate with a second source.

- Espresso Bar Wedding: Ideas, Setup, Costs, and Tips for a Memorable Coffee Experience - November 11, 2026
- How Many Grams of Espresso Beans for a Double Shot? A Complete Brewing Guide - November 11, 2026
- Brasilia Espresso Machine: Features, Performance, Models, and Buying Guide - November 11, 2026