
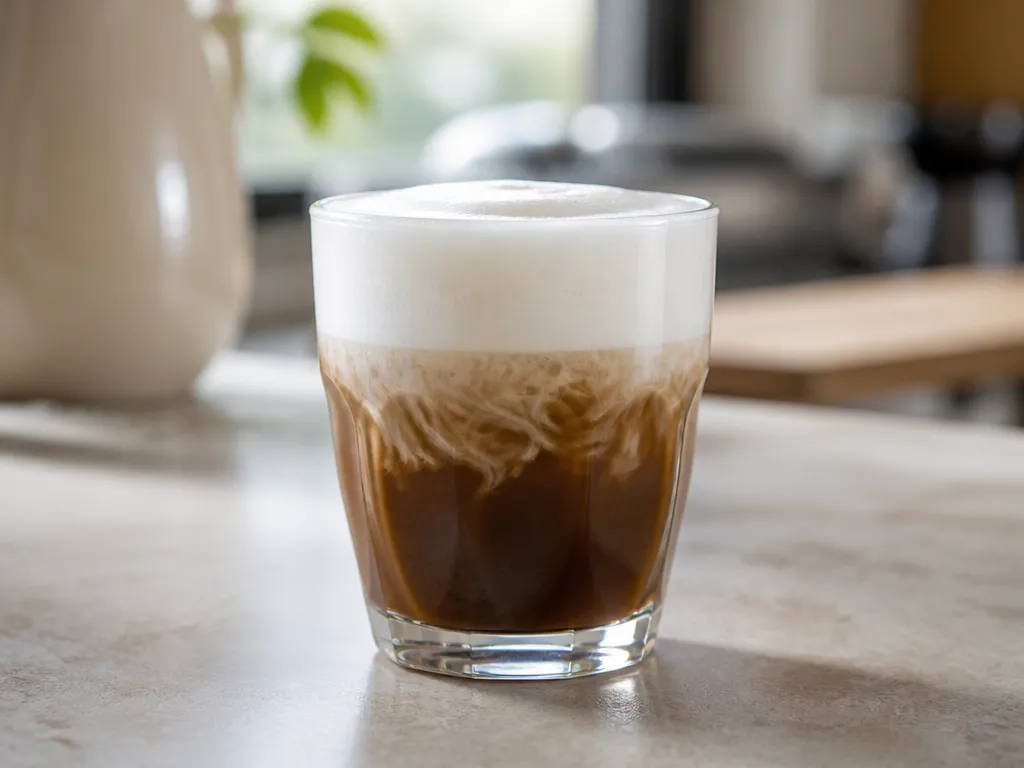
Whole milk is the best all-around starting point for cold foam. Its combination of milk fat and protein helps it produce a thicker, more stable cap than skim, 2%, and many plant milks. Use it cold from the fridge. For the thickest result, begin with 1/4 cup (about 60 ml) per drink. A thinner topping needs roughly 2 to 4 tablespoons.
Whole milk alone is enough for a creamy everyday foam. If you want a thicker cap that sinks slowly, test a mixture of roughly 3 parts whole milk to 1 part heavy cream. Treat that ratio as a starting point and adjust it to your preferred richness and texture.
What Is Cold Foam With Whole Milk?
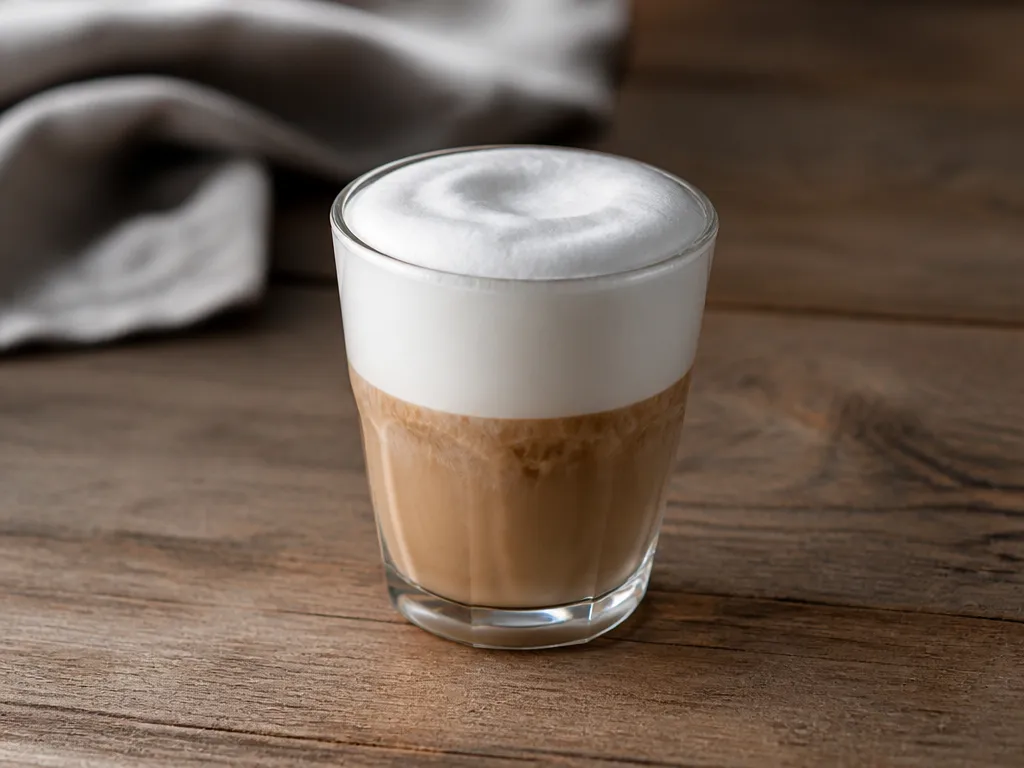
Cold foam with whole milk is refrigerated milk that has been aerated into a light, creamy topping for an iced drink. Properly made, it looks glossy and slightly stiff. It should sit on the drink long enough to spoon or pour into place rather than immediately spreading like liquid milk.
Cold temperature is central to the method. Begin with milk straight from the fridge, use a cold drink, and make the foam close to serving time. The target is a cohesive foam with small-looking bubbles and soft peaks, not a layer of large bubbles that disappears as soon as it reaches the cup.
| What you make | What it looks like | What it’s for |
|---|---|---|
| Thin cold foam | Light bubbles that spread quickly | A quick topping for iced coffee or tea |
| Thick, barista-style cap | Glossy foam with soft peaks that briefly holds its shape | A dense topping for cold drinks |
Whole milk is the simplest dairy base to try when you want body. Skim milk can foam, but it generally gives a lighter result. Two-percent milk falls between skim and whole milk. Plant milks vary considerably by product, so check the label and test the specific milk you use rather than assuming it will behave like dairy.
This guide treats cold foam as a topping, not a blended drink. The foam should sit on the surface and change the drink’s texture from the first sip.
Key Benefits
Whole-milk cold foam is a dependable choice when you want a creamy, substantial topping without relying on a specialty product.
Choose whole milk when you want the most forgiving route to a creamy foam cap. Keep the foam cold and serve it soon after making it.
Step-by-step Guide
Use the settings below as practical starting tests. Milk brands, tool sizes, and frother strength vary, so let the texture cue decide when to stop.
Common Mistakes To Avoid
Thin, bubbly foam usually comes from temperature, technique, or an unsuitable target. Correct one variable at a time so you can see what improves the result.
Tips For Success

Keep the process cold, use a consistent milk volume, and stop at the same visual cue each time. Those choices matter more than chasing a longer frothing time.
Use a cold cup and prepare the foam just before serving. If you are adding syrup or sugar, mix it into the cold milk before aerating so the flavor spreads evenly. Start with a small amount and add more in the next batch if needed.
For a thick everyday cap, use whole milk alone. For a richer, stiffer topping, test roughly 3 parts whole milk to 1 part heavy cream. If the foam is bubbly but thin, first check the milk temperature and tool position. More shaking or blending is not automatically the fix.
| Goal texture | Whole-milk amount (typical) | Best add-in | What to look for |
|---|---|---|---|
| Thin layer | 2 to 4 tablespoons | A small amount of sweetener; powdered sugar for a firmer test | Soft peaks, light gloss, and brief volume |
| Thick spoonable cap | 60 ml | Powdered sugar for more firmness or vanilla syrup for a smoother finish | Glossy foam that mounds and pours as a ribbon |
| Stiff “barista-like” | Start with 3 parts whole milk to 1 part heavy cream | Use a controlled amount of sweetener and mix it in well | A mound that holds briefly and collapses slowly |
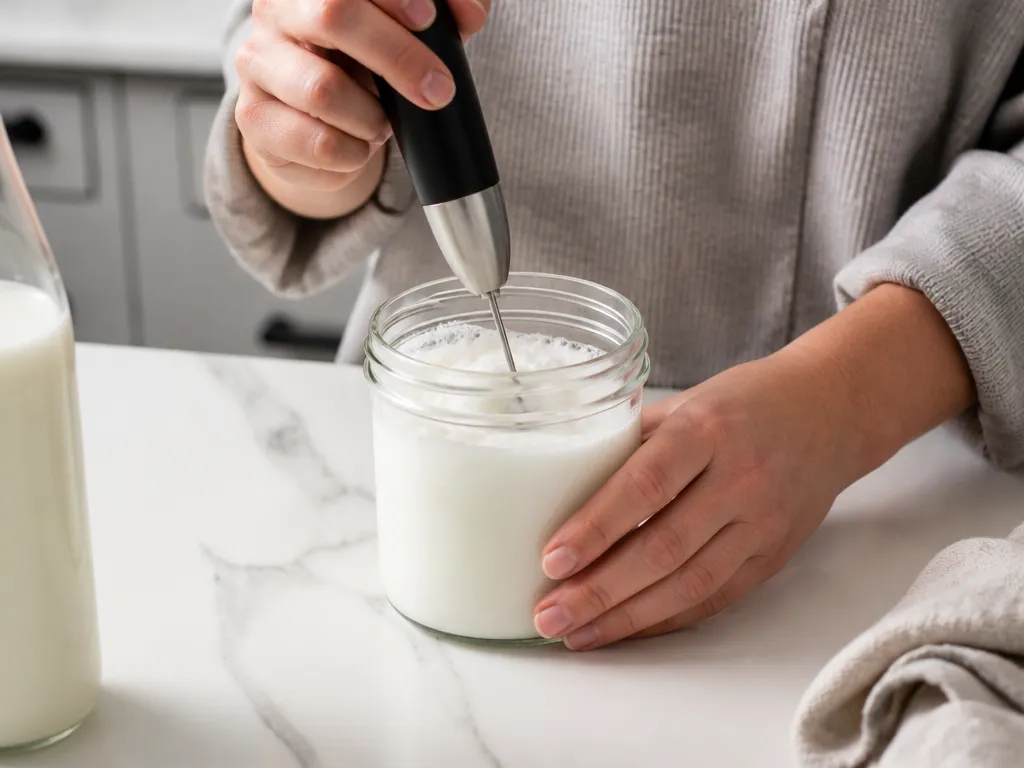
Choose the handheld frother for the fastest feedback. Use a jar when you have no frother, a French press when you want a dense result, and a blender when you need to process more than one small batch. Standardize the volume and stop at the same texture cue each time.
Real Examples
Use these examples as starting formulas, then adjust sweetness and firmness to suit your milk and tool. Begin with cold ingredients and serve the foam soon after making it.
| Drink goal | Whole milk amount | Sweetener (if using) | Best method | Texture target |
|---|---|---|---|---|
| Light topping | 2 to 4 tablespoons | 1 teaspoon powdered sugar or 1 to 2 teaspoons vanilla syrup | Handheld frother | Soft peaks, airy but still pourable |
| Standard thick cap | 60 ml | 1 teaspoon powdered sugar or 1 to 2 teaspoons vanilla syrup | Mason jar shake | Glossy foam that briefly holds a spoon shape |
| “Barista-like” thick and slow-sinking | 60 ml total, starting around 3 parts whole milk to 1 part heavy cream | Brown sugar syrup in a modest amount, or sugar added to taste | French press | A stiff mound that collapses more slowly |
Morning iced latte: Measure 60 ml of cold whole milk, add 1 to 2 teaspoons of vanilla syrup, and froth with a handheld frother until the foam looks glossy and has increased in volume. Pour it over the back of a spoon and serve promptly.
Sweet iced mocha: Use 2 to 4 tablespoons of cold whole milk with 1 teaspoon of powdered sugar for a lighter, firmer topping. Froth until glossy, spoon it on last, and stop rather than continuing to whip once the foam looks cohesive.
For the thickest starting point, use whole milk with some heavy cream at roughly a 3:1 ratio, then stop when the foam is glossy and holds its shape.
If you prepare foam ahead, keep it cold and check its texture before topping the drink. Separation and collapse vary by tool, milk, and storage conditions, so re-froth briefly if the mixture has loosened.
Quick Summary
Whole milk is the best all-around base for cold foam when you want a creamy, stable topping. Start with about 60 ml per drink, straight from the fridge, and stop frothing when the foam looks glossy and forms soft peaks.
Adjust the base or method according to the result you want:
Your next action: Make one test batch with 60 ml of cold whole milk using your chosen tool, then adjust the sweetener or cream ratio in the next batch.
Frequently Asked Questions
Is Whole Milk Cold Foam “Worth It” Compared With Just Buying The Foam Or Using A Dairy Creamer?
Whole milk is worth trying when you want control over sweetness and texture. You can adjust the milk volume, tool, and flavoring, while prepared foams and creamers vary by product. The tradeoff is that homemade foam needs to be made close to serving time and may require a little testing.
For a fair cost comparison, use the same 60 ml portion at home and compare it with the price of one prepared serving. Include the cost of a tool only if you need to buy one.
How Much Time Can I Save By Doing The Foam In Batches?
Batching can reduce repeated measuring and frothing, but it does not guarantee that the foam will keep the same texture. Keep a batch refrigerated, portion it close to serving, and check whether it has separated or collapsed.
For a consistent workflow, pre-measure 60 ml portions and flavor them before frothing. Avoid sweetening a large batch with a lot of liquid syrup if firmness is your priority.
What If My Foam Looks Perfect, But I Do Nothing For A While, How Long Will It Last?
There is no single reliable holding time for every milk, tool, and storage condition. Foam gradually loses structure as bubbles merge, so serve it promptly for the best appearance.
If you must hold it, refrigerate it and check the texture before using it. Re-froth briefly if it has loosened, and discard it if its smell or appearance seems abnormal.
Will Whole Milk Cold Foam Work For Every Drink Size And Ice Level I Use?
It can work across drink sizes, but the topping may look sparse on a large drink. Start with 60 ml for a standard cap and adjust the amount if the surface is not covered.
A cold drink gives the foam a better chance of holding its texture. Build the drink first, then add the foam last so it spends less time sitting on the surface before serving.
When Should I Stop Troubleshooting And Switch To A Different Method?
Switch tools if you repeatedly get thin foam after starting with cold milk, using a consistent volume, and stopping at the right visual cue. Different tools create different bubble structures, and one may simply suit your batch size poorly.
Change one variable at a time. Retest with a fresh 60 ml portion, then move from a handheld frother to a French press, jar, or blender if the first method continues to under-aerate the milk.
How Can I Verify The “Stiff” Version Claim Without Relying On Taste?
Compare the appearance and movement of the foam. A stiffer batch should look glossy, form a thicker mound, and spread more slowly than plain whole-milk foam.
Test both mixtures under the same conditions: the same milk volume, tool, frothing interval, and cold drink. If the heavy-cream version still runs immediately, adjust the ratio or frothing method rather than assuming the result is guaranteed.

- Espresso Bar Wedding: Ideas, Setup, Costs, and Tips for a Memorable Coffee Experience - November 11, 2026
- How Many Grams of Espresso Beans for a Double Shot? A Complete Brewing Guide - November 11, 2026
- Brasilia Espresso Machine: Features, Performance, Models, and Buying Guide - November 11, 2026