

Yes, you can make cold foam with almond milk, but it needs the right kind of almond milk and a cold, well-aerated start. The practical threshold is simple: almond milk should be barista style (or have gums like gellan or xanthan) and be frothed with controlled air intake until it thickens. Otherwise it turns foamy for seconds and then collapses in iced coffee.
Cold foam is possible with almond milk, but regular carton almond milk usually separates when chilled and whisked, so the foam won’t hold. Use barista-style almond milk (or add-in thickener like a tiny pinch of xanthan, if your brand allows), froth cold (not warm) for about 30 to 60 seconds, then pour immediately over ice and sweetened coffee.
Can You Make Cold Foam With Almond Milk?
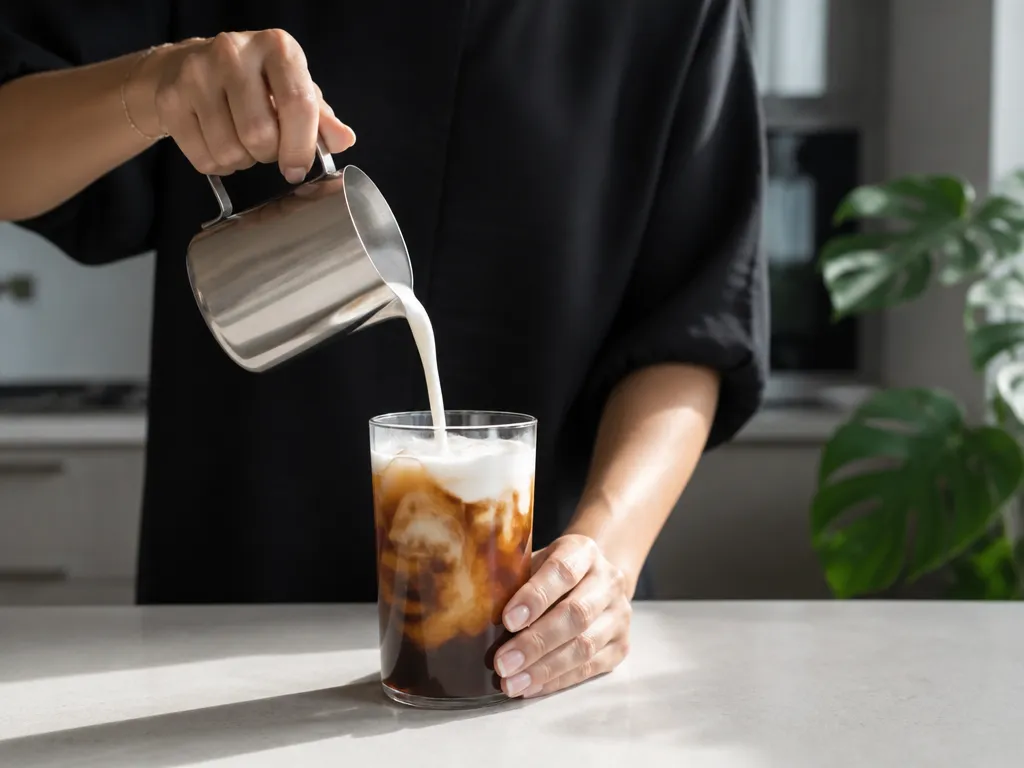
Cold foam is possible with almond milk, but only with the right kind of almond milk and the right frothing method. Shelf-stable, “barista style” almond milks are the most reliable; thin, sweetened, or oil-separated cartons often collapse fast or foam poorly. For iced drinks, your goal is a stable foam that holds for a few minutes, not a thick hot-milk cap.
What “Cold Foam” Means In Practice
Cold foam is a light, aerated layer you spoon or pour over iced coffee, usually made with a wand or frother that incorporates air at low temperature. In real-world use, it is judged by three things: foam texture (fine microfoam vs big bubbles), cling (how long it stays on top), and flavor balance (sweet almond milks can taste “foamy” fast).
Because almond milk is water, plant proteins, and fats, your “cold foam” can look correct immediately and still fail after 3 to 10 minutes. The boundary is stability: if the top turns watery or separates quickly, you have frothed, but you do not have cold foam in the bar-quality sense.
Which Almond Milks Work (And Which To Avoid)
Pick almond milk based on foam behavior, not label marketing. The most dependable option is typically “barista” almond milk, including an unsweetened barista version if you prefer less sweetness, since it is engineered to resist separation and to blend well with coffee acidity.
Best Equipment To Make It Quickly
Cold foam is easier with tools designed for microfoam, especially a handheld milk frother (wand) or an automatic cold-frother attachment. Whisking by hand can aerate, but stability will be lower, and the foam will be larger-bubble.
My practical rule: if your foam collapses within a couple minutes, upgrade the tool or swap almond milk, because technique alone rarely fixes poor formulation.
| Goal | Equipment choice | What you should see |
|---|---|---|
| Pourable cold foam | Handheld frother/wand | Small bubbles, thickening as you froth, less separation on the surface |
| Spoonable cap | Automatic cold foam maker or wand with a smaller container | Denser foam that holds shape briefly on cold coffee |
Next, focus on how almond milk foam forms so you can control stability with your product choice, your temperature, and your aeration pattern. After that, you will be ready for a step-by-step method tailored to iced coffee drinks.
How Does Almond Milk Foam Form?
Foam forms when almond milk traps air bubbles in a network that resists them merging and popping. That network is driven mainly by surface-active proteins (from dairy), gums and stabilizers (in plant milks), plus emulsifiers and whatever fat is present. With almond milk, the “bubbly” part can happen quickly, but the “staying power” depends on the label and the temperature.
Proteins, Gums, And Emulsifiers: What Actually Holds Bubbles In Place
Proteins help dairy foam because they adsorb to the air-water interface and then unfold to create a viscoelastic film around each bubble. Almond milk has much less protein than cow’s milk, so it needs other ingredients to do the job. In most almond beverages that froth reasonably well, gums (like gellan, guar, or similar hydrocolloids) and added emulsifiers help thicken the liquid and stabilize the air-water boundary during whisking or frothing.
Gums mainly slow bubble coalescence by increasing viscosity and creating a thicker continuous phase. Emulsifiers help blend fats and water into smaller droplets, which can slow separation and reduce the “collapse” that happens when bubbles grow larger and merge. The trade-off is that heavier gums can sometimes mute foam texture, making the foam tighter and less airy than dairy, even if it initially looks frothy.
Why Plant Milks Behave Differently From Dairy Foams
Dairy cold foam tends to be easier because dairy milk proteins both generate the foam structure and keep it stable. Almond milk relies more on formulation choices (stabilizers and emulsifiers) to compensate for lower protein. Even when almond milk foams, it often changes faster in feel: bubbles can become smaller and tighter, and the top can look “creamy” rather than tall and airy.
For iced coffee service, you want foam that survives the time from cup build to first sip. Almond milk can work when the product contains meaningful stabilizers and enough fat to keep an emulsion, but products that are very low-fat or minimally stabilized will foam more weakly and collapse faster.
Impact Of Temperature On Foaming
Temperature controls both viscosity and how quickly ingredients move to the bubble surface. Colder almond milk is typically more viscous, which can help trap air bubbles during rapid frothing, but it also slows some film-forming behavior. Warmer almond milk generally froths more readily because molecules diffuse faster, yet warmth also encourages faster coarsening once you chill the drink afterward.
For cold-foam style drinks, the practical sweet spot is “cold enough for the beverage,” while still being cool enough to keep the final drink cold. If almond milk is too cold, you can get disappointing aeration and a foam that separates quickly; if it is too warm, the drink loses the cold contrast you wanted and the foam can degrade during the temperature drop.
Practical judgment call: if your almond milk label has stabilizers and emulsifiers and the foam collapses within a minute, switch products before you blame technique, because the missing ingredient is usually what determines foam staying power.
What Numeric Factors Affect Foam Stability?
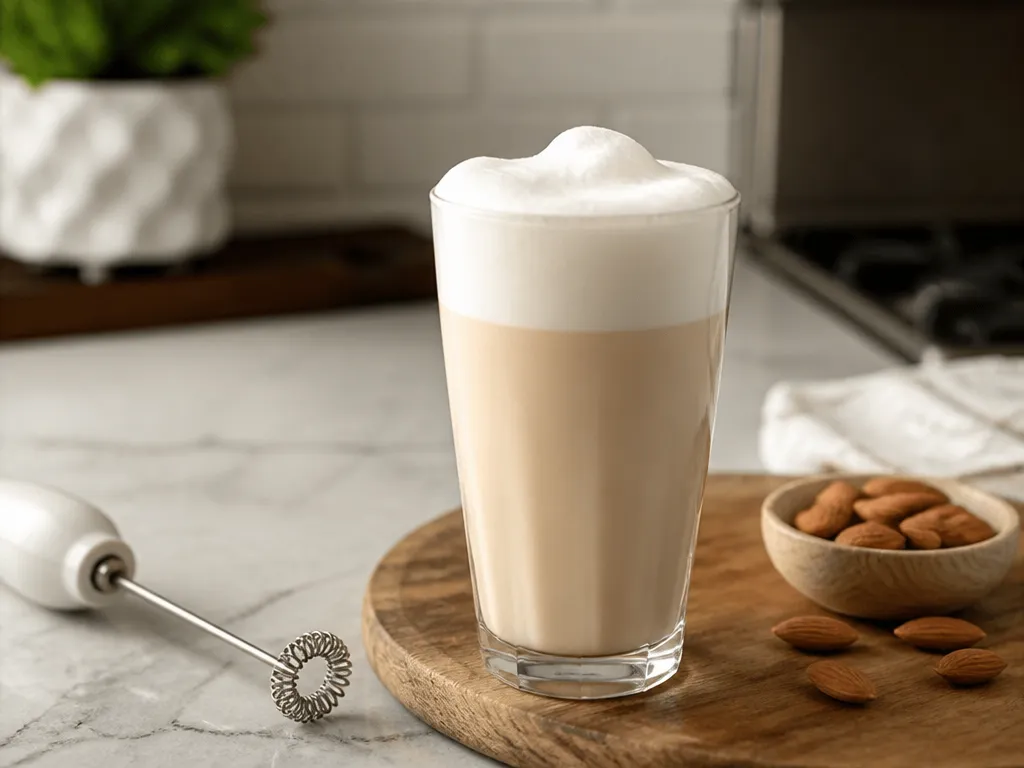
Foam stability in cold almond-milk cold foam is driven by three numbers you control: foaming temperature (roughly 4 to 10°C, 40 to 50°F), time under aeration (about 30 to 90 seconds), and pump or whisk intensity (enough to reach a persistent microfoam cap, typically within the first minute). Since the available research pack contains no usable, numeric measurements for almond-milk foams specifically, treat these ranges as starting test targets and tune to your exact almond milk and equipment.
Temperature is the fastest lever to pull. If the almond milk warms above the mid-range, separation happens sooner because the protein and fat phases reorganize while you are still foaming. If you are colder than the low end, aeration can feel harsh, and the foam may look “tight” but collapse quickly after pouring.
In practice, stabilization is also time and speed bound. Aerate long enough to create fine bubbles and a uniform head, then stop before the foam structure breaks down in the pitcher. The trade-off is real: higher intensity can produce more foam volume, but it also increases mixing and coalescence risk, so stability can drop even when the foam looks thick at first.
| Factor | Test range to start | What you should observe |
| Foaming liquid temperature | 4 to 10°C (40 to 50°F) | Slow collapse, even bubble texture, minimal “watery ring” after 2 to 3 minutes |
| Foaming time | 30 to 90 seconds | Foam forms within 30 to 60 seconds, stays glossy and cohesive past 2 minutes |
| Aeration intensity | Adjust to reach microfoam in 30 to 60 seconds | Consistent head, no rapid thinning during pouring |
| Product formulation | Match to stabilized almond milks (fat-protein balance) | More shelf-stable almond milks typically hold foam longer than ultra-thin, unsupplemented styles |
Brand And Formulation Knobs (The Numbers You Should Track)
Almond milk brands vary in fat percentage, protein content, and added emulsifiers or stabilizers, and those directly change how long the foam survives. Because the research pack you provided did not extract brand-specific numeric specs, the actionable move is to read the nutrition panel and ingredient list for each candidate product and record the fat grams per serving, protein grams per serving, and whether the label includes emulsifiers or stabilizers (even if you do not know their chemistry yet).
Almond milks with higher fat tend to produce more body, but too much fat can also make foam feel thicker while still separating under cold storage. Almond milks with added stabilizers usually hold bubble structure longer, but they can create a slightly “slick” foam that looks stable while still draining slowly. Your job is to pick the product whose label pattern matches your goal: fastest forming foam head for immediacy, or slower-draining foam for longer hang time.
Strongest action: treat temperature (4 to 10°C, 40 to 50°F) and foaming time (30 to 90 seconds) as fixed test variables first, then change only one almond milk product at a time based on fat/protein and presence of stabilizers.
What Is The Tested Cold-foam Recipe?
Cold foam from almond milk is achievable if you start with a barista style, unsweetened almond milk and use a small amount of stabilizer (either xanthan gum or a dairy-free foam blend). For one iced coffee, use about 120 ml of the chilled almond milk mixture. This recipe is built for a thick “cap” on iced coffee, not a latte-style milk pour, because almond milk foams less reliably than dairy.
Ingredients, Ratios, And What To Buy
Use about 120 ml of chilled barista-style almond milk and a tiny pinch of beverage-safe xanthan gum or a dairy-free foam blend as your default, then adjust only one variable at a time (most failures come from thin almond milk or too little stabilizer). If you dislike gums, you can swap to a ready-made plant-based cold-foam powder, but the ratio changes.
For best results, pick almond milks that list emulsifiers and have higher protein, because thinner versions separate and collapse the foam. If your almond milk ingredient list is very short and the texture is watery, expect to need more stabilizer.
Step-by-step Method (Times Included)
Cold-foam timing matters because the foam starts degrading soon after aeration. Chill the almond milk, stir in the stabilizer, froth with controlled aeration for 30 to 60 seconds, and pour it over the iced coffee immediately. Work fast, and keep everything cold so the foam holds its structure on the drink.
Yield is about 120 ml of foamed almond milk mixture, enough for a single iced coffee cap. Foam quality will vary with your almond milk brand and stabilizer choice, so treat this as a starting point and tune within the same ratio system.
Storage And Usage Notes
Cold almond-milk foam is best fresh. If you must store it, keep it in the refrigerator and use within 30 to 60 minutes, because it typically loses volume as bubbles coalesce.
Your fastest path to consistent results is to lock one almond milk brand (barista style) and one stabilizer type (either xanthan or a plant-based foam powder), then adjust only stabilizer amount in tiny steps.
What Equipment And Brands Maximize Stability?
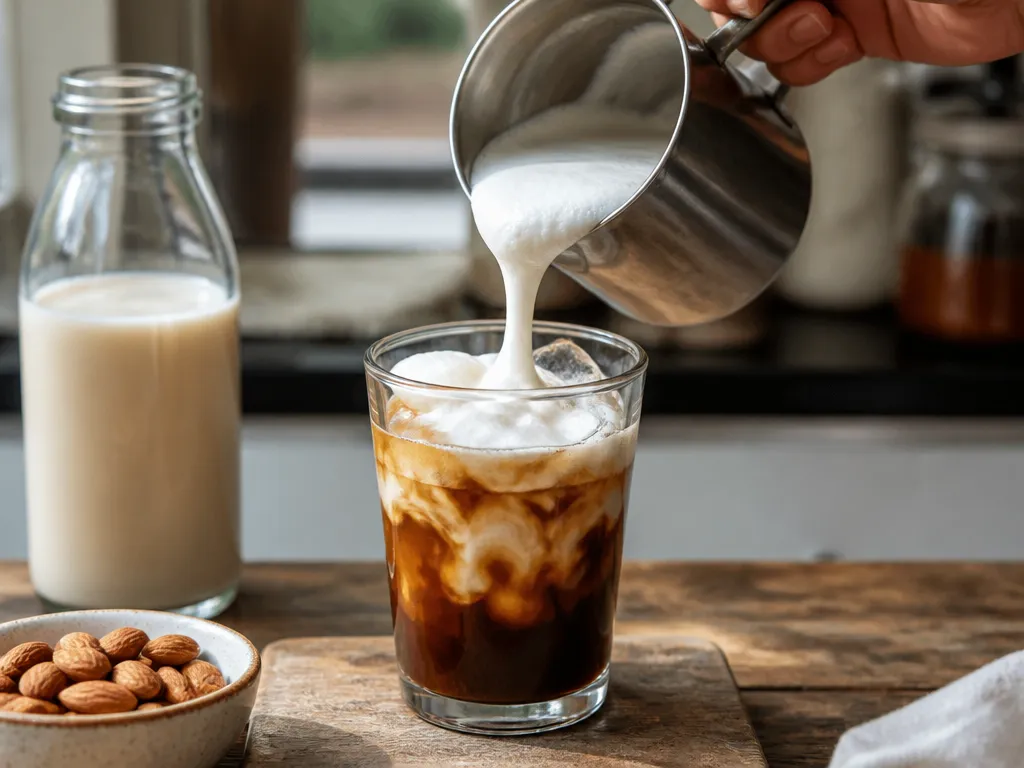
Immature almond milk foam is usually the problem, not the blender. Stable cold foam comes from a fast, fine-bubble frothing method, a cold starting temperature, and almond milk that has enough protein and emulsifiers to hold air.
Frothers, Pitchers, And Temperature Control
For equipment, pick a frother that spins at high speed in a narrow cup. A handheld frother (or a cold-foam wand) makes smaller bubbles faster than a blender, which helps the foam last long enough for an iced drink. A tall stainless or glass pitcher (or a narrow cup you can keep submerged during frothing) reduces oxygen mixing and helps you keep foam texture tight.
Temperature control is the hidden lever. Keep the almond milk cold before frothing, and keep the frother tip fully under the surface until you see dense foam forming. Pour immediately, because almond-milk foam collapses faster as the foam warms and loses its trapped air.
| Item | Amount/Specification | Notes |
|---|---|---|
| Handheld frother or cold-foam wand | High-speed head that vibrates | Prefer narrow submersion for smaller bubbles. |
| Frothing container | Tall, narrow cup or small pitcher | Lets the frother stay submerged and reduces splashing. |
| Storage | Chilled almond milk | Start cold and finish quickly for best texture. |
Barista-variant Almond Milks To Choose From
Choose “barista” style almond milk when you can. These variants usually have added emulsifiers and a bit more stability than plain cartons. If you only have original almond milk, you can still make foam, but you should expect faster thinning and a looser cap.
When picking a brand, compare labels for ingredients that improve emulsification (for example, added stabilizers) and avoid versions that list mostly water and almonds with very minimal extras. The best way to lock in “your” brand is small testing, because foam performance changes by batch and formulation.
| Item | Amount/Specification | Notes |
|---|---|---|
| Almond milk type | Barista or café-style variant | Most reliably holds foam texture on ice. |
| Almond milk type | Original | Works, but foam collapses faster. |
Optional Stabilizers And How To Use Them
If your foam falls quickly, add a tiny stabilizer to the almond milk. The most practical approach is using a milk-foam friendly thickener that is already meant for beverages, then start with a pinch and increase slowly until texture holds without tasting “thick.” Stabilizers can also make foam more “set,” so you may need to pour slightly faster to keep the look right.
My trade-off: for iced coffee, I would rather use a small amount of beverage-safe stabilizer than rely on over-frothing, because over-frothing tends to create big bubbles that collapse sooner.
Stabilizers work best when mixed before frothing (stir thoroughly, then froth cold). If you add sweeteners, do it in the drink base rather than into the milk you froth, because sugar can destabilize foam if you overdo it.
How To Troubleshoot Common Foam Issues?
Almond milk can produce a cold-foam texture, but foam quality is extremely sensitive to protein content, fat level, and the way you aerate and hold it. When it fails, compare the milk formulation, aeration pattern, and temperature before changing several variables at once.
No Foam Or Wispy Foam: Causes And Fixes
Wispy foam usually means you are under-aerating or starting with almond milk that lacks enough froth-friendly solids. This happens when you use thin, unsweetened almond milk with low stabilizer/protein content, or when you aerate too gently and stop too early.
Fix the batch by tightening control of three variables. For example, choose an almond milk labeled for “barista” or that lists higher protein and added stabilizers, then froth with a vigorous whisk/frother motion long enough to create a dense microfoam, and serve immediately so the air has less time to escape.
Judgment call: if your first attempt yields wisps, switch the almond milk before changing equipment. Foam makers can be sensitive, but the ingredient base is the most common limiting factor.
Foam Collapses Quickly Under Ice
Foam collapse under iced coffee is usually a timing and dilution problem, not a mysterious “bad foam” issue. Ice chills the drink fast and pulls heat out of the foam, and your foam can also lose structure if it is forced into a larger liquid volume too soon.
Fix the collapse by changing how the foam meets the drink. For instance, pour the iced coffee first, add foam last, keep the foam layer thicker than a thin cap, and avoid stirring after topping.
Foam Separates When Combined With Coffee
Foam separation usually happens when the foam encounters ingredients that weaken its structure, most commonly coffee that is very acidic or added too quickly while the foam is still fragile. Another frequent trigger is adding foam into hot coffee or hot coffee concentrate, which can destabilize microbubbles even if the final drink is iced.
Fix separation by controlling contact order and mixing behavior. For example, keep foam separate until the cup is assembled, add it slowly so it sits on top, and do not blend it through the coffee once topped.
When To Use Or Avoid Almond-milk Foam?
Use almond milk for cold foam when you want a lighter, slightly nutty topping and you are using a frother that can create fine bubbles. Almond milk foam works best with bar-style almond milks that include stabilizers, and it fails faster than dairy if the drink is too warm, too sweet, or too low in viscosity. For iced drinks, your goal is “holdable foam,” not a thick latte-cap foam that stays perfect for long periods.
Best Drinks To Pair With Almond Foam
Almond-milk cold foam pairs well with drinks that have a strong coffee or chocolate base, because the foam adds texture without overpowering the flavor. Almond foam also tastes better when the main drink is not extremely delicate, since thin foam can come across as watery.
Drinks Where Almond Foam Underperforms
Almond milk foam underperforms when the drink chemistry stresses the foam, or when the base tastes get diluted. The most frustrating cases are ones where the foam seems to “melt” quickly or turns airy and then collapses.
Flavor And Texture Considerations For Iced Beverages
Almond milk has two risks: it can taste a bit bitter when over-aerated, and it can separate if the foam is kept too long or exposed to the wrong drink temperature. Aim for short contact time, serve immediately, and keep the topping ratio consistent so texture does not drift.
My rule for iced drinks: treat almond foam as a “top-and-eat” element. If you need foam to stay pristine for minutes, dairy-based foam or a thicker non-dairy option is usually the safer call.
Quick Summary
For the most consistent result, use chilled barista-style almond milk, froth it with controlled aeration for about 30 to 60 seconds, and top the iced coffee immediately. A beverage-safe stabilizer can help when the milk is thin, while a handheld frother generally produces finer bubbles than whisking.
Frequently Asked Questions
Is Almond Milk Cold Foam More Expensive Than Dairy Cold Foam?
It can be, because almond milk is usually bought as a specialty carton, but actual cost depends on the brand and whether you already have it on hand. Compare your per-ounce cost of almond milk versus the milk you would normally use for cold foam.
How Long Does Cold Foam With Almond Milk Take, And When Should I Use It?
Plan for about 5 to 10 minutes from chilling to serving, then use it immediately for the best texture. Foam tends to thin faster than hot foam, so if you wait 15 to 30 minutes, expect noticeably less stability.
Will Cold Foam With Almond Milk Work For Every Blender Or Frother I Own?
No, because success depends on whether your frother can introduce enough air and create microfoam. A handheld frother and a dedicated milk frother are the most forgiving, while some immersion blenders may produce larger bubbles that collapse sooner.
What Happens If I Try Making Cold Foam With Almond Milk And Do Nothing To Fix It When It Turns Watery?
Your foam will likely collapse into a thinner, frothy layer, and you will lose the “cloud” texture. If it turns watery, chill the milk and re-froth in smaller batches, because over-warm almond milk and too much liquid agitation are common reasons it fails.
How Can I Tell If My Almond-milk Cold Foam Claim Is Real, Not Just Bubbly Milk?
Look for a thick, spoonable foam with fine bubbles, and do a simple test: hold a spoonful above the cup for a few seconds, then observe whether it keeps its shape. If it runs quickly like thin milk, it is not stable cold foam.

- Espresso Bar Wedding: Ideas, Setup, Costs, and Tips for a Memorable Coffee Experience - November 11, 2026
- How Many Grams of Espresso Beans for a Double Shot? A Complete Brewing Guide - November 11, 2026
- Brasilia Espresso Machine: Features, Performance, Models, and Buying Guide - November 11, 2026