
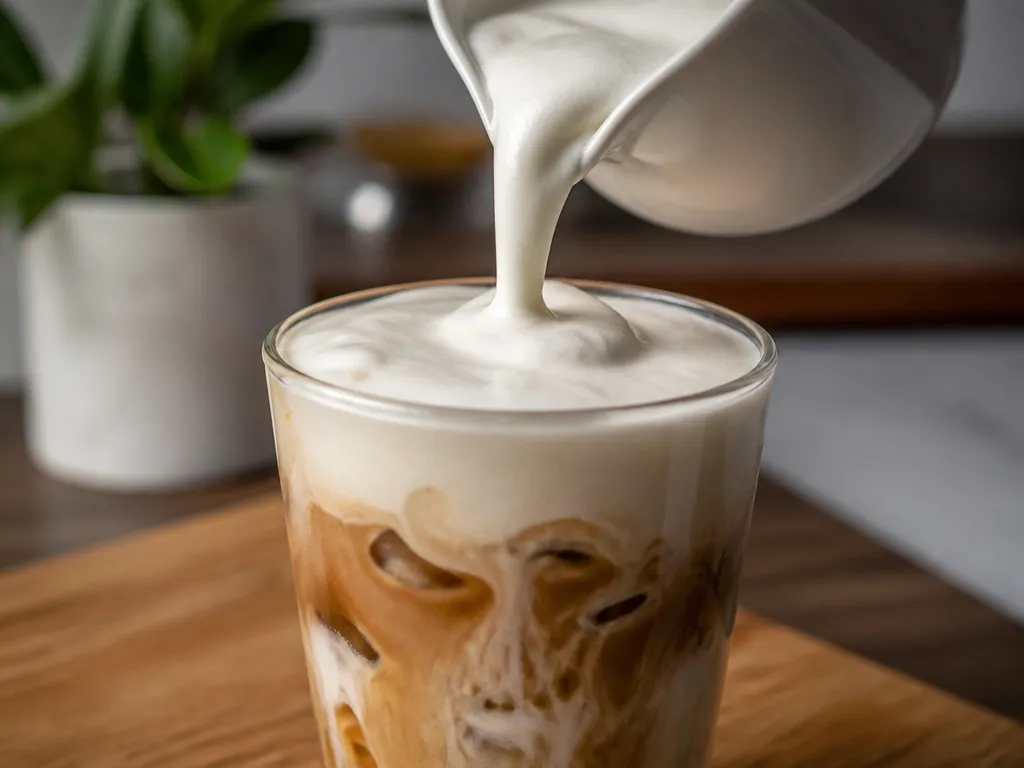
For a practical starting point, use 1/2 cup (120 ml) of very cold milk per serving. Froth or shake it until it resembles thick yogurt and pours in a ribbon that holds its shape briefly. These measurements are a starting formula, so adjust the stop point to suit your milk and tool.
For iced coffee or cold brew, dissolve 1 to 2 teaspoons of sugar per serving before frothing if you want sweetness. Make the foam just before serving. If it separates quickly, use colder milk, reduce the sweetener, or stop frothing sooner on the next attempt.
The Base Cold Foam Recipe In Measurements

Use the following as a dependable starting formula for one serving. The texture matters more than the stopwatch: stop as soon as the foam is thick, aerated, and still pourable.
Why Cold Milk, Sugar, And Protein Hold The Foam
Cold milk, dissolved sugar, and milk proteins all affect how long the foam remains pourable. Proteins help surround air bubbles, while dissolved sugar makes the liquid between those bubbles more viscous. Warmer milk and undissolved sweetener can make the foam drain or separate sooner.
Cold milk also gives you more working time. As the foam warms, the liquid moves more easily, bubbles merge, and the layer becomes thinner. That is why foam made immediately before serving usually looks better than foam left at room temperature.
Heavy cream can go too far in the other direction. Vigorous frothing may make it dense and difficult to pour instead of light enough to float on coffee. Some plant milks also struggle to form a lasting foam because their protein and stabilizer content varies.
For the simplest result, begin with cold dairy milk, dissolve the sweetener completely, and stop as soon as the foam passes the ribbon test. If it thins quickly, change the temperature or sweetener before changing several other parts of the method.
| Foam behavior | Likely mechanism | First adjustment to try |
|---|---|---|
| Thin quickly | Liquid is draining and bubbles are merging | Use colder milk and fully dissolved sweetener |
| Dense, stiff, hard to pour | Over-frothing or too much fat from cream | Use whole milk or shorten the frothing time |
| Never peaks | The milk is not forming a strong bubble-stabilizing structure | Try a milk that is labelled for foaming or a different milk type |
Which Milk Foams Best, From Whole To Oat And Almond
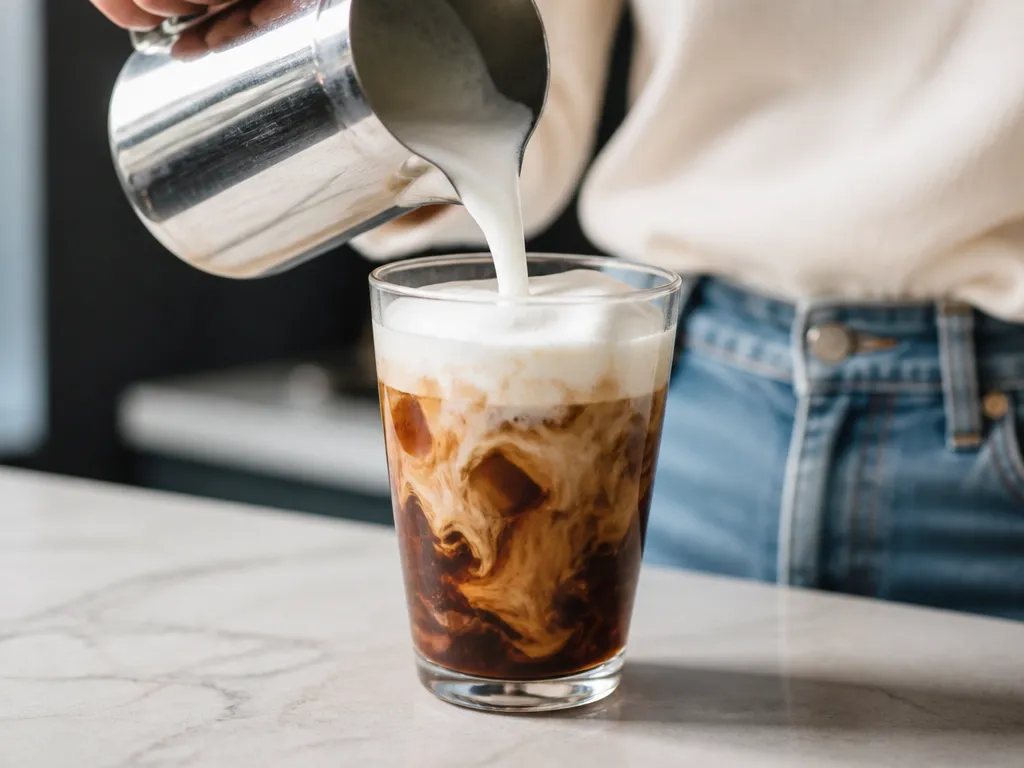
Milk fat, protein, and plant-based stabilizers all affect cold foam. Use 1/2 cup (120 ml) as the starting amount for every type, then adjust the stop point rather than changing the recipe immediately.
| Milk type | Foam behavior at cold temperatures | Best adjustment to try | Trade-off |
|---|---|---|---|
| Whole dairy | Usually gives a rich, consistent foam | Use the default amount and stop at the ribbon test | Can become heavy if over-frothed |
| 2% dairy | Usually foams well with a lighter body | Keep the ratio and stop as soon as it pours cleanly | May lose structure sooner if over-frothed |
| Skim dairy | Can produce lighter foam that drains sooner | Start with the default amount and check it frequently | More likely to become thin |
| Oat (regular) | Often has a thick mouthfeel but variable foam | Use the default amount and stop before it becomes gummy | Its flavor can be noticeable |
| Oat (barista-style) | Often gives a more consistent, fine-textured foam | Use the default ratio and rely on the pour test | May taste sweeter |
| Soy | Often forms a steadier foam than almond milk | Use the default amount and aim for a soft ribbon | Can have a stronger flavor |
| Almond | Can be thin or less stable | Choose a barista-style version when possible and stop before it turns stiff | May collapse quickly |
Barista-style plant milks often contain stabilizers intended to improve foaming. Basic versions may separate sooner. When switching milks, keep the milk amount at 1/2 cup (120 ml) for one serving and change only the frothing time first. That makes it easier to identify the cause of a weak or overly thick foam.
Frothing Without A Machine Using A Whisk, Blender, Or Jar
Each tool produces a different result. A handheld frother gives the best control for a small serving, a blender adds volume quickly, and a jar requires no special equipment but tends to make larger bubbles. None will exactly match the fine texture of a steam wand.
A steam wand introduces very fine bubbles at controlled temperature and flow. Home tools usually create larger, less uniform bubbles, but they can still produce a thick topping. The useful target is not a stiff peak. It is cold foam that pours in a soft ribbon.
Whatever tool you choose, use the texture as the stop signal. More agitation is not always better. Over-frothing can make the foam dense, uneven, or quick to separate.
The Five Controls That Set Foam Thickness
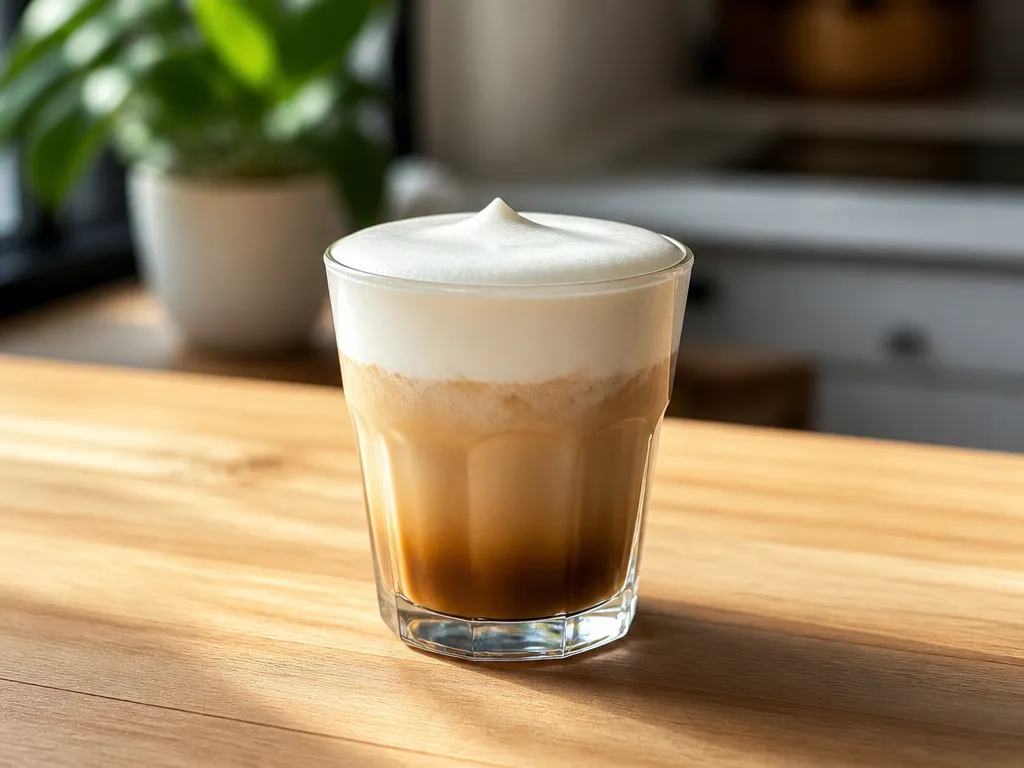
Five practical controls determine whether the topping is light, thick, or dense. Use 1/2 cup (120 ml) milk as a baseline and change one factor at a time.
Controls And What They Change
Frothing or shaking duration determines how much air enters the milk. Stop earlier for a light cap and continue briefly for a thicker ribbon. If you keep going after the foam becomes dense, it may stop pouring smoothly.
Starting milk temperature affects stability. Colder milk generally gives you more time before the foam drains. Use milk straight from the refrigerator and avoid letting it sit out while you prepare the coffee.
Sweetener amount affects the liquid between the bubbles. A small amount of dissolved sugar can add body, while too much can make the foam heavy or runny, depending on the sweetener.
Fat content changes richness and the point at which the foam becomes dense. Richer milk may reach a thick texture quickly, so check it often.
Foam stop point (visual cue) is the final control. Stop when the foam resembles thick yogurt and forms a ribbon that holds briefly.
| Control | Increase it | Decrease it | What you’ll notice |
|---|---|---|---|
| Froth/shake time | Thicker, denser foam | Thinner, lighter foam | The ribbon holds longer when you stop at the right point |
| Milk temperature | Less stability if the milk is warmer | More stability when the milk is colder | Warm foam drains sooner onto the coffee |
| Sweetener | More body when fully dissolved | Less added body | Too much can make the foam heavy or thin |
| Fat content | Richer, potentially denser foam | Lighter foam | Rich milk may move quickly from soft to over-frothed |
To adjust the recipe quickly, keep the milk amount, milk type, and temperature consistent. Then change only the frothing time or sweetener amount. Stop as soon as the ribbon holds for a few seconds.
Fixing Cold Foam That Won’t Foam Or Collapses Fast
Most failures come from warm milk, incomplete mixing, a milk that does not foam well, or too much agitation. Correct one factor at a time and start again with 1/2 cup (120 ml) milk.
| Symptom | What’s likely wrong | Exact fix | Make it again |
|---|---|---|---|
| No foam forms at all | The milk may be too warm, or the tool may not be incorporating enough air. | Use colder milk and keep the frother near the surface. Continue until the mixture reaches a thick-yogurt texture. If using sweetener, dissolve it before frothing. | Start with 120 ml and check the texture frequently. |
| Foams, then collapses within a minute or two | The milk may have weak foaming properties, or the foam may be too warm or over-agitated. | Use colder milk, try a milk intended for foaming, and pour immediately when it reaches the target texture. | Test one serving before making a larger batch. |
| Grainy, separated, or curdled texture | Undissolved sugar, coarse crystals, acidic flavoring, or excessive agitation. | Use powdered or superfine sugar, mix it fully before frothing, and avoid acidic additions. | Remake with the same 120 ml and stop at the soft ribbon stage. |
| Too runny to sit on top of coffee | The foam has not incorporated enough air, or the recipe contains too much added liquid. | Froth briefly longer, use less syrup next time, and pour immediately. | Remake and check the foam rather than relying only on time. |
| Too stiff or dense to pour | The foam has been over-processed. | Shorten the frothing time on the next batch. If it is only slightly too thick, fold it gently rather than continuing to whip it. | Remake and stop earlier at the ribbon test. |
Use this order when troubleshooting: chill the milk, dissolve the sweetener, check the tool position, and stop at the thick-yogurt stage. Pour immediately. If the result is still wrong, change only one variable in the next attempt.
Layering Cold Foam Over Iced Coffee Without Losing It
Make the foam at the last practical moment. Cold coffee gives it the best chance of remaining on top, while heat and time make the bubbles drain faster.
Chill brewed coffee or cold brew before adding the foam. If you are using espresso, cool it over ice before topping. Foam placed on hot coffee will thin more quickly.
When To Make Foam, When To Add Ice, And How To Pour
Cold brew is the simplest base. Pour it over ice, make the foam, and add the foam just before serving.
For iced espresso, cool the espresso over ice or chill it before frothing the milk. Add the foam as soon as the coffee is cold.
For hot coffee, cool the drink with ice first if you want the foam to last. A hot mug will melt the structure quickly.
| Coffee type | Best timing | Pour method |
|---|---|---|
| Cold brew | Ice first, foam last | Pour the foam slowly over the center |
| Iced espresso | Cool the espresso, then foam immediately | Use a soft ribbon and avoid stirring |
| Hot coffee | Cool the coffee first, then top | Let the foam sit on the surface |
Leave some space at the top of the glass and pour gently. Stir the coffee and dissolve any coffee sweetener before adding the foam. Once the topping is in place, serve without stirring.
How Long Cold Foam Holds And How To Revive It
Cold foam is best immediately after it reaches the target texture. The bubbles gradually escape and the liquid drains, so the topping will become flatter and less ribbon-like with time.
Fast Fixes When It Changes In The Glass
If the foam starts sinking, serve it sooner on the next attempt and make sure the coffee is cold. Once the structure has fully collapsed, it will behave more like flavored milk than a topping.
Quick Summary
Start with 1/2 cup (120 ml) cold milk per serving. Dissolve sweetener before frothing, then stop when the foam resembles thick yogurt and pours in a soft ribbon. Add it to cold coffee immediately.
Four conditions move the result:
Your next move: pour 1/2 cup (120 ml) cold milk into a tall container, add powdered sugar to taste, stir until smooth, froth until it passes the ribbon test, and pour it over iced coffee immediately.
Frequently Asked Questions
Does Making Cold Foam At Home Actually Save Money Over Buying It?
It can, but the answer depends on local prices and the milk or syrup you choose. Compare the price of the milk and flavorings you actually use with the price of a prepared topping. Plain dairy will usually make the simplest comparison, while barista-style plant milk and bottled syrup can narrow the difference.
To calculate your own cost, divide the carton price by the number of servings you can make from it, then add the per-serving cost of sugar, vanilla, or syrup. Compare that total with the price of the prepared cold foam or finished drink.
Do Lactose-free Or Ultra-filtered Milks Need A Different Ratio?
Start lactose-free milk at the same 1/2 cup (120 ml) amount and use the same method as the comparable regular milk. Taste and foam behavior can still vary by brand, so use the ribbon test rather than assuming every carton will behave identically.
Ultra-filtered and protein-fortified milks may reach a thick texture quickly. Check them earlier and stop before the foam becomes stiff. Read the label for fat content and added stabilizers, since those can also affect the result. Test one 1/2 cup (120 ml) portion before making a larger batch.
Can I Use A Zero-calorie Sweetener Instead Of Sugar?
Yes. Powdered or liquid zero-calorie sweeteners can work if they dissolve completely, but they may not add the same body as sugar. Use the amount recommended on the product label and check the foam earlier than usual.
If the foam feels thin, use colder milk, pour it immediately, or try a higher-protein milk. Avoid coarse blends that remain gritty in cold liquid. Sweetener brands vary, so adjust the amount to taste and use texture as the final guide.

- Espresso Bar Wedding: Ideas, Setup, Costs, and Tips for a Memorable Coffee Experience - November 11, 2026
- How Many Grams of Espresso Beans for a Double Shot? A Complete Brewing Guide - November 11, 2026
- Brasilia Espresso Machine: Features, Performance, Models, and Buying Guide - November 11, 2026