
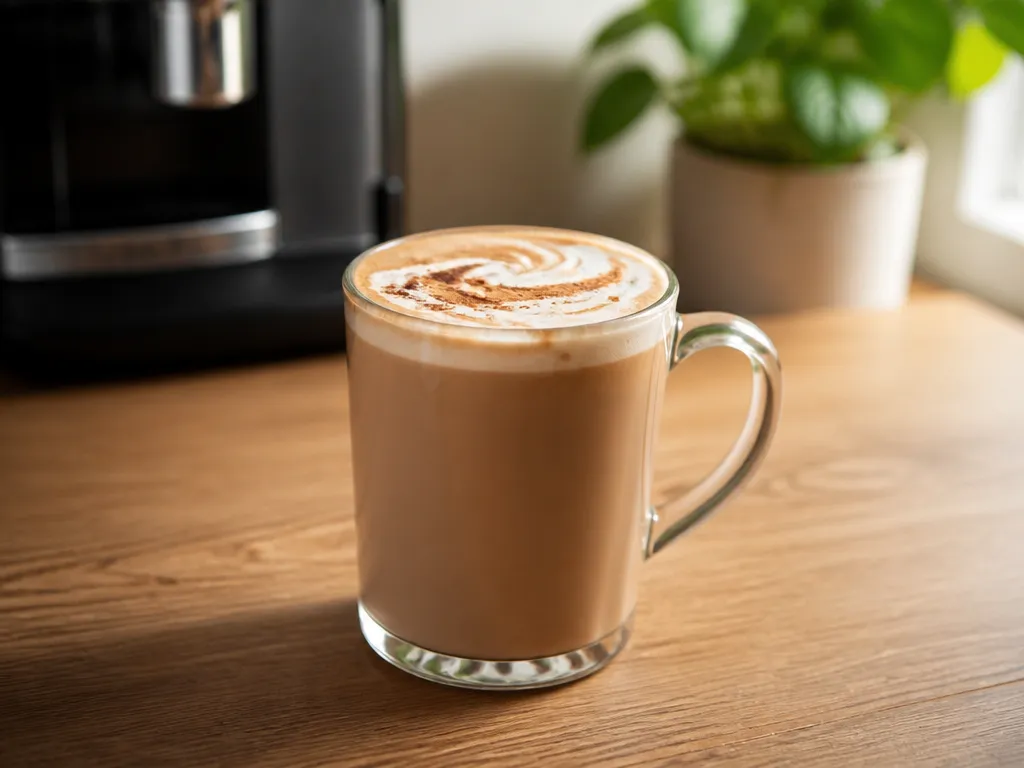
For a standard 12 – 14 oz mocha latte, start with a double shot of espresso, chocolate to taste, and steamed milk. Aim for smooth, glossy microfoam rather than a dry cap. Because cocoa powder, syrup, and melted chocolate vary in sweetness and thickness, treat the chocolate amount as a starting point and adjust after tasting.
Brew the espresso, stir in the chocolate while the coffee is hot, then add steamed milk. If the drink tastes bitter, adjust the espresso before adding more chocolate. If it tastes flat, increase the chocolate gradually or use a more concentrated coffee base.
What You Need To Make A Mocha Latte At Home (Exact List)
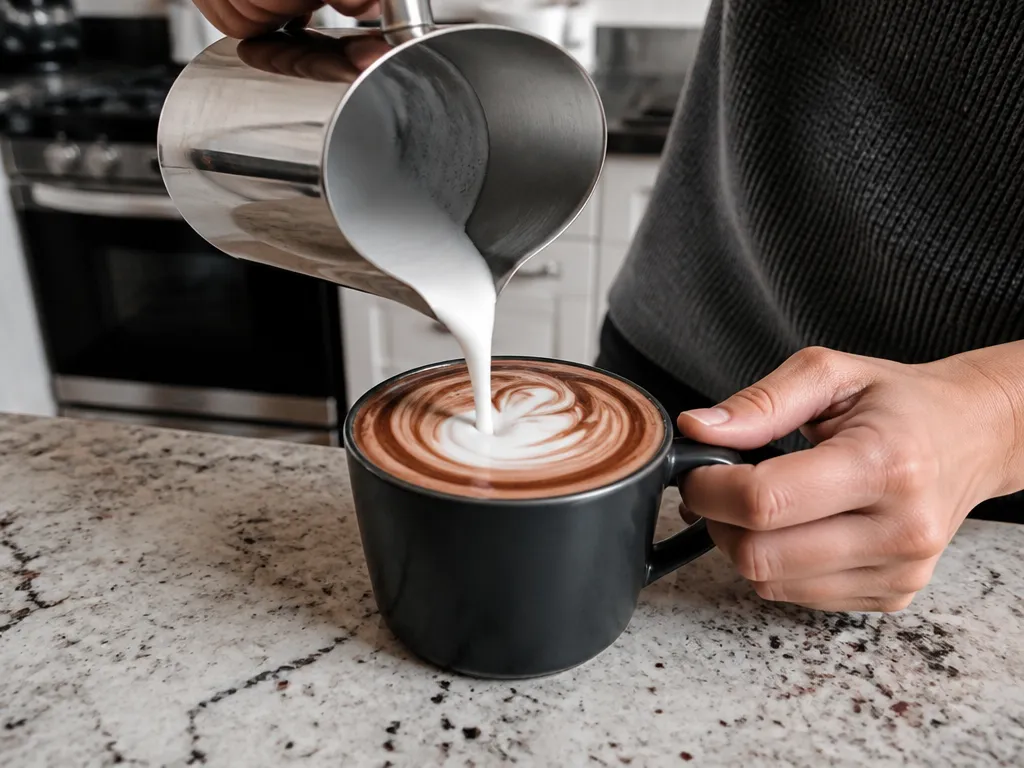
Use the gear and ingredients below to make one 12 – 14 oz mocha latte. The quantities in the recipe are starting points rather than universal requirements, since basket size, chocolate type, milk, and cup size all change the result.
| Method | What you need | For this drink (one serving) | Optional but helpful |
|---|---|---|---|
| Espresso machine | Portafilter, basket, tamper, and steam wand | One double shot of espresso | Steam pitcher, thermometer, and scale |
| Handheld espresso frother (no machine) | Standalone espresso maker or another concentrated coffee method, plus a frother | Enough concentrated coffee to stand up to the milk and chocolate | Milk thermometer |
| Moka pot | Moka pot, heat source, spoon, and small cup | Moka coffee adjusted to taste in place of espresso | Timer and kettle |
| Milk only frothing | Steam wand or frother, pitcher, or heat-safe container | Enough milk to fill the finished cup after adding coffee and chocolate | Thermometer |
Have concentrated coffee, milk, and chocolate ready. Choose one chocolate format so you can repeat the drink: syrup is easiest, cocoa gives more control over sweetness, and melted chocolate gives the thickest mouthfeel. Keep a spoon or small whisk nearby for mixing.
Tools That Matter (And What To Buy If You’re Missing Them)
A scale helps you repeat the coffee dose and yield, but it is not essential. A thermometer makes the milk temperature easier to control. For steaming, use a narrow heat-safe pitcher that lets you create a gentle whirlpool and pour the milk in a controlled stream.
Sanitation And Safety Basics (Do These Every Time)
Steam wands become very hot, and milk residue dries onto them quickly. Wipe the wand immediately after steaming and purge it according to your machine’s instructions. Keep hot milk and chocolate away from plastic that may warp, and use a towel or heat-safe grip when handling a hot pitcher.
Mocha Latte Recipe: Step-by-step For One 12 – 14 Oz Cup
Use this sequence for one mocha latte. The measurements below are practical starting points; adjust the chocolate and milk to suit your cup and taste.
Chocolate Method: Pick Your Style, Then Scale Consistently
Syrup mixes quickly and usually produces the smoothest result. Cocoa gives a drier, more intense chocolate flavor, but it must be dissolved thoroughly. Melted chocolate creates the richest body and can make the drink feel thick.
If the mocha tastes bitter, reduce the cocoa or use a sweeter chocolate format. If it tastes weak, first check the coffee concentration and final amount of milk. Add chocolate only after deciding that the drink actually needs more chocolate.
Why Mocha Tastes Different: Espresso Strength + Chocolate Balance
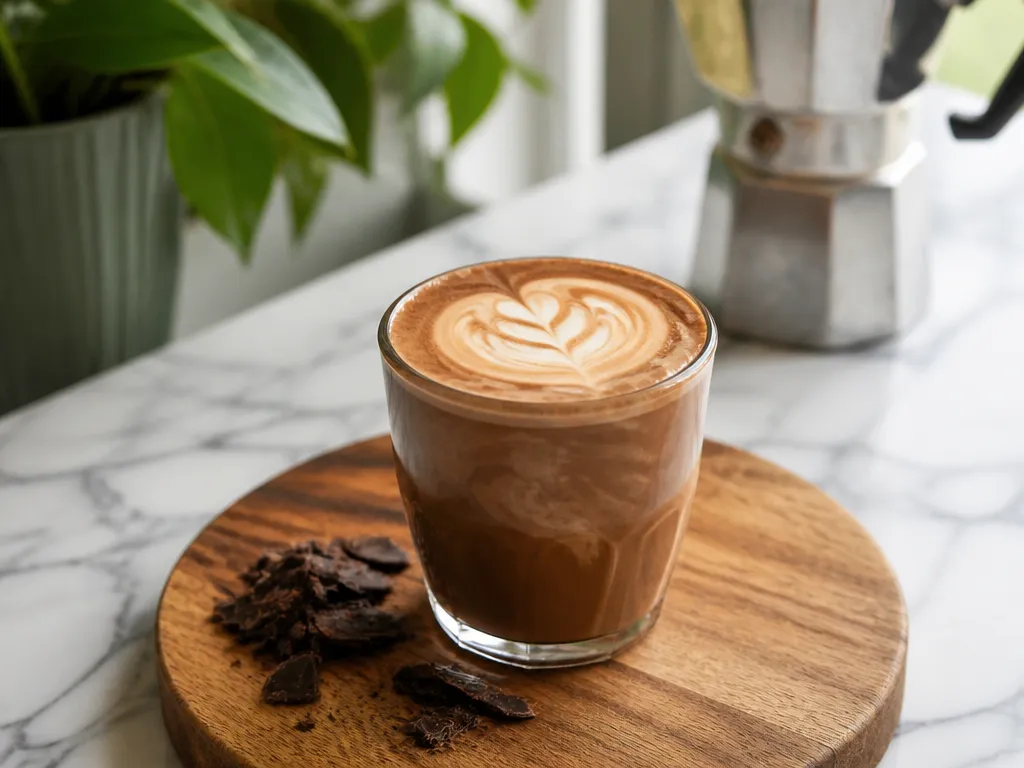
A mocha balances coffee intensity, chocolate flavor, sweetness, and milk. A concentrated espresso can support more chocolate, while a weaker coffee may disappear under the milk and sugar.
Practical tuning rule: Keep the coffee method consistent and change one variable at a time. Adjust either the chocolate, the coffee yield, or the amount of milk, then taste again.
When the mocha tastes off, identify the dominant problem first. Harshness usually points to the coffee or chocolate format, weak body points to dilution or a weak coffee base, and sourness usually needs a coffee adjustment before a sweetness adjustment.
Milk Science: Temperature And Foam Targets For Mocha
For a hot mocha, use milk around 60 – 65°C (140 – 150°F) as a starting point and aim for glossy microfoam. The milk should blend into the coffee rather than sit as a stiff layer.
Milk Type Variables: Dairy Vs Oat, Almond, Soy
Milk type affects sweetness, body, and foam. Dairy milk is often forgiving, while plant milks vary considerably by brand and formulation. Use the same temperature target as a starting point, then adjust the steaming technique to the milk in front of you.
Oat milk can produce a creamy result but may build foam quickly. Almond milk may feel lighter, while soy can produce a fairly stable foam but may contribute its own flavor. Barista-style plant milks are designed for drinks, but the result still varies by product.
Dial-in Numbers: Adjust For Strength, Chocolate, And Volume
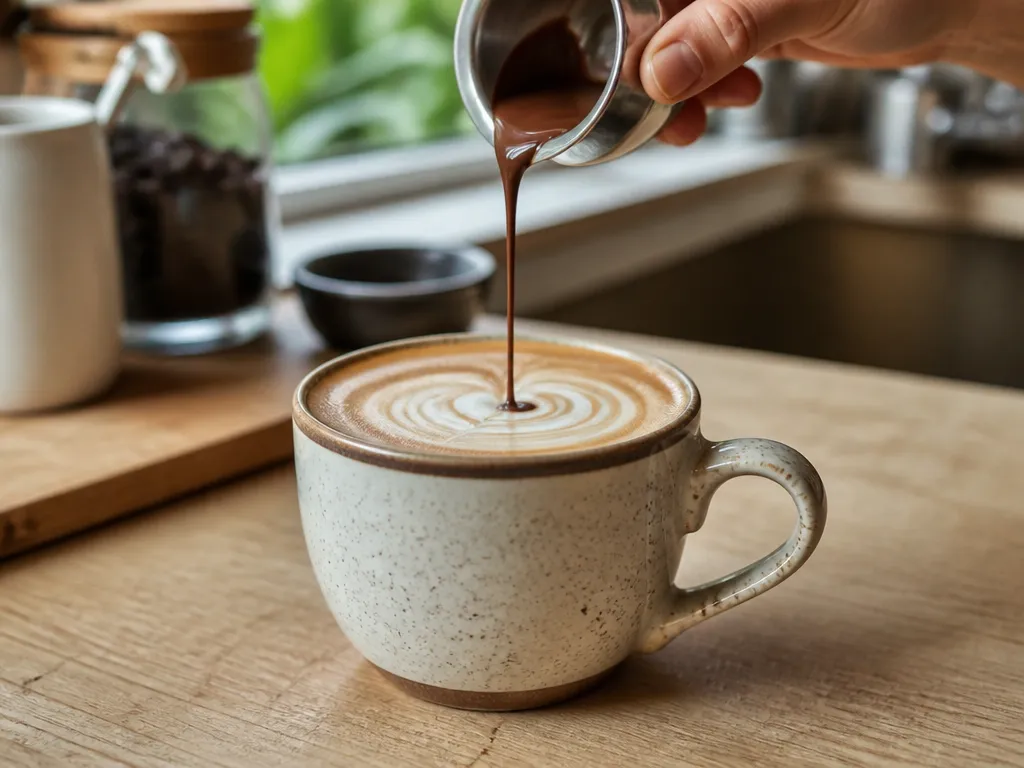
Use three controls when adjusting a mocha: coffee strength, chocolate concentration, and the amount of milk in the finished cup. The figures below are starting points, not fixed rules for every machine or ingredient.
| Adjustment knob | Dial-in numbers | What you should taste |
|---|---|---|
| Espresso dose | A common double-shot starting point is about 18 – 20 g, if your basket supports it | Changes coffee intensity and bitterness |
| Espresso yield | A common starting point is about 36 – 40 g of espresso | More yield can taste lighter; less can taste more concentrated |
| Chocolate amount | Begin with a small amount of your chosen format and increase gradually | Changes sweetness, chocolate flavor, and body |
| Final drink volume | Keep the finished drink within the 12 – 14 oz range if that is your target cup size | More milk dilutes the same coffee and chocolate |
Espresso tuning (strength first). If your basket supports it, use about 18 – 20 g of coffee and begin around 36 – 40 g of espresso. Treat those figures as a starting recipe, not a requirement. Change the grind, dose, or yield according to the flavor of the shot and the limits of your equipment.
Chocolate tuning (flavor second). Keep the chocolate format consistent while adjusting. Use less for a coffee-forward mocha and more for a sweeter, richer drink. Cocoa, syrup, and melted chocolate cannot be substituted gram for gram because they contain different amounts of sugar and water.
Milk and volume (consistency). Keep the final amount of milk consistent while dialing in the coffee and chocolate. Otherwise, a change in dilution can look like a change in extraction.
Mixing timing (cohesion). Combine the chocolate with the hot espresso promptly, then add the milk. This gives cocoa time to dissolve and prevents syrup or melted chocolate from settling.
Troubleshooting Mocha Latte Problems And What To Fix First
Fix the closest variable first and taste again. Check the espresso, then the chocolate concentration, then the milk texture.
Bitter Or Harsh Mocha (Sharp Roast, Lingering Bitterness)
Symptom: The mocha tastes dry, sharp, or persistently bitter.
Cause: The coffee may have extracted too aggressively, or the chocolate may be dark, intense, or overused.
Fix to try first: Change the espresso grind or yield while keeping the chocolate unchanged. If the coffee is acceptable on its own, reduce the cocoa or switch to a sweeter chocolate format.
Watery, Weak, Or “Coffee Flavor Disappears” Mocha
Symptom: The drink tastes thin and the coffee or chocolate fades quickly.
Cause: The coffee may be under-concentrated, or the drink may contain too much milk for the amount of coffee used.
Fix to try first: Use a more concentrated coffee base or reduce the milk slightly. Only increase the chocolate after checking dilution.
Separated, Grainy, Or Scorched Milk (Oily Streaks, Curds, Or Sandy Texture)
Symptom: The milk looks split or grainy after steaming or combining.
Cause: The milk may have overheated, or the foam may have been poorly incorporated.
Fix to try first: Start with fresh milk and stop around 60 – 65°C (140 – 150°F) if you are measuring. Swirl the milk before pouring and combine it with the espresso immediately.
Under-foamed Or Over-foamed Milk (Flat Texture Vs Big Bubbles)
Symptom: Under-foamed milk looks thin, while over-foamed milk has large bubbles and an airy cap.
Cause: Too little air was added, or air was added for too long.
Fix to try first: Stretch the milk briefly at the beginning, then create a gentle whirlpool. If the milk is already overheated or curdled, restart rather than re-steaming it.
Quick-start One-page Cheat Sheet (Ratios + Times)
Use this as a starting recipe for one 12 – 14 oz cup: a double shot of espresso, chocolate added gradually to taste, and enough milk to fill the cup. If you want a measured espresso recipe, begin with 18 – 20 g of coffee producing about 36 – 40 g of espresso, provided your basket and machine suit those figures. Use 60 – 65°C (140 – 150°F) as the starting milk temperature.
| Lever | Default target | What changes it |
|---|---|---|
| Espresso dose | Use your basket’s double-shot dose; 18 – 20 g is a common starting point | Basket size and coffee recipe |
| Espresso yield | Begin around 36 – 40 g if that suits your coffee and equipment | Roast, grind, dose, and extraction |
| Chocolate | Start with a small amount and increase after tasting | Cocoa is drier; syrup is sweeter; melted chocolate is thicker |
| Milk | Add enough to fill the cup; stop around 60 – 65°C (140 – 150°F) | Milk type, foam volume, and cup size |
| Final volume | 12 – 14 oz if that is your target cup | The amount of milk and foam added |
Fastest Path When You Do Not Have An Espresso Machine
Moka pot is a useful substitute because it produces concentrated coffee. Brew according to the pot’s instructions, stir the hot coffee into the chocolate, and add frothed milk. Aeropress can also work if you brew a concentrate rather than a full mug. Without a steam wand, heat the milk in a saucepan or microwave, then use a hand frother or shake it in a heat-safe container. The foam will usually be looser than machine-made microfoam.
Iced, Dairy-free, And Non-espresso Alternatives (Moka/aeropress)
Keep the same basic balance when changing formats: concentrated coffee, chocolate to taste, cold or hot milk, and enough liquid to fill the cup. The main difference is the mixing order.
Serving, Garnishes, And Cleanup For Best Results
Use a warmed cup if you want the drink to stay hot longer. A clear glass shows the layers, while an opaque mug hides them and may retain heat better. The exact effect depends on the vessel and room conditions.
Chocolate makes latte art less forgiving because it adds weight and reduces the contrast between crema and foam. Simple shapes are more realistic than fine patterns. Swirl the pitcher before pouring if the foam has separated. If the milk plops instead of flowing, it is probably too stiff.
The caffeine content of a mocha varies with the coffee, dose, and brewing method. Check the information supplied with your coffee if caffeine matters to you. Milk and chocolate change the drink’s volume and flavor, not the amount of caffeine already present in the coffee.
Quick Summary
Start with a double shot, chocolate added to taste, and milk steamed to about 60 – 65°C (140 – 150°F). If you use a scale, 18 – 20 g of coffee producing around 36 – 40 g of espresso is a possible starting recipe for a suitable double basket. Keep the finished drink within your target 12 – 14 oz cup and adjust one variable at a time.
| Condition | Change this one thing |
|---|---|
| Chocolate disappears under the espresso | Add a little more chocolate or use a sweeter format before changing the coffee |
| Cup tastes thin or watery | Use less milk or a more concentrated coffee base |
| You are using oat, almond, or soy | Adjust the stretching time and stop steaming before the milk overheats |
| Building it iced | Dissolve the chocolate in hot coffee, then add chilled milk and ice |
Taste the espresso before adding the chocolate and milk. If it is harsh, sour, or hollow on its own, adjust the coffee first. Sweetness and foam cannot reliably repair a poor coffee base.
Frequently Asked Questions
How Much Does A Homemade Mocha Latte Actually Cost Per Cup?
Exact cost data was not found, so there is no reliable per-cup price to give. Calculate your own cost by dividing the price of the coffee by the number of doses in the package, then adding the cost of the chocolate and milk used for one drink.
The result depends mostly on the ingredients and serving size you choose. If you want to reduce the cost, compare the coffee and chocolate first rather than changing the preparation method.
Can I Batch The Chocolate Base Or The Whole Drink Ahead Of Time?
You can prepare a chocolate mixture ahead of time, but its storage life depends on its ingredients. A dry cocoa blend and a dairy-based mixture should not be treated the same way. Store prepared mixtures covered and follow the shortest storage guidance for the ingredients used.
A finished mocha is best made close to serving. The foam separates and the coffee flavor changes as the drink sits. For a faster morning routine, portion the dry cocoa or syrup into the cup ahead of time.
What If I Do Not Own A Thermometer?
Use the pitcher as a rough guide, but treat touch as an estimate rather than an exact measurement. Stop when the pitcher is hot enough that you would not want to keep holding it, then pour immediately. The milk may continue heating briefly after the steam stops.
Sound also helps. A sharper hiss indicates that air is being added; a quieter sound usually means the milk is mainly heating. This method takes practice and varies with the pitcher, wand, and milk, so use a thermometer when repeatability matters.
Can I Make Three Or Four Mochas At Once For Guests?
Prepare the chocolate in each cup and brew the coffee in sequence. Steam milk for one drink, or for as many servings as your pitcher can texture evenly, then pour promptly. Foam separates as it sits, so making every pitcher well ahead of serving can produce uneven cups.
For a group, organize the cups and chocolate first, then brew and pour in batches. Keep the coffee recipe and milk type consistent so you can adjust the next batch if the first tastes unbalanced.
Does This Work With Decaf Or Pre-ground Coffee?
Yes. Decaf and pre-ground coffee may require different grind and extraction settings, so taste the coffee before adding the chocolate. If it tastes thin, use a more concentrated recipe. If it tastes harsh, adjust the grind or yield rather than masking it with extra sweetness.
The chocolate and milk steps stay the same. Only the coffee recipe may need to change.
How Do I Tell Whether The Problem Is My Beans Or My Technique?
Make a plain coffee using the same beans and settings, without chocolate or milk. If it tastes sour, harsh, or hollow on its own, adjust the coffee or grind first. If the plain coffee tastes balanced but the mocha does not, check the chocolate amount, milk texture, or mixing order.
Change one variable at a time. That makes it easier to identify the cause and repeat the version that works.

- Espresso Bar Wedding: Ideas, Setup, Costs, and Tips for a Memorable Coffee Experience - November 11, 2026
- How Many Grams of Espresso Beans for a Double Shot? A Complete Brewing Guide - November 11, 2026
- Brasilia Espresso Machine: Features, Performance, Models, and Buying Guide - November 11, 2026