

Use soft microfoam: glossy foam with very fine bubbles that is thick enough to sit on a cold drink but fluid enough to pour. For a home starting point, warm the milk gently, dissolve the sweetener and vanilla, then froth only until the mixture looks like wet paint. Do not chase a stiff, dry foam.
For one small batch, start with 100 ml milk (3.4 fl oz), 1 to 2 teaspoons sweetener, and 1 to 2 teaspoons vanilla. These quantities are practical starting ranges rather than universal specifications. Adjust the next batch according to your milk, frother, and taste. The finished foam should move in a slow ribbon and show tiny, even bubbles.
What Is The Exact Recipe And Ingredient List For Vanilla Sweet Cold Foam?
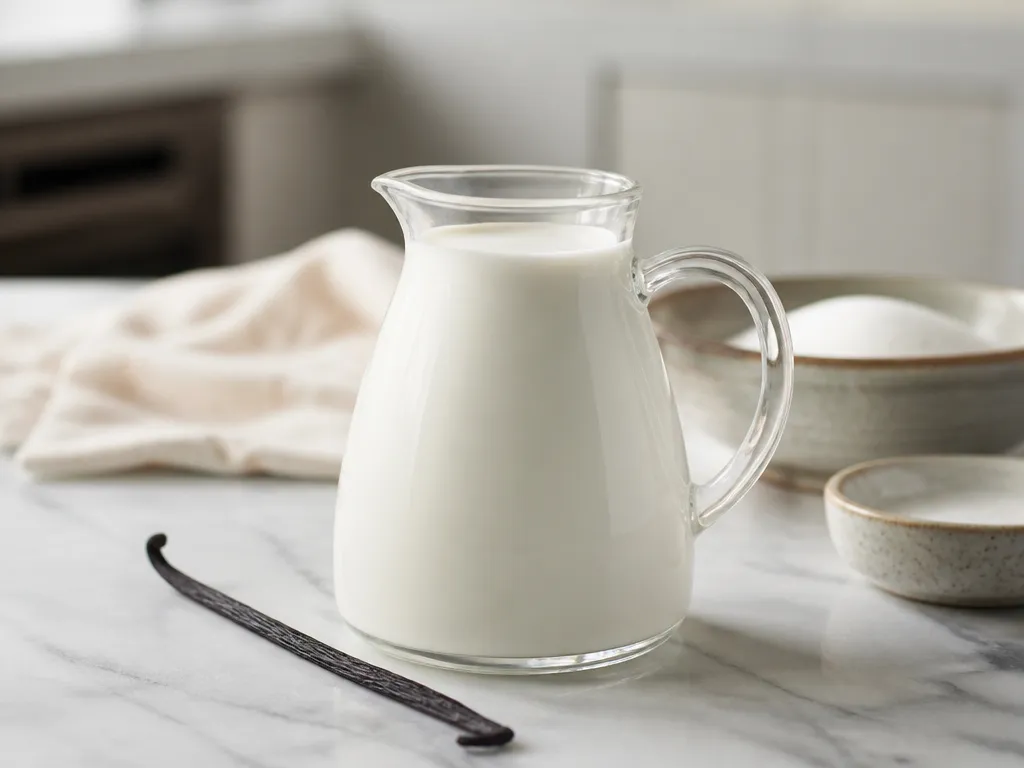
There is no single exact formula that works identically with every milk and frother. Use this small-batch starting recipe, then adjust the sweetness and vanilla after tasting the warmed milk.
A narrow vessel helps a handheld frother circulate a small batch. Leave headspace because the milk expands as air is incorporated. The best endpoint is a visual and pouring cue, not a fixed timer.
Why Does Vanilla Sweet Cold Foam Form And What Texture Should I Target?
Frothing traps air in the liquid milk. Milk proteins help surround the bubbles, while fat and dissolved solids affect the foam’s body and mouthfeel. Sugar can make the liquid feel slightly thicker once it dissolves, but it cannot compensate for poor aeration or unsuitable milk.
Vanilla mainly contributes flavour. Extract blends quickly. Paste, powder, and bean-based products can leave specks or add a little body, so mix them thoroughly before frothing. The milk, sweetener level, and frothing technique have a larger effect on texture than the vanilla itself.
Texture Cues For Soft Microfoam
Soft microfoam has a shiny surface and fine, even bubbles. It resembles wet paint more than a dry mound of whipped foam. It should sit on the drink for a moment, then melt into it smoothly.
Stop as soon as the foam looks cohesive and pourable. A thicker-looking foam is not necessarily a better topping if it becomes dry or collapses as soon as it touches the drink.
Which Variables Affect Foam And What Are The Recommended Ranges?
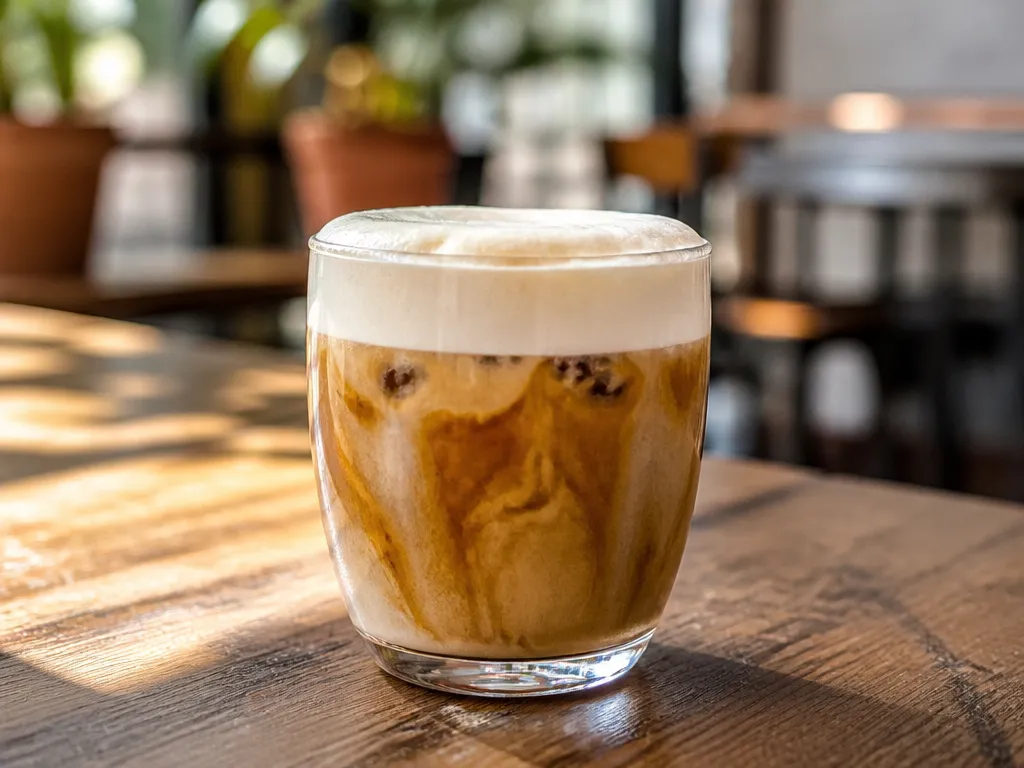
Milk composition, dissolved sweetener, vanilla type, vessel shape, and frother movement all affect the result. Because home equipment varies, use the quantities and temperature below as starting ranges, then rely on texture cues.
Key Ingredients And Equipment Variables (What To Control First)
Milk type is often the largest variable. Dairy milk can produce a rich, cohesive foam, but different fat levels behave differently. Plant-based milks also vary by brand and formulation. Oat and soy may produce a fuller foam for some users, while almond-based drinks can be lighter or less persistent. Choose a version labelled for coffee if your usual milk produces thin foam, but still judge the result by texture.
Sweetener should dissolve completely before frothing. Granulated sugar is a straightforward starting point. Syrups blend easily but may add their own flavour and liquid. Some sugar substitutes dissolve differently and can change the foam’s smoothness. Make one change at a time so you can identify what helped.
Vanilla extract is easy to distribute. Paste, powder, or bean-based vanilla may need more stirring and can leave visible flecks. A narrow vessel helps a small amount of milk circulate, while a vessel with headspace prevents overflow as the foam expands.
| Variable | Recommended range | What it changes |
|---|---|---|
| Milk temperature | Use 60 to 65°C / 140 to 149°F as a starting range, or warm until hot without simmering | Changes how easily the milk circulates and how the finished foam feels |
| Frothing time | Use brief bursts and stop by texture rather than by a fixed duration | Too little air leaves thin milk; too much agitation can create coarse, dry foam |
| Batch size | Begin with about 100 ml / 3.4 fl oz for one small test batch | A small batch is easier to observe and adjust |
Keep the milk, sweetener, and vanilla constant while you test the frothing motion. If the result is thin, check that the milk is warm and that the frother is incorporating air. If it is dry, stop sooner or use gentler movement.
How Do I Actually Make It: Quick-start And Full-length Methods?
Use the quick-start method when you are making one drink. Use the slower method when you want more control over bubbles or when your first attempts become airy. Both methods use the same ingredient formula and target the same glossy, pourable texture.
Judgment call: Stop when the foam is glossy, cohesive, and still pourable, even if it looks less dramatic than a stiff foam. Over-frothing is the quickest way to lose the soft texture.
What Can Go Wrong And How Do I Fix It?

Most failures come from coarse bubbles, insufficient aeration, a milk that behaves differently from your usual choice, or waiting too long before serving.
Change one variable at a time: milk, temperature, sweetener, vanilla, vessel, or frothing motion. That makes it easier to identify the cause instead of changing the entire recipe at once.
What Variations Should I Consider (Milks, Vanilla, Sweeteners)?
You can vary the milk, vanilla, and sweetener without changing the basic method. Each change may alter the amount of air the mixture holds, so keep the same visual endpoint rather than assuming the original timing will transfer.
Dairy Vs Non-dairy Milk, And How They Change The Foam
Dairy milk often gives a rich, cohesive foam, though low-fat and higher-fat versions can feel different. If the result is thin, try a different dairy milk or adjust the frothing motion before adding more sweetener.
Plant-based milk is less uniform from one product to another. Oat and soy may give a fuller result in some recipes, while almond-based drinks may produce a lighter foam. A barista-style version is worth testing if your regular milk separates or collapses. Use the same small batch and compare the gloss, bubble size, and pourability.
Vanilla Forms, Sweeteners, And Flavor Add-ins
Vanilla extract is the simplest option because it disperses quickly. Paste and bean-based vanilla give a richer appearance and may leave flecks. Powder can be intense and may need careful mixing. Vanilla syrup contributes both flavour and sweetness, so taste before adding extra sugar.
For alternative sweeteners, dissolve the product fully before frothing. Cinnamon, nutmeg, cocoa, or caramel flavour can be added in small amounts, but powders may clump on the surface. Keep the foam glossy and spoonable rather than trying to make it as stiff as possible.
How Should I Serve And Present The Foam With Drinks?
Prepare the drink first and make the foam last. Cold brew, iced coffee, and iced lattes are natural pairings because the sweet vanilla topping contrasts with the chilled coffee. Mocha also works if the cocoa and vanilla do not make the drink overly sweet.
Treat the foam as a finishing layer rather than another liquid ingredient. A smooth surface and quick service preserve the contrast between the drink and the topping.
What Edge Cases Might Trip You Up And How Can You Handle Them?
Milk composition, equipment strength, and handling can all change the result from one attempt to the next.
Quick Summary
Start with 100 ml milk (3.4 fl oz), 1 to 2 teaspoons sweetener, and 1 to 2 teaspoons vanilla. Warm the milk gently, dissolve the flavourings, froth in short bursts, and stop when the foam is glossy, fine-bubbled, and still pourable.
Adjust the result through these controls:
Next action: Make one small batch, use the lower end of the sweetener and vanilla ranges, and adjust only after you have judged the foam’s texture.
Frequently Asked Questions
What Kind Of Sweetener Works Best, And How Do I Know I Picked One That Will Still Froth?
Choose a sweetener that dissolves completely in the warmed milk. Sugar and liquid syrups are simple starting options, but syrups add their own liquid and flavour. Some substitutes dissolve more slowly or leave a different mouthfeel.
Taste the milk before frothing. If you feel grains, keep stirring or use a different sweetener. Do not sprinkle undissolved sweetener onto the finished foam.
Can I Scale This Up For More Drinks, Or Will That Change The Foam Quality?
You can scale the ingredients, but a larger volume may heat and circulate differently. Keep enough headspace in the vessel and judge the foam by gloss and pourability rather than assuming the small-batch timing will work.
If the vessel becomes crowded, make separate batches. Combine them only if both batches have the same smooth texture, then serve promptly.
How Fast Will Vanilla Sweet Cold Foam Lose The “Soft Microfoam” Texture If I Don’t Serve Right Away?
There is no dependable single holding time for every milk, tool, and container. Fresh foam is the most reliable. As it sits, it may loosen, separate, or lose its gloss.
If you need to wait, cover and refrigerate it according to the milk’s storage guidance. Re-whisk briefly before serving, but expect the result to differ from freshly frothed foam.
What Should I Do If The Foam Smells Strongly “Cooked” Or Tastes Flat, Even When It Looks Thick?
The milk may have been overheated or held warm for too long. A thick appearance does not guarantee a fresh flavour.
For the next batch, heat more gently, stir in the flavourings, and begin frothing soon after warming. If the milk smells sour or otherwise unusual, discard it.
Is There A Point Where I Should Switch Equipment, Instead Of Troubleshooting My Method?
Yes. If fresh milk, fully dissolved flavourings, and a suitable temperature still produce coarse or thin foam, the frother and vessel may be limiting the result.
Try one change at a time: a narrower cup, a handheld frother, an electric frother, or a French press. Recheck the texture because each tool introduces air differently.
How Can I Verify I’m Making The “Right” Foam Texture Without Guessing?
Use three checks: the surface should be glossy, the bubbles should be fine and reasonably uniform, and the foam should move slowly from a spoon or jug. It should sit briefly on the drink without becoming a dry mound.
Record what worked with your preferred milk and frother. That personal reference is more useful than a fixed timer because equipment and milk formulations vary.

- Espresso Bar Wedding: Ideas, Setup, Costs, and Tips for a Memorable Coffee Experience - November 11, 2026
- How Many Grams of Espresso Beans for a Double Shot? A Complete Brewing Guide - November 11, 2026
- Brasilia Espresso Machine: Features, Performance, Models, and Buying Guide - November 11, 2026