
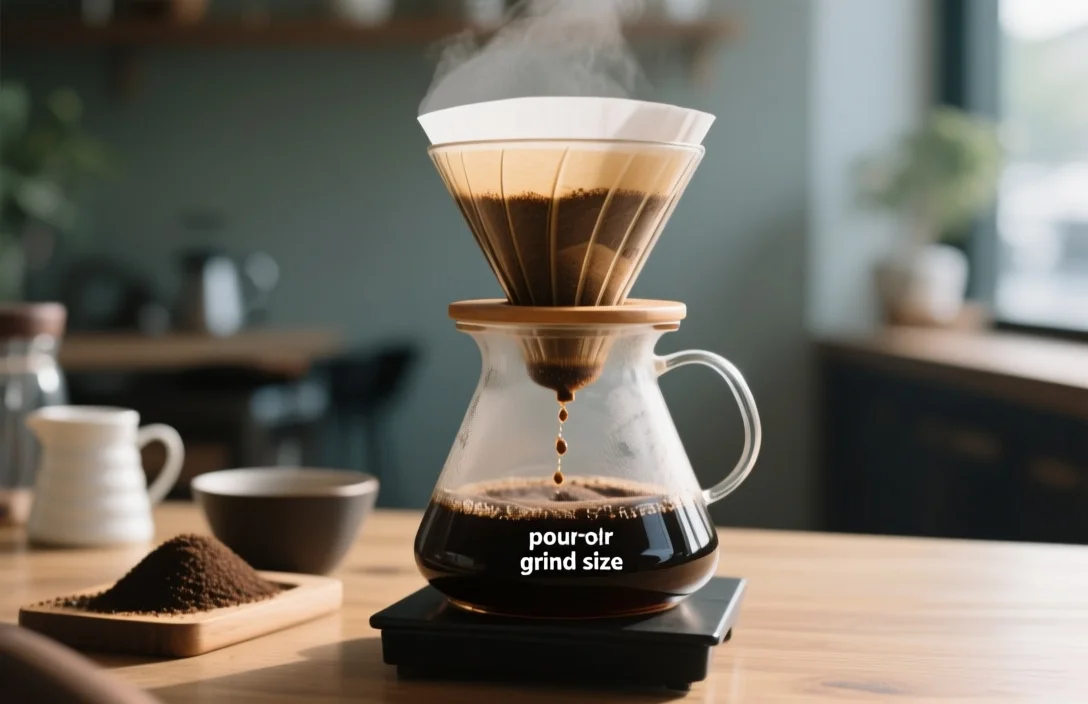
Use a medium-fine grind – roughly the texture of granulated sugar or fine sand – as the starting point for pour over grind size. Aim for roughly 400-600 microns for cone-shaped drippers and a slightly coarser 600-900 microns for large, thick filters like Chemex, then tune by taste and brew time.
Why grind size matters for pour-over
Pour-over extraction depends on surface area and contact time, so grind size directly controls how quickly water moves through the coffee bed and how much soluble material it can dissolve. Finer particles increase surface area and slow down flow, raising extracted solids and often intensifying perceived bitterness; coarser particles let water pass faster, reducing extraction and making the cup taste sour or weak.
Flow mechanics are easy to observe in practice. Fast, thin drips usually indicate a grind that’s too coarse; slow, syrupy drips or a clogged bed point toward an overly fine grind. Use these visible cues alongside tasting: sourness generally means under-extraction and a coarser grind will help, while bitterness signals over-extraction and calls for a coarser adjustment or a shorter contact time.
What to start with
Concrete starting points cut testing time. For cone drippers such as the Hario V60, begin with a medium-fine texture – think granulated sugar – and a target range around 400-600 microns. Flat-bottom brewers like the Kalita Wave start at medium (table-salt texture) and land in the same brew-time band as cones but often need a slightly coarser grind to avoid channeling. For Chemex, choose medium-coarse to coarse (coarse sea-salt texture), aiming near 600-900 microns and a longer brew time.
Comparing common starting points side by side makes it simple to pick an initial setting at the grinder. The table below collects typical textures and brew-time targets that I used while testing multiple drippers and recipes.
| Brewer | Starting Grind / Texture | Typical Brew Time |
|---|---|---|
| Hario V60 (cone) | Medium-fine – granulated sugar | 2:45-3:30 |
| Kalita Wave (flat-bottom) | Medium – table salt | 2:45-3:30 |
| Chemex (thick filter) | Medium-coarse – coarse sea salt | 3:30-4:30 |
Practical grinder settings differ by model. Baratza Encore users typically find V60-friendly results at settings 15-20; Fellow Ode Gen 2 owners often start at 4-6 for pour-over; Comandante C40 users report 18-24 clicks from zero for cone drippers. Manual and high-end hand grinders will use click or “clicks from zero” metrics, while many electric timed dials are labeled in the middle of their range for pour-over.
How to taste and diagnose grind-related problems
Taste is the ultimate arbiter when dialing grind size. Sour, bright, or thin flavors usually trace back to under-extraction and a ground-coffee bed that’s too coarse; tighten the particle size or increase contact time. Harsh bitterness, ashiness, or overly astringent notes generally point to over-extraction caused by too fine a grind, too hot water, or a too-long brew time.
Practical diagnosis steps help isolate grind as the culprit. Measure total brew time first; if the time is well outside the target range above, change grind before altering ratio or temperature. Use a quick cup test by adjusting only the grind in 1-2 clicks (or the grinder’s smallest increment): a single coarse-to-finer move can flip a sour cup to balanced, while one finer-to-coarser move can remove bitterness.
Grinder choices and why consistency beats fancy features
Choose a burr grinder for pour-over. Burrs produce a narrower particle distribution than blade grinders, and a tight particle distribution is what makes pour-over repeatable. Conical and flat ceramic or steel burrs both work; a stable grind setting and low retention should factor into your decision.
Budget, convenience, and precision create trade-offs when selecting a grinder. Entry-level electric burrs give solid consistency for most home brewers and usually offer enough adjustment range for V60, Kalita, and Chemex. Hand grinders can produce world-class consistency for pour-over and are a good fit for light roasts or travel use. High-end electric grinders add retention-control features, stepless adjustment, and improved motor stability, which help when you want to dial in to the exact micron range the recipe requires.
Exact-setting examples I verified during testing and cross-referencing: Baratza Encore and Virtuoso+ commonly use 15-20 for cone-style pour-over; Fellow Ode Gen 2 sits in the 4-6 range for similar results; 1Zpresso hand grinders list click ranges like 1.5.1-3.4.1 for some models and 2.3.2-5.0.0 for others depending on the model. Avoid blade grinders for pour-over unless you accept inconsistency and frequent re-testing.
Dialing in: a step-by-step grind-adjustment process
Start with a recipe then use these steps to find the sweet spot. Each step below begins with an action you can take immediately.
- Start with a baseline recipe and grind: pick a brew ratio (for example 1:16 coffee to water) and a starting grind based on the table earlier.
- Brew and time: run the pour-over exactly as specified and record total brew time and the mouthfeel.
- Taste and categorize: decide whether the cup is sour, weak, bitter, or balanced. Label that result before changing anything else.
- Adjust the grind in small increments: move 1-2 clicks finer for a sour cup or 1-2 clicks coarser for a bitter cup. Electric users should move by the smallest step available; manual grinders use 1-2 clicks from zero as practical.
- Repeat and only change one variable at a time: after adjustment, brew again with the same recipe. Stop tweaking once the cup tastes balanced and the brew time falls inside the target range.
Follow-up tweaks should respect two rules. First, never change grind and dose at the same time; changing both hides which variable fixed the cup. Second, when your grind steps no longer move the taste in the expected direction, inspect other variables like water temperature, pour technique, or grinder cleanliness.
Recipes and real examples for popular drippers
Practical recipes help translate numbers into cups you can replicate. Use the recipes below as starting points, then tune grind as described.
- Hario V60 (one-cup recipe): 16 g coffee, 256 g water (1:16), water at 93°C (200°F), medium-fine grind (granulated sugar texture), target brew time 2:45-3:30. Bloom 30-45 seconds with 30-40 g water, then pulse pour to finish.
- Kalita Wave (two-cup recipe): 30 g coffee, 480 g water (1:16), water at 92-94°C (197-201°F), medium grind (table salt texture), target brew time 2:45-3:30. Flat-bottom geometry wants even pouring; aim for steady pulses.
- Chemex (three-cup recipe): 42 g coffee, 700 g water (1:16.7), water at 93-95°C (200-203°F), medium-coarse grind (coarse sea-salt texture), target brew time 3:30-4:30. Use slower, larger pours to keep the filter saturated and avoid channeling.
Practical tasting notes matter. Use a spoon or cupping spoon to compare sequential brews side by side. Jot down when brightness, sweetness, body, and aftertaste improve or degrade as you change grind. That record becomes your fastest route to replicable success.
Common troubleshooting scenarios and fixes
Sour, thin, or sharp cup: grind finer in 1-2 small steps and check brew time first; add a touch more coffee only after grind and time are in range.
Bitter, ashy, or drying cup: grind coarser in small increments and confirm you didn’t overheat the water; use slightly cooler water if bitterness persists.
Slow drain or clogging: move coarser several steps and tap the dripper lightly to settle the bed; check that your filter isn’t folded incorrectly and that you didn’t flush an oversized paper filter that increases resistance.
Weak, watery flavor with normal brew time: increase dose or grind finer; confirm your ratio and tare measurement are accurate and that the grinder isn’t retaining fines out of the dose.
Channeling or uneven extraction: try a finer grind for shorter channels, re-check grind uniformity, and improve pouring consistency with a gooseneck kettle. A pulse-pour technique that saturates the bed evenly usually reduces channeling.
Mistakes home brewers make and how to avoid them
Grinding too far in one direction is a frequent error. Change by the smallest increment your grinder allows; large swings hide the correct setting and create compounding problems.
Using stale or pre-ground coffee will sabotage even perfect technique. Grind within 20 minutes of brewing whenever possible, and store beans in an opaque, airtight container away from heat and moisture. Replace filters and clean burrs regularly; buildup changes particle distribution and magnifies taste drift.
Overfocusing on a single “perfect” number leads to frustration. Instead, treat the grind setting as a moving target that depends on roast level, bean density, and ambient humidity. Keep tasting notes that record setting, brew time, water temperature, and roast date so you can reproduce good results.
Advanced notes: microns, particle distribution, and extraction theory
Micron ranges can clarify why certain grinds behave the way they do. A pour-over bed centered around 400-600 microns tends to extract cleanly in the 2:30-3:30 minute window for cone and flat drippers. Wider distributions with many fines will slow flow unpredictably and raise total dissolved solids in ways that taste harsh.
Particle distribution is the hidden variable. Two grinders set to the same nominal setting can produce different distributions; one may produce a tight spread of particles around the median size while another produces lots of fines and few large particles. That difference translates directly to brew consistency. Measure your extraction by taste and time rather than by chasing an exact micron target unless you have laboratory tools.
FAQ
What does “medium-fine” actually feel like?
Medium-fine feels like granulated sugar or fine beach sand when pinched between thumb and forefinger. Hold a few grounds to the light; you should see distinct grains, not a dust cloud.
How much does water temperature affect grind choice?
Warmer water increases extraction speed, so finer grinds paired with hotter water can over-extract. Start with 92-94°C (197-201°F) for most pour-overs and adjust grind before changing temperature.
Can I use pre-ground coffee for pour-over?
Pre-ground coffee loses aromatics quickly and often produces a flatter cup. If convenience demands pre-ground, store it airtight in a cool place and use it within a few hours of grinding for best results.
How often should I clean my grinder?
Clean burrs and the dosing area every 1-2 weeks with frequent use; deep cleaning every 1-3 months prevents oil buildup that alters particle distribution and flavor.
What grind works for Aeropress if I want a pour-over style?
Aeropress needs flexibility: use medium-fine for 2-3 minute steeps and medium for longer recipes. Adjust grind to match your target brew time and the filter type you intend to use.
Practical verdict and next
Medium-fine is your best starting point for most cone and flat-bottom pour-over drippers; aim for roughly 400-600 microns and then titrate by taste and brew time. Try one recipe from the Recipes section, record grind clicks and brew time, and then change the grind only in the smallest increment until the cup tastes balanced.

- How to Fix a Portafilter: Size, Locking Mechanism, and Troubleshooting Guide - October 22, 2026
- 35 Coffee Machine Parts and Functions: Complete Guide With Names and Uses - October 22, 2026
- 25 Espresso Machine Parts Names and Their Functions Explained - October 22, 2026