
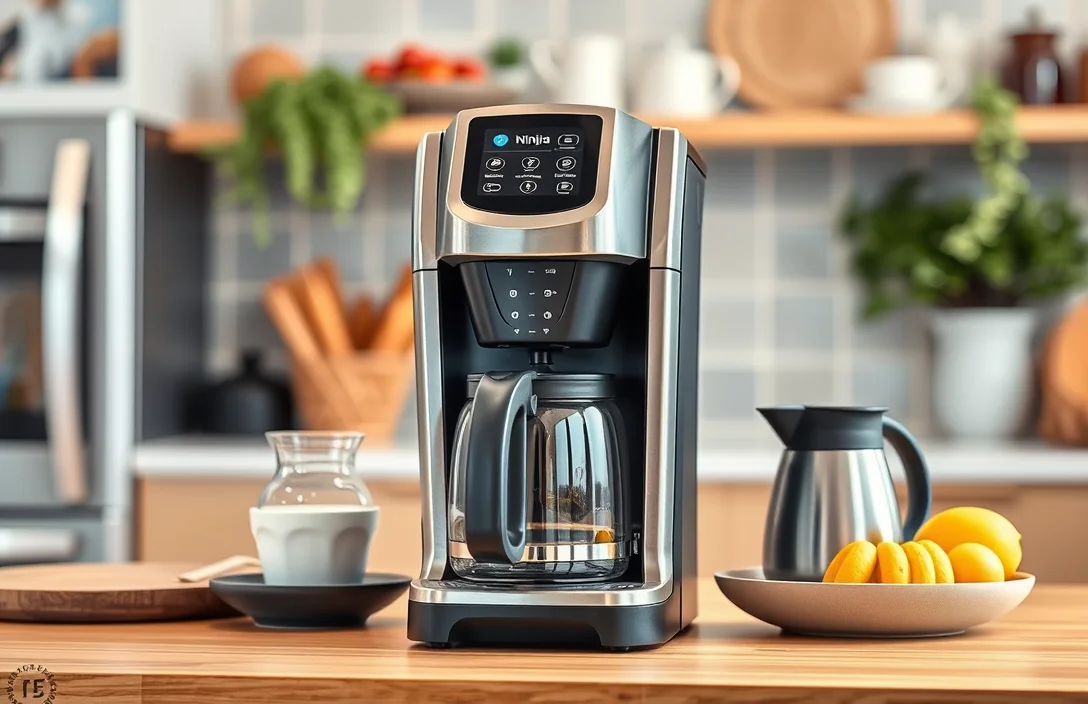
Cleaning your Ninja coffee maker regularly can enhance its performance and lifespan, ensuring you enjoy rich, flavorful coffee every time. Neglecting this task can lead to buildup that affects taste and functionality, making maintenance crucial for coffee enthusiasts.
Follow these key points to clean your Ninja coffee maker: descale the machine with vinegar, clean the brew basket and carafe, and rinse thoroughly to prevent residue. Regular maintenance keeps your coffee tasting fresh.
Gathering Cleaning Supplies
Essential items make cleaning effective. Start by collecting white vinegar, baking soda, and a soft cloth. Vinegar acts as a natural disinfectant, while baking soda helps with stubborn stains. A dedicated sponge or brush will assist in scrubbing any residue. Keep all materials together for convenience during the cleaning process.
Next, include a measuring cup for accurate vinegar and water ratio. Having a funnel can prevent spills when pouring liquids into the coffee maker’s water reservoir. Make sure to have a large basin or sink ready for rinsing parts thoroughly after cleaning.
Consider using distilled water for rinsing if your tap water is hard. This will help prevent mineral buildup in the machine over time. Always ensure that your cleaning space is well-lit to spot any missed areas needing attention.
Finally, gather non-abrasive cleaning tools to avoid scratching surfaces. Soft sponges or microfiber cloths protect the machine while effectively removing grime. Having everything on hand simplifies the cleaning process, ensuring that your coffee maker is refreshed and ready for use.
Disassembling the Coffee Maker
Remove all detachable parts first. Start by unplugging the coffee maker to ensure safety. Detach the water reservoir, brew basket, and any other removable components. This step makes cleaning more accessible and effective, preventing residue build-up in hidden areas.
Inspect each piece for damage. Look closely at the water reservoir and brew basket for cracks or wear. Damaged parts can affect performance and should be replaced before continuing with cleaning. Regular inspections help maintain the efficiency of your machine.
Wash components with warm, soapy water. Use a non-abrasive sponge to scrub the removable parts. Pay special attention to any coffee stains or oils. Rinse thoroughly to eliminate soap residue, which can affect the taste of your coffee.
Check for hidden grime. Areas like the lid hinges and coffee spouts often collect coffee oils and residue. Wipe these spots down with a damp cloth or sponge to ensure they are clean. Keeping these areas clear will improve the overall function of your coffee maker.
Cleaning the Brew Basket
Remove the brew basket immediately after disassembling the coffee maker. Rinse it under warm water to eliminate any coffee grounds and oils. Ensure that you pay close attention to the mesh filter, as residue often gets trapped there. A thorough rinse usually suffices for everyday cleaning, but an occasional deep clean is beneficial.
Scrubbing with a soft sponge helps dislodge stubborn stains and buildup. Avoid abrasive cleaners or scrubbers, as these can damage the basket’s surface. If necessary, use a mild soap solution for deeper cleaning. Rinse thoroughly to ensure no soap residue remains, which could affect future brews.
Inspect the brew basket for any signs of wear or damage. A damaged basket can lead to improper brewing or leaks. If any cracks or significant wear are noticed, consider replacing the part to maintain optimal coffee quality. Ensuring the basket is in good condition prolongs its life and enhances your brewing experience.
Dry the brew basket completely before reassembling your coffee maker. Moisture left in the basket can lead to the growth of mold or mildew, which is undesirable. Placing it in a well-ventilated area or using a clean towel speeds up the drying process, preparing it for your next cup of coffee.
Descaling with Vinegar
Vinegar effectively removes mineral buildup in your coffee maker. Start by mixing equal parts of white vinegar and water. This solution acts as a natural descaler, breaking down limescale and calcium deposits that accumulate from regular use.
Pour the vinegar-water mixture into the water reservoir, filling it up to the maximum line. Next, run a brewing cycle without coffee grounds. This process allows the solution to circulate through the machine, cleaning the internal components and improving its performance.
After the cycle completes, let the solution sit in the carafe for about 15-30 minutes. This soaking period enhances the cleaning effect, ensuring all residues are loosened. Following this, empty the carafe and rinse it thoroughly with water.
Repeat the brewing cycle with fresh water to eliminate any remaining vinegar taste. Running several cycles with plain water ensures your next brew is free from any lingering flavors while also preparing the machine for optimal use.
Cleaning the Water Reservoir
Remove the water reservoir and rinse it thoroughly under warm running water. Scrub corners and the fill spout with a soft brush or toothbrush and mild dish soap, avoiding abrasive pads. Check and wipe the float assembly and rubber seals; dislodge trapped debris. Rinse repeatedly until soap-free, then air-dry fully before reinstalling to prevent odors or mold. Apply this step when learning how to clean ninja coffee maker.
Wiping the Exterior
Cleaning the exterior of your Ninja coffee maker ensures it looks fresh and functions well. Begin by unplugging the machine for safety. Use a soft, damp cloth with a mild detergent to wipe down the surfaces. Focus on areas around buttons, the control panel, and any visible stains or spills.
Choose a solution that’s gentle to avoid damaging the finish. Avoid harsh chemicals or abrasive materials, which can scratch the surface. Pay attention to the areas that may accumulate dust or coffee residue, ensuring a thorough clean.
Rinse the cloth regularly to prevent spreading dirt around. After wiping, dry the machine with a clean, dry cloth to avoid moisture spots. Regular upkeep keeps your coffee maker looking pristine and helps prevent the buildup of grime.
Inspect the exterior for any signs of wear or damage during cleaning. Addressing these issues promptly can prolong the lifespan of your appliance. Make this exterior cleaning routine a part of your regular maintenance to maintain both functionality and aesthetics.
Cleaning the Carafe
Begin by emptying the carafe completely. Rinse it with warm water to remove any residual coffee. Avoid using cold water, as it can cause thermal shock and potentially crack the glass. After rinsing, inspect the interior for stains or buildup from coffee oils.
Next, apply a gentle dish soap to the carafe. Use a soft sponge or cloth to scrub the inside thoroughly. Focus on areas with stubborn stains, ensuring you do not use abrasive materials that could scratch the surface. Rinse well with warm water to remove all soap residue.
Consider using baking soda for tougher stains. Sprinkle a small amount inside the carafe, then add warm water to create a paste. Let it sit for a few minutes before scrubbing gently. This method effectively lifts stains without damaging the glass.
Ensure the carafe is completely dry before reassembling your coffee maker. Allow it to air dry on a dish rack for best results. Avoid using towels that could leave lint behind. A clean, dry carafe contributes to better-tasting coffee.
Reassembling the Coffee Maker
Align all components precisely after cleaning. Begin with the filter basket, ensuring it sits securely in place. Next, position the brew basket back into the machine. Check for any misalignment that could affect performance. Proper reassembly guarantees optimal function, which is crucial for your brewing experience.
Securely attach the carafe onto the warming plate. This step ensures that the coffee stays hot while brewing. Make sure the lid is correctly placed to prevent spills. An improperly seated carafe can lead to messy countertops and wasted coffee.
Reinstall any removable parts, such as the water reservoir. Confirm that it clicks into place firmly. This piece is essential for accurate water measurements during brewing. Without a properly fitted reservoir, you risk brewing inconsistently.
Inspect the power cord for any damage before plugging it back in. Ensure that there’s no fraying or wear, as this could pose safety risks. A healthy cord is crucial for reliable operation, so replace it if necessary.
Finally, conduct a test run. Fill the reservoir with water and run a cycle without coffee grounds. Observe for any leaks or unusual noises. This step ensures everything is functioning correctly before preparing your next cup.
Regular Maintenance Tips
Cleaning the water reservoir regularly is essential. Rinse it with warm, soapy water after each use to prevent mineral buildup and residue. Allow it to dry completely before reattaching it to the coffee maker. This simple step can enhance the flavor of your coffee and prolong the life of the machine.
Inspect all removable parts frequently. Check the filter basket and carafe for coffee stains and oils. Use a soft cloth or sponge to wipe them down, ensuring they are free from any coffee residue. Clean parts help maintain optimal brewing conditions.
Descaling every 1-3 months is crucial. Use a mixture of equal parts water and white vinegar to fill the reservoir. Run a brewing cycle without coffee grounds to remove calcified minerals. Rinse the reservoir thoroughly afterward to eliminate any vinegar taste.
Storing the coffee maker properly also matters. Keep it in a dry, cool spot, away from direct sunlight. Avoid placing heavy items on top of it, which could cause damage. Proper storage protects your investment and keeps it in good working condition.
Troubleshooting Common Issues
Needle and showerhead often clog. Power off and unplug before touching internal parts. Remove and rinse the brew basket and water reservoir, then use a straightened paperclip to clear the bean chute needle and wash with warm soapy water. Run a vinegar descaling cycle (1 part white vinegar to 2 parts water) through the brewer, then run two full fresh-water rinse cycles.
Descale routinely to restore flow. Every one to three months run the vinegar cycle sooner if you use hard water, and always flush thoroughly to remove residue. For step-by-step specifics on how to clean ninja coffee maker consult the manual or manufacturer videos to confirm model differences.
Key Point 11: how to clean ninja coffee maker
Begin by unplugging the coffee maker for safety. Remove all detachable parts, including the brew basket, carafe, and water reservoir. Rinse these components under warm water to eliminate any coffee residue. Use a soft sponge or cloth for a thorough clean, ensuring no coffee oils remain.
Focus on the brew basket and carafe. For stubborn stains, a mixture of warm water and a few drops of dish soap works effectively. Scrub gently to avoid scratching the surfaces. Rinse well and dry each part completely before reassembling.
Consider descaling the machine regularly. Vinegar or a commercial descaling solution helps remove mineral buildup. Fill the water reservoir with the solution, run a cycle without coffee, and then flush with clean water to ensure no residue remains.
Inspect the filter area for any leftover debris. Clean this area with a damp cloth to ensure optimum performance. Regular maintenance will not only enhance the flavor of your coffee but also prolong the life of your appliance.
Key Point 12: how to clean ninja coffee maker
Regularly maintaining your coffee maker ensures optimal performance. Begin by rinsing the water reservoir with warm, soapy water. Use a soft sponge to remove any residue or stains. After rinsing thoroughly, allow it to air dry completely before reassembling the machine.
Next, clean the brew basket and filter area. Remove any used coffee grounds and rinse the basket with warm water. For stubborn stains, soak it in a mixture of vinegar and water for 15 minutes. Scrub gently with a soft brush and rinse well.
Lastly, descale the coffee maker every few months. Combine equal parts water and white vinegar in the reservoir. Run a brew cycle without coffee grounds, then follow with two cycles of plain water to flush out any remaining vinegar. This process prevents mineral buildup and keeps your machine in top shape.
Quick Summary
- Rinse removable parts (water reservoir, brew basket, carafe, lids) after each use and wash weekly with warm soapy water or in the top rack of the dishwasher if dishwasher-safe.
- Descale the machine every 1–3 months (or sooner with hard water) using a 1:1 white vinegar and water solution or a citric acid descaler following the manufacturer’s instructions.
- Run at least two full cycles of clean water after descaling or using vinegar to thoroughly rinse all internal components before brewing coffee again.
- Wipe the exterior, warming plate, and control panel with a damp cloth; avoid abrasive pads or harsh chemicals that can damage surfaces.
- Unplug and allow the machine to cool before cleaning, and remove any coffee grounds or filters promptly to prevent buildup and odors.
- For stubborn stains or mineral deposits, soak removable parts in warm vinegar solution or use a soft brush/toothbrush to gently scrub hard-to-reach areas.
- Refer to your Ninja model’s user manual for specific cleaning recommendations, dishwasher compatibility, and precautions to maintain warranty coverage.
Frequently Asked Questions
How often should I clean my Ninja coffee maker?
It is recommended to clean your Ninja coffee maker every 2-3 months, depending on usage. Regular cleaning helps prevent mineral buildup and ensures optimal flavor in your coffee.
What is the best way to clean the water reservoir?
The water reservoir can be cleaned using warm, soapy water and a soft sponge. Rinse thoroughly to remove any soap residue before using it again.
Can I use vinegar to clean my Ninja coffee maker?
Yes, vinegar is an effective natural cleaner for your Ninja coffee maker. Mix equal parts of water and vinegar, run a brew cycle, and then follow with a couple of cycles of plain water to rinse.
Are there specific cleaning products recommended for Ninja coffee makers?
Ninja recommends using their specific cleaning solution, which is designed to remove mineral buildup without damaging the machine. Always follow the manufacturer’s instructions for best results.
Should I clean the brew basket and filter holder?
Yes, the brew basket and filter holder should be cleaned after each use to remove coffee oils and residue. These parts are often dishwasher safe, making cleaning convenient.

- How to Fix a Portafilter: Size, Locking Mechanism, and Troubleshooting Guide - October 22, 2026
- 35 Coffee Machine Parts and Functions: Complete Guide With Names and Uses - October 22, 2026
- 25 Espresso Machine Parts Names and Their Functions Explained - October 22, 2026