
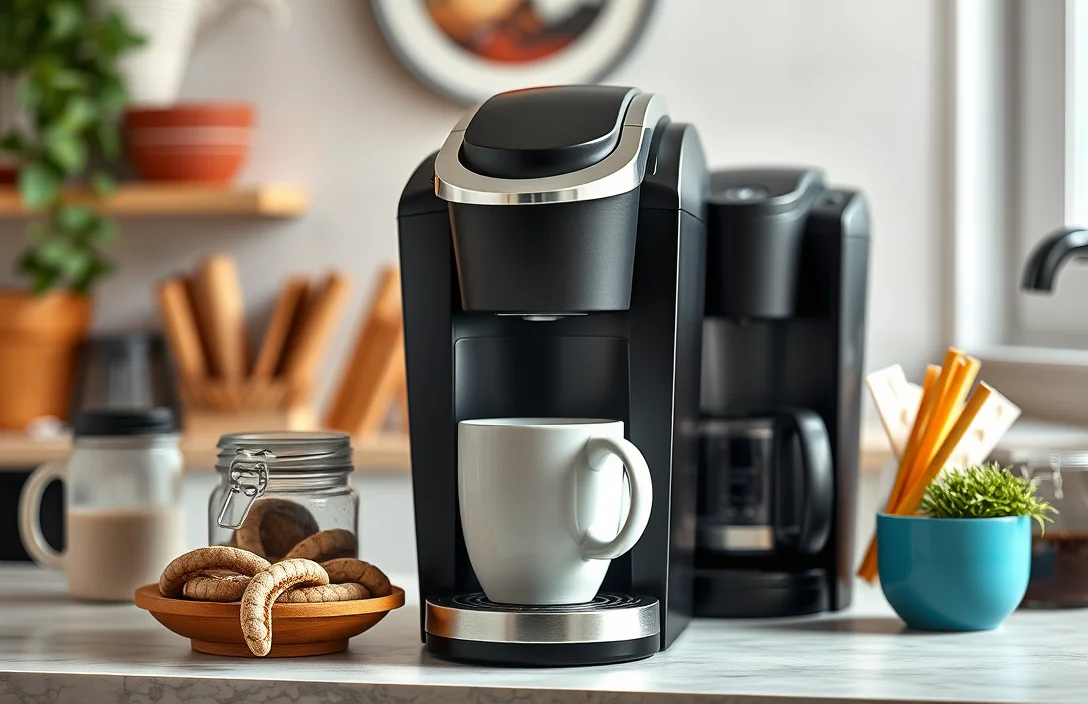
Cleansing your Keurig coffee maker can boost its lifespan by up to 30%. Regular maintenance prevents buildup that affects taste and performance. Neglecting this simple task can lead to unpleasant coffee experiences and potential malfunctions, making cleaning essential for any coffee lover.
Start by descaling your machine every three months. Wash removable parts with soap and water. Run a cleansing brew cycle with vinegar or a descaling solution for optimal results. Rinse thoroughly to ensure no residue remains for the best flavor.
Supplies Needed for Cleaning Keurig
Gather essential supplies for effective cleaning. You’ll need a clean, dry cloth for wiping surfaces and removing debris. Fresh water is critical for rinsing components, while distilled vinegar serves as a natural descaler. Consider using a soft brush to clean hard-to-reach areas, ensuring no coffee residue remains.
Acquire a bowl or container to catch any water or vinegar during the cleaning process. A measuring cup will help with accurate vinegar measurements for descaling. If you have a water filter, be sure to replace it regularly to maintain optimal performance. Keep these supplies handy for a comprehensive cleaning routine.
Descaling Process for Keurig Makers
Descaling your coffee maker effectively removes mineral buildup, ensuring optimal performance. Follow these simple steps to maintain the longevity of your machine and enhance the taste of your brews. Gather your descaling solution and prepare for a refreshing clean.
- Fill the water reservoir halfway with a descaling solution specific to your machine. Read labels carefully to ensure compatibility.
- Pour fresh water into the reservoir until it’s full, mixing it with the descaling solution thoroughly.
- Place a large cup or bowl on the drip tray to catch the liquid during the descaling process.
- Run a cleansing brew cycle without inserting a K-Cup. Press the brew button and let the machine dispense the mixture.
- Repeat the brewing process until the reservoir is empty, allowing the solution to circulate through the internal components.
- Rinse the water reservoir thoroughly with clean water to remove any remaining descaling solution.
- Run a few cycles with plain water to ensure all traces of the descaling solution are eliminated before brewing your next coffee.
Following these steps will keep your machine running smoothly, ensuring every cup of coffee is as delicious as possible.
Cleaning the Water Reservoir Effectively
Remove the water reservoir from your Keurig coffee maker to start the cleaning process. Take care not to spill any remaining water as you detach it. Rinse the reservoir under warm water to eliminate any residual coffee oils or mineral deposits. This step ensures that your next brew is clean and fresh.
Use a soft sponge or cloth to gently scrub the inside of the reservoir. Focus on areas that may have accumulated stains or build-up. Avoid using abrasive materials, as they can scratch the surface and harbor bacteria. Make sure to clean the lid and any crevices to maintain overall cleanliness.
Rinse thoroughly with clean water after scrubbing. Ensure that no soap residue remains, as it can affect the taste of your coffee. Allow the reservoir to air dry completely before reattaching it to the machine. Proper drying helps prevent mold growth and keeps the reservoir in optimal condition.
Inspect the reservoir regularly for any signs of wear or damage. Cracks or chips can harbor bacteria and compromise the water quality. If you notice any damage, consider replacing the reservoir to ensure your coffee maker functions correctly and brews delicious coffee.
Removing and Cleaning Internal Parts
Disassembling key components enhances performance and longevity. Begin by unplugging the coffee maker and allowing it to cool completely. Remove the water reservoir, drip tray, and K-Cup holder to access internal parts. Cleaning these areas prevents buildup and ensures optimal brewing.
- Remove the water reservoir by lifting it straight up. Check for any mineral buildup and rinse it under warm water.
- Take out the drip tray; clean it with warm, soapy water and allow it to air dry completely.
- Detach the K-Cup holder by pressing the release button and gently pulling it out. Rinse it thoroughly under running water to eliminate any coffee residue.
- Inspect the needle that punctures the K-Cup; use a paper clip to clear any clogs carefully.
- Reassemble the components once everything is clean and dry. Ensure all parts fit snugly into their respective places.
Regular cleaning of these internal parts creates a better brewing environment. Following these steps ensures your coffee maker remains in top condition, providing you with delicious coffee each time.
K-Cup Holder Cleaning Techniques
Remove the K-Cup holder from your coffee maker for direct access. Detach the holder by pulling it straight out from the machine. This step allows you to clean it thoroughly without obstruction. Make sure to check the manufacturer’s instructions for any specific removal guidelines.
Rinse the holder under warm water to eliminate coffee grounds and residue. Use a soft brush or cloth to scrub any stubborn particles stuck in the crevices. Pay particular attention to the needle area, where coffee can accumulate. This ensures that the holder is free from any blockages that might affect functionality.
Inspect the K-Cup holder for any lingering odors or stains. A solution of vinegar and water can effectively deodorize and sanitize the holder. Mix equal parts of both, soak the holder for a few minutes, and then rinse thoroughly. This method not only cleans but also prevents future smells from affecting your brew.
Dry the holder completely before reinserting it into the coffee maker. Moisture can lead to mold growth, particularly in warm environments. Use a clean towel or let it air dry completely. Ensuring the holder is dry helps maintain a clean brewing environment.
Regular Maintenance to Prevent Build-Up
Empty and rinse reservoir weekly. Remove the reservoir, pour out standing water, rinse under warm tap, and wipe interior surfaces with a soft cloth; set it upside down to air-dry. Run one water-only cycle afterward to clear lines and prevent coffee oils from settling; wipe the exterior and drip tray after each use to stop residue accumulation.
- Remove reservoir and rinse thoroughly under warm water to clear residue.
- Run one water-only brew cycle weekly to flush internal lines and needles.
- Wipe exit needle and drip tray with a soft brush and cloth after rinsing.
- Air-dry reservoir and lid completely before reattaching to prevent mold and odors.
Troubleshooting Common Keurig Issues
Descale regularly to restore water flow and fix common errors. Unplug, empty reservoir, mix descaling solution (see how to clean a keurig coffee maker), or equal parts white vinegar and water, fill reservoir, run brew cycles without a pod until empty, then repeat rinse cycles with fresh water twice. Scrape and poke upper and lower needles with a paper clip and soak removable parts in warm soapy water.
Quick Summary
- Unplug and cool the machine before cleaning to avoid burns or electrical hazards.
- Empty and rinse the K‑cup holder, drip tray, and grounds after each use to prevent buildup and odors.
- Remove and wash the water reservoir, lid, and drip tray with warm soapy water; check your model’s manual for dishwasher safety.
- Clear the entrance and exit needles regularly (use the paperclip/cleaning tool) to prevent clogs and weak brews.
- Descale every 3–6 months or when the descaling light appears using Keurig descaling solution or white vinegar, then thoroughly flush with fresh water.
- Replace the charcoal water filter as recommended (about every 2 months or 60 tank refills) and run rinse cycles after installing a new filter.
Frequently Asked Questions
How often should I clean my Keurig?
Rinse the pod area and empty the drip tray daily, and wash the water reservoir, K‑Cup holder, and drip tray weekly. Descale the internal waterlines every 3–6 months, or more often if you have hard water.
How do I descale my Keurig?
Empty the reservoir, fill it with Keurig descaling solution or plain white vinegar, and run brew cycles (no K‑Cup) until the reservoir is empty. Let the machine sit if instructed by the descaling product, then refill with fresh water and run several full reservoirs to flush out any residue.
Can I use white vinegar to descale my Keurig?
Keurig recommends its branded descaling solution, but plain white vinegar is a common and effective alternative. Use undiluted white vinegar in the reservoir, run brew cycles, then thoroughly flush with at least two to three full reservoirs of fresh water until the vinegar smell is gone.
How do I clean the brew needle and K‑Cup holder?
Unplug the machine, remove the pod holder, and use a paperclip or the manufacturer’s needle-cleaning tool to carefully clear grounds from the entrance and exit needles. Soak and wash the removable holder parts in warm, soapy water, rinse, dry, and reassemble.
Which parts are dishwasher safe and how should I clean the exterior?
Many models have top-rack dishwasher‑safe reservoirs, lids, and drip trays, but check your specific manual to confirm. Wipe the exterior with a damp cloth and mild detergent, never immerse the brewer base in water, and avoid abrasive cleaners or scouring pads.

- Breville BES878BSS Barista Pro Espresso Machine Review: Features, Performance, and Buying Guide - October 31, 2026
- Gaggia RI9380/51 Classic Evo Pro Espresso Machine Review: Features, Performance, and What to Know Before Buying - October 31, 2026
- Gaggia RI9380/46 E24 Espresso Machine Review: Is the Brass Boiler Upgrade Worth It? - October 31, 2026