
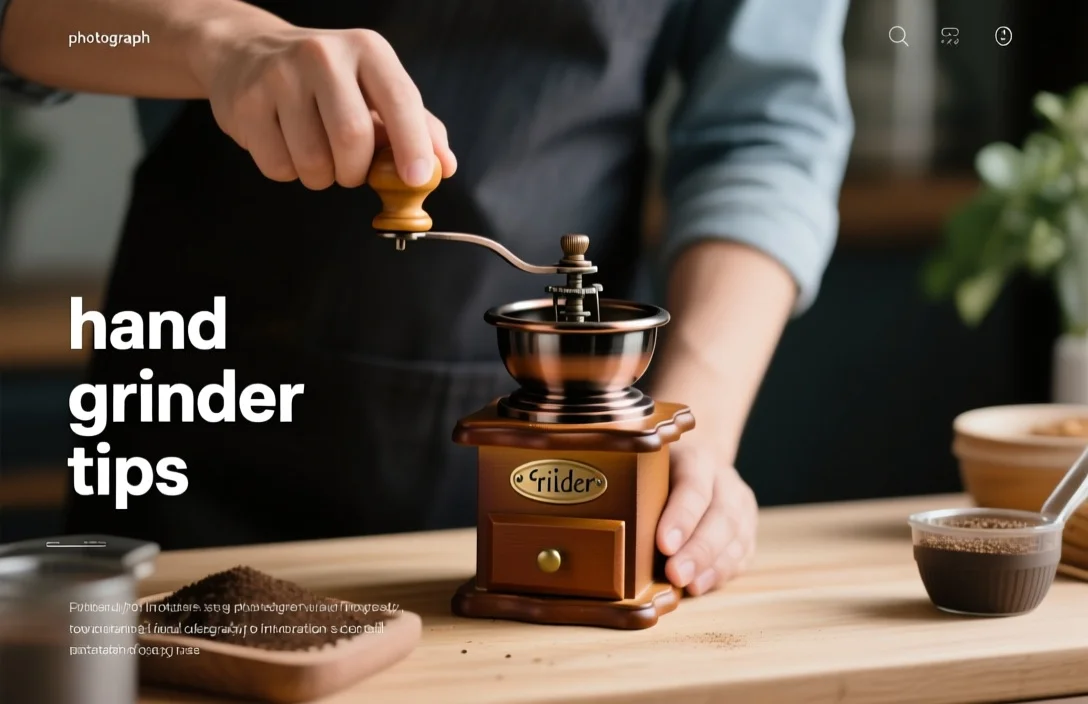
Use a good hand grinder, match grind size to your brew method, and keep the burrs clean. That covers most home brewing problems before they start. The rest comes down to a few habits: set a baseline, grind with steady pressure, and clean on a schedule.
What a hand grinder is, and why it matters
A hand grinder is a manual coffee grinder with burrs driven by a crank. It gives you direct control over grind size, retention, and, to a degree, heat from grinding. For a lot of people, that makes it a practical choice for single-cup brewing, travel, or any setup without power.
The main advantage is control. Manual grinders usually give up speed in exchange for more deliberate adjustment and often less retained coffee in the chamber. That matters when you want repeatable results with pour-over, AeroPress, or immersion brewing.
The details vary a lot. Burr material, adjustment system, body construction, and capacity all affect how a grinder feels and performs. If you want reliable results, I would start by looking at burr quality and adjustment precision before I cared about finish or brand name.
How hand grinders work
The basic mechanism is simple. Coffee beans pass between two burrs, which break them into grounds. What changes from grinder to grinder is the burr shape, the adjustment system, and how much coffee gets left behind after grinding.
Conical and flat burrs are the two main types. Conical burrs are often quieter and tend to produce a particle mix that many brewers find forgiving. Flat burrs aim for a tighter particle distribution, but they usually need a more rigid build to work well.
Adjustment systems fall into two broad groups, stepped and stepless. Stepped grinders use clicks or detents, which makes it easy to return to a known setting. Stepless grinders allow finer changes, which can help when dialing in espresso or a sensitive pour-over recipe, but they need careful marking or logging.
Retention is the coffee that stays inside the grinder after use. Higher retention can make dosing less consistent unless you purge or weigh carefully. Lower-retention designs are easier for single-dose brewing. Design details such as the path from burr to catch cup, purge geometry, and fit between parts all affect this.
Materials matter too. Hardened steel burrs hold their edge well and tend to stay predictable over time. Ceramic burrs are hard, but they can chip if they hit a foreign object. Metal bodies conduct heat more readily than wood or plastic, which can matter during long grinding sessions.
Choosing the right grinder for the way you brew
The right grinder is the one that fits your routine. I would treat portability, precision, and cleanup as the real trade-offs, then pick the category that matches your brewing habits.
| Name (category) | Price / Key Spec | Best For |
|---|---|---|
| Travel compact | Current price not found; typically small capacity and short crank | Travelers and backpackers who need light, durable grinders |
| Budget everyday | Current price not found; simpler bearings and basic burrs | Casual brewers who want low cost and decent performance |
| Mid-range precision | Current price not found; tighter tolerances, often stepless adjustment | Home brewers dialing pour-over and AeroPress recipes |
| High-end performance | Current price not found; premium burrs and build quality | Coffee enthusiasts who want best-in-class consistency |
| Competitive / commercial manual | Current price not found; heavy-duty construction, low retention | Baristas or small shops that prefer manual control |
The table avoids exact prices because current retail figures were not found in the available research. Check current listings before buying.
If you travel a lot, a compact grinder makes sense. Expect some sacrifice in speed and sometimes in burr size. If you brew pour-over every day, a mid-range precision grinder is usually the better fit. I would only move into high-end manual territory if you care about the tightest repeatability, fine espresso control, or long-term durability.
Setting up and calibrating a grinder
Start with a reference setting for each brew method you use. Write it down. That one step saves a lot of guesswork later.
Before the first brew, check that the burrs are seated properly and that nothing is loose. Some grinders shift a little in shipping. Tighten what needs tightening, make sure the handle fits securely, and grind a small test dose. If you hear scraping or a rough sound, stop and inspect the grinder before using it again.
Calibration is a simple loop. Adjust the setting, grind a small amount, brew, taste, then adjust again. If the coffee tastes sour or thin, go finer. If it tastes bitter or heavy, go coarser. Keep the other variables steady, dose, water temperature, and brew time, so you can tell what changed.
If your grinder has clicks, record the notch number for each brew method. A small mark on the body can help, too. If it is stepless, make your own reference mark and keep a note in your brew log. Burr wear and small impacts can change the setting over time, so it is worth rechecking now and then.
Grinding technique that gives more even results
Hold the grinder firmly and turn the handle with a smooth rhythm. Jerky starts and stops create extra friction and can make the process feel harder than it needs to be. They can also add a bit of heat during longer grinds.
Speed matters, but only up to a point. A faster turn is less work per minute, but it can be tiring and may add more friction. A slower turn is easier to control, though it takes longer. I would pick the pace that feels steady and repeatable, not the one that seems fastest.
Weigh your dose instead of eyeballing it. Volume changes with roast level, bean shape, and density, so scoops are a poor guide if you care about consistency. If you want to know how much coffee the grinder is holding back, weigh the beans before grinding and the grounds after.
Purging helps when you switch beans or settings. Toss a little coffee through the grinder before starting a new batch if you are moving from dark to light roast, or from coarse filter grind to fine espresso. It clears out leftover grounds and keeps flavors from bleeding into one another.
Cleaning and maintenance that actually help
A quick dry brush after use is usually enough for daily care. Brush the burr area, tap out loose grounds, and clear the catch cup. I would avoid water unless the manufacturer specifically says the grinder can handle it.
Deep cleaning can be done every month or two, depending on use. Take the grinder apart according to the instructions, remove the burr set, and brush out the housing. Check the burr edges for chips or uneven wear. Reassemble it carefully so the burrs seat evenly.
Lubrication is rarely something you need to improvise. Grease can trap coffee dust if it is used in the wrong place, and household lubricants can cause more problems than they solve. If a part squeaks or seems worn, contact the manufacturer or a repair service.
Skip dishwasher cleaning and abrasive pads. Both can damage surfaces that need to stay aligned. If you keep a simple cleaning log, note changes in feel or sound as well as the date. A rougher grind or heavier resistance is often a warning long before a part fails.
Problems that come up, and what usually helps
Jams in the burrs
Hard objects, such as stones or damaged beans, can jam a grinder. Stop immediately if the crank locks up. Turn the grinder over, shake gently, and try to free the obstruction. If it does not clear, take the burrs apart and remove the debris by hand. Forcing the handle is how burrs get chipped.
Grind size keeps changing
If the grind is inconsistent, check the adjustment collar first. It may be loose. Worn burrs can also cause this, especially if the grinder has seen a lot of use. Recheck your reference marks and tighten any set screws. If the problem keeps showing up at different settings, the burrs may need replacement.
Too much retention
Humidity and sticky coffee oils can make grounds cling inside the grinder. Store beans in airtight containers and keep the grinder in a dry place. Purging between doses also helps. If the grinder design naturally holds onto a lot of grounds, weigh the output instead of assuming the full dose made it into the brewer.
Noise or rough rotation
Rough turning can come from wear in the bearings or grit in the mechanism. Clean and inspect the parts first. If the grinder is still under warranty, I would be cautious about replacing internal parts on your own. Authorized service is usually the safer path.
Heat during long grinding sessions
Metal grinders can warm up if you grind for a long time without pausing. That is more of a concern for bigger batches. Break the work into smaller sections and let the grinder rest between them.
Travel and storage habits worth keeping
If you travel with a grinder, remove the handle and empty the chamber. A loose handle can scratch the body, and leftover beans can damage the adjustment collar in transit. Use the pouch it came with, or wrap it in something soft.
If you are heading somewhere humid, pack a desiccant packet with it. That helps keep grounds from clumping and protects wood or leather parts if the grinder has them. I would also avoid leaving it in a hot car trunk for long periods.
For storage at home, keep it dry and out of direct sun. If you plan to put it away for a while, clean it first and make sure every part is dry. If you track wear, keep a note of when the burrs were last replaced.
Mistakes that make performance worse
Do not grind wet or oily beans. They leave residue inside the grinder and change how the burrs behave. Beans stored in damp conditions can do the same thing.
Do not force the crank through resistance. If something feels off, stop and check for a blockage. Pushing through a jam can bend the shaft or strip threads in the adjustment parts.
Do not clean with methods you do not understand. Submerging parts that are not meant for water can ruin lubrication or warp the grinder. Follow the manufacturer’s instructions and leave solvents and aggressive scrubbing alone unless the grinder is designed for them.
Do not make huge grind changes when you are dialing in. Small adjustments tell you more. Big jumps waste coffee and make it harder to see what changed.
Which tips I would use first
I would start with a baseline for each brew method you use. Pick a setting that gives a balanced cup, then write it down.
Next, keep the cleaning routine simple. A quick daily brush and a more complete monthly cleaning do most of the work. If you travel, pack the grinder empty, remove the handle, and add a soft wrap or desiccant if needed.
Then weigh your beans and grounds for at least a week. That is the fastest way to notice retention problems and get a clearer sense of how small adjustment changes affect the cup.
FAQ
How often should I replace the burrs?
Burr replacement depends on use and material. There is no universal schedule. If the burr edges look rounded, the grind becomes less consistent, or you need to keep changing settings to get the same result, it is time to think about replacement. Check the manufacturer’s guidance when available.
Can I use a hand grinder for espresso?
Yes, many hand grinders can handle espresso, but the results vary a lot. You want fine, stable adjustment and enough precision to keep the shot in range. Test it before assuming it will behave like a commercial espresso grinder.
Will ceramic burrs last longer than steel?
Ceramic burrs are hard and resist wear, but they can chip. Steel burrs are often the safer choice for everyday use because they tend to be more resilient. The better pick depends on whether you care more about chip resistance or predictable wear.
What is the easiest way to reduce retention?
A small purge is the simplest fix. Run a little fresh coffee through the grinder or tap and shake it gently to clear trapped grounds. If retention is still high, the grinder’s design may be the bigger issue.
Is stepless adjustment always better than stepped?
No. Stepless gives finer control, which helps when you are dialing in espresso. Stepped adjustment is easier to repeat and usually simpler for casual brewing. The better system depends on how exact you need to be.
How can I tell if burrs are worn?
Look for rounded edges, a rise in fines, or a need to move coarser over time to get the same extraction. If the grinder no longer behaves the way it used to after you recalibrate, worn burrs are a likely reason.
Start with the grinder that fits your brewing style, write down a baseline setting, and keep the burrs clean. That is the practical core of it. If you want the fastest improvement, weigh your next few doses and record every adjustment. That habit usually tells you more than any accessory does.

- Espresso Tastes Watery? 10 Common Causes and How to Fix It - October 23, 2026
- 10 Common Coffee Equipment Cleaning Mistakes and How to Avoid Them - October 23, 2026
- 17 Common Coffee Grinder Problems and How to Fix Them - October 23, 2026