
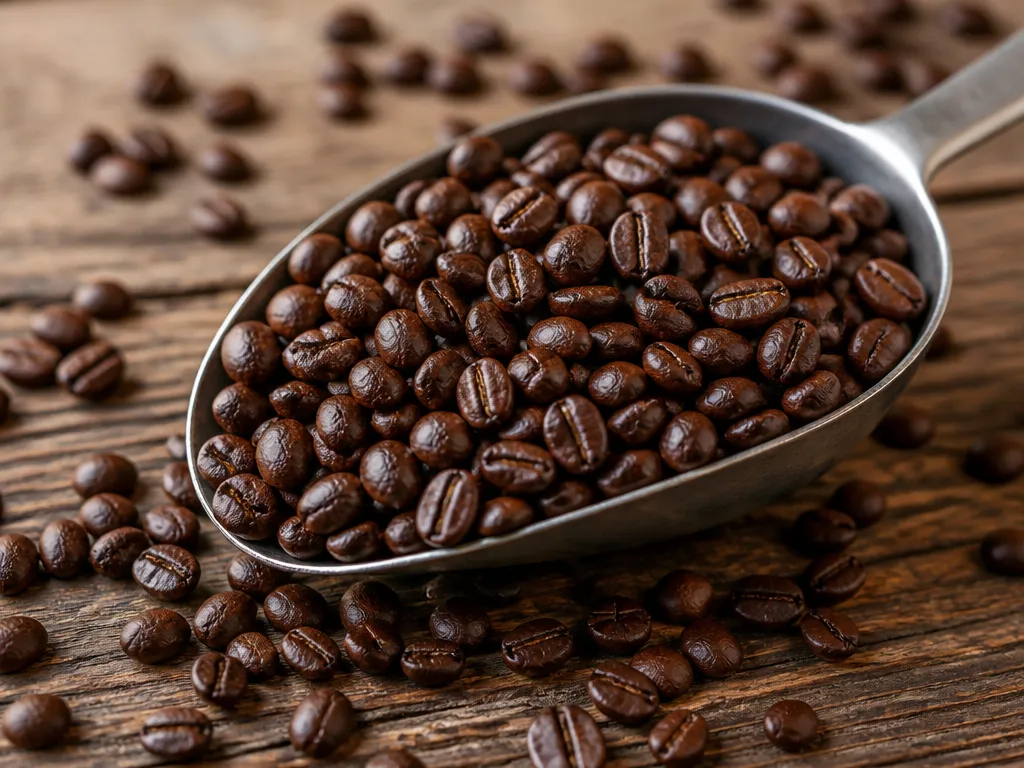
Roasting coffee beans at home comes down to controlling heat, listening for First Crack and Second Crack, and cooling the beans quickly. Most batches take roughly 8 to 15 minutes, depending on your setup and bean size. Stop during First Crack for a light roast, after First Crack for medium, or during Second Crack for dark. Keep a lid nearby when the beans begin to smoke, and always roast with good ventilation.
Sour coffee usually means the beans stopped too early or stalled before they developed fully. Ashy coffee usually means the roast went too far or the beans kept cooking during a slow cooldown. The method below gives you repeatable timing, doneness cues, storage guidance, and fixes for common problems.
Key Takeaways
- Pick a roast target. Light roasts end during First Crack, medium roasts finish after First Crack but before Second Crack takes over, and dark roasts go into Second Crack.
- Use a thermometer. Measure bean temperature or airflow temperature if your roaster does not display it.
- Start with small batches. Smaller loads heat more evenly and are easier to repeat.
- Listen for cracks. First Crack and Second Crack provide the clearest doneness cues.
- Cool quickly and thoroughly. Spread the beans and move air over them to stop carryover roasting.
- Store correctly. Rest roasted beans 12 to 24 hours, then keep them airtight and away from heat and light.
How to Roast Coffee Beans at Home
Heat green coffee until the beans develop the aroma and color you want, then stop the heat and cool them aggressively. The technique is simple; repeating it takes attention. Control the heat, listen for the cracks, and record what happened so the next batch is based on evidence rather than guesswork.
You have two common equipment options. A home drum roaster is generally the more forgiving choice, especially with an internal temperature reading or a clear airflow pattern. A hot-air roaster is more hands-on but can still roast evenly when you monitor the color, timing, and crack sounds.
Ingredients and Equipment
You only need green coffee and heat, but the right tools make the process safer and easier to repeat:
- Green coffee beans – use any origin you like.
- Roaster – choose a drum roaster or hot-air roaster.
- Timer – start it as soon as the beans enter the roaster.
- Thermometer – preferred for tracking progress.
– Use the bean-temperature display if your roaster has one.
– Otherwise, use an oven-safe probe positioned safely near the bean bed when possible.
- Cooling method
– A metal colander and a fan work well.
– A dedicated roaster cooling tray is even better.
- Container with a lid – use it for storage after the beans have cooled.
- Ventilation – roast outdoors, in an open garage, or beneath a range hood.
A stovetop popcorn popper or similar DIY setup can teach you to recognize cracks and color changes, but repeatability will be harder. These methods also tend to produce more smoke, so do not use them in a poorly ventilated room.
Base Roasting Method
- Preheat the roaster. Start the heat and airflow before adding the beans so the roast does not begin from a cold chamber.
- Charge the beans. Add the green coffee and start the timer immediately.
- Roast toward First Crack. Use this stage as the main reference for light and medium roasts.
- Continue toward Second Crack if you want a darker roast, watching and listening closely.
- Stop at your target. End the roast when the crack behavior matches your chosen roast level.
- Cool immediately and aggressively. Spread the beans out and move air over them until they stop giving off much steam.
- Rest the beans before brewing.
- Log the batch. Record the roast time, crack times, color, cooling method, and target roast.
- Change one variable at a time on the next batch.
The two changes that help beginners most are stopping at the right crack point and cooling quickly enough to prevent carryover roasting.
Choose a Light, Medium, or Dark Roast
Your roast level depends on when you stop relative to First Crack and Second Crack. Color helps, but development after the beans begin to crack is the more useful guide.
Light roasts taste brighter and more acidic and usually end soon after First Crack begins. Medium roasts develop more body and sweetness, finishing after First Crack and before Second Crack fully takes over. Dark roasts continue into Second Crack, producing a heavier, deeper flavor with a greater risk of bitterness and ashiness.
A Simple Roast Target Cheat Sheet
Use these stop rules while you learn your equipment:
- Light roast: Stop during First Crack, as soon as it is underway rather than waiting for it to fade completely.
- Medium roast: Stop after First Crack, before Second Crack fully takes over.
- Dark roast: Stop during Second Crack or shortly after it becomes established.
Every roaster behaves differently, so you will need at least a few runs to understand how quickly your setup moves from one stage to the next. Color alone can mislead you, especially when comparing beans with different densities and roast chambers.
Mistakes by Roast Style
Light-roast beginners often wait for a darker color or a stronger smell and roast too long. Medium-roast beginners may keep the heat on through active cracking and accidentally produce a dark roast. Dark-roast beginners sometimes ignore the smoke and rapid crack activity, then end up with a flat, ashy cup.
Choose your stop rule before you begin and follow it even if the beans look lighter than expected. Your first batch may not be perfect, but a consistent stopping point gives you useful information for the next one.
Set Up the Equipment and Calibrate the Thermometer
A thermometer turns roasting from visual guesswork into a repeatable process. Without one, you must compare sound, color, and timing across different days, humidity levels, and bean lots.
If your roaster displays bean temperature, use that reading as your primary control input. If it does not, a probe thermometer can help you estimate the bean-bed temperature at key points. The exact number matters less than keeping the probe placement and operating conditions consistent.
Calibrate Without Overcomplicating It
- Keep the probe in the same position. Place it consistently in relation to the bean bed.
- Use consistent heat and airflow. Do not compare readings from sessions with different settings.
- Mark key times. Record when First Crack begins and when you stop the roast.
- Repeat immediately. Use the same green bean lot and a similar batch size so the readings mean something.
Calibration will not predict every roast. It will show you how changes in heat or airflow affect the progress of your particular machine.
Batch Size Matters
Roaster behavior changes with charge weight. A batch that is too small can heat rapidly and overshoot. A batch that is too large may leave the center lagging behind the surface.
For your first 3 to 5 roasts, choose a batch size near the middle of your roaster’s typical recommendation and keep it consistent. Once you can predict when First Crack begins, experiment with batch size and compare the results.
Adjust Roast Time and Heat for Different Beans
Bean density, moisture, and origin affect how quickly coffee develops and when the cracks occur. Dense beans may respond differently from softer, more porous lots, so a schedule that works for one bag may not work for the next.
Do not chase a universal roasting schedule. Track the same signals every time: batch size, heat, airflow, First Crack, Second Crack, total time, and flavor. Time and temperature are your controls; the cracks are your landmarks.
Adjustments for Common Roast Issues
Change one variable at a time:
- The roast stalls before First Crack: Increase heat slightly or extend the roast time within reason.
- The cracks arrive too quickly: Reduce heat or lower airflow so the beans develop more evenly.
- The outside is dark but the inside tastes underdeveloped: Use slightly lower heat early and roast a little longer.
- The coffee tastes sour and thin: The beans likely stopped too soon after First Crack for that particular lot.
- The coffee tastes ashy and bitter: The roast likely went too far into Second Crack or developed too long after the target.
Expected Roast Time
Home roasting often takes roughly 8 to 15 minutes, but the exact duration depends on the roaster, batch size, airflow, and green coffee. Those numbers will shift as you change settings and work with beans that have different moisture and density.
Treat the first batch as learning data. After a few repeats, you should see patterns between thermometer readings, crack times, and the flavor in the cup.
Safe Substitutions
- Different green beans: Use your existing method as a starting point, then retune the crack and stop points.
- Different roaster types: A drum roaster and a hot-air roaster will not share the same timing. Follow crack cues instead of repeating a fixed time such as 11 minutes.
- No thermometer: You can roast by listening for cracks and watching color, but expect repeatability to take longer.
Use First Crack and Second Crack as Doneness Signals
First Crack and Second Crack provide the clearest roast landmarks. Color and smell help, but they can vary with bean type and equipment.
First Crack usually sounds like rapid popping snaps. Second Crack is often more intense, with thinner and more frequent pops. Stop based on your chosen roast level rather than waiting for a particular shade of brown.
Time the Stop with Crack Cues
- Roast until First Crack starts.
- Choose your target roast level.
- Stop according to the crack activity.
– For light roast, stop soon after First Crack begins.
– For medium roast, stop after First Crack, leaving a buffer before Second Crack takes over.
– For dark roast, stop once Second Crack is established and progressing.
Consistency matters more than a single exact sound. If First Crack arrives earlier than usual, the bean lot may be different or your heat settings may have drifted.
Doneness Cues Beyond Sound
Use these signs when crack sounds are difficult to hear:
- Color: Light roasts are dry, matte, and lighter brown. Darker roasts may show oil on the surface, depending on the bean and development level.
- Aroma: The smell changes as the roast develops. Burnt aromas signal a problem rather than a desirable darker roast.
- Chaff: Chaff may loosen earlier in the roast, but its movement does not tell you when the beans are fully developed.
Sound remains the most reliable cue. Roast in a consistent location, reduce background noise, and keep a timer running so you can compare each batch.
Cool the Beans Quickly and Store Them Properly
Cooling determines whether the roast stops where you intended. Hot beans continue roasting from retained heat after you remove them from the roaster, and slow cooling can push a medium roast toward dark.
Move the beans onto a cooling surface immediately, then force air over them. Stir or agitate them so the entire batch cools evenly. Continue until the steam subsides and the beans are safe to handle.
Practical Cooling Method
- Stop the heat at your target crack point.
- Transfer the beans immediately to a cooling tray or metal colander.
- Blow a fan over the beans.
- Stir or agitate occasionally so the whole batch cools at the same rate.
- Continue until the steam subsides and the beans reach a safe handling temperature.
A lid-only cooling method traps heat and encourages the beans to overshoot. Fast cooling is essential for consistent roast levels.
Storage for Freshness
Freshly roasted coffee changes quickly during the first days. Most roasts benefit from a short rest before brewing.
- Rest time: usually 12 to 24 hours for the best early flavor.
- Storage: use an airtight container.
- Location: keep the container in a pantry or cabinet, away from heat and light.
Do not freeze the beans immediately after roasting. Freezing can help with long-term storage, but consistent airtight pantry storage is simpler while you learn the process.
Cooling and Storage Substitutions
- No cooling tray: Use a metal colander and a fan.
- No airtight container: Use the best container available, but expect the coffee to stale faster.
- No fan: The beans will cool more slowly and may continue roasting. Spread them into a thin layer and expect more carryover development.
Fix Uneven, Sour, or Burnt Coffee
Uneven coffee usually points to inconsistent heat or an unsuitable batch size. Sour coffee most often indicates underdevelopment. Burnt or ashy coffee usually means the roast went too far or continued developing during a slow cooldown.
Diagnose the flavor before changing your method. Otherwise, you may correct the wrong problem.
Uneven Roast
An uneven roast contains beans that developed at different rates, so the cup may taste sharp, flat, and ashy at the same time.
Try these fixes:
- Reduce the batch size so heat reaches the beans more evenly.
- Stabilize the heat before charging. Starting from a cold chamber can create uneven progress.
- Keep airflow consistent. Do not change the fan or damper mid-roast unless you are intentionally testing that variable.
- Stir only when necessary. Many roasters mix the beans automatically, and manual stirring can introduce inconsistency.
For a useful comparison, roast the same beans twice back-to-back and change only one factor, such as batch size or heat setting.
Sour Coffee
Sour coffee often results from stopping too soon after First Crack or failing to give the beans enough development time. It can also result from too little heat early in the roast, leaving the beans stalled before they reach the flavor development you want.
Try these fixes:
- Roast a little longer after First Crack with the same bean lot.
- Use slightly more heat early if the roast stalls before the cracks.
- Keep cooling consistent. Slow cooling can change the final flavor, but underdevelopment is the more common cause of sourness.
If the coffee tastes sour and smells green, it probably needed more development after First Crack.
Burnt or Ashy Coffee
Burnt flavors usually come from roasting too far into Second Crack or allowing the beans to keep cooking after the heat is off.
Try these fixes:
- Stop earlier relative to Second Crack.
- Cool immediately and thoroughly to limit carryover roasting.
- Lower the heat if the cracks arrive too quickly or intensely.
- Shorten post-crack development. Roasting “a little longer for safety” can turn into ashiness.
A bitter, smoky cup with a dry, charred aroma usually means the roast overshot its target.
Keep a Simple Roast Log
Record these details for every batch:
- Green bean origin or blend
- Roast date
- Batch size
- Total roast duration
- Timer time when First Crack began
- Whether Second Crack started and where you stopped
- Cooling duration and method
- Brew result – sour, balanced, or burnt, in one sentence
Track 3 roasts before making major changes. The pattern between your crack times, settings, and cup flavor will become easier to see.
FAQ
How long does it take to roast coffee beans at home?
Most home roasting sessions run about 8 to 15 minutes, but the exact time depends on your roaster type, batch size, and airflow. First Crack and Second Crack are better timing references than total minutes because they track bean development. If your roasts are consistently too fast or too slow, adjust heat or airflow and repeat with the same bean lot.
What equipment do I need to roast coffee beans at home?
At minimum, you need green coffee beans and a roaster. A timer helps, and a thermometer is especially useful if the roaster does not display bean temperature. You also need a way to cool the beans quickly. For most beginners, a drum roaster or hot-air roaster with a fan-cooled tray or metal colander is the easiest setup.
How do I know when the beans are done?
Listen for First Crack and Second Crack, then stop according to your target roast. Stop light roasts soon after First Crack begins, medium roasts after First Crack but before Second Crack takes over, and dark roasts once Second Crack is established. Color and aroma can support your decision, but crack sounds are the most consistent guide.
Why does my coffee taste sour even though I roasted it “long enough”?
Sourness usually means underdevelopment, often because you stopped too soon after First Crack. It can also indicate that the early heat was too low and the beans stalled before developing fully. Roast the same bean lot a little longer after First Crack, and cool quickly so carryover roasting does not confuse the result.
Can I roast coffee beans without a roaster?
Yes, but controlling and repeating the roast is harder. A popcorn-popper-style setup can work if you manage the batch size and listen closely for cracks. Expect more variation in roast uniformity and more smoke, so ventilation is important. A purpose-built home roaster becomes worthwhile once you want more consistent results.

- Espresso Tastes Watery? 10 Common Causes and How to Fix It - October 23, 2026
- 10 Common Coffee Equipment Cleaning Mistakes and How to Avoid Them - October 23, 2026
- 17 Common Coffee Grinder Problems and How to Fix Them - October 23, 2026