
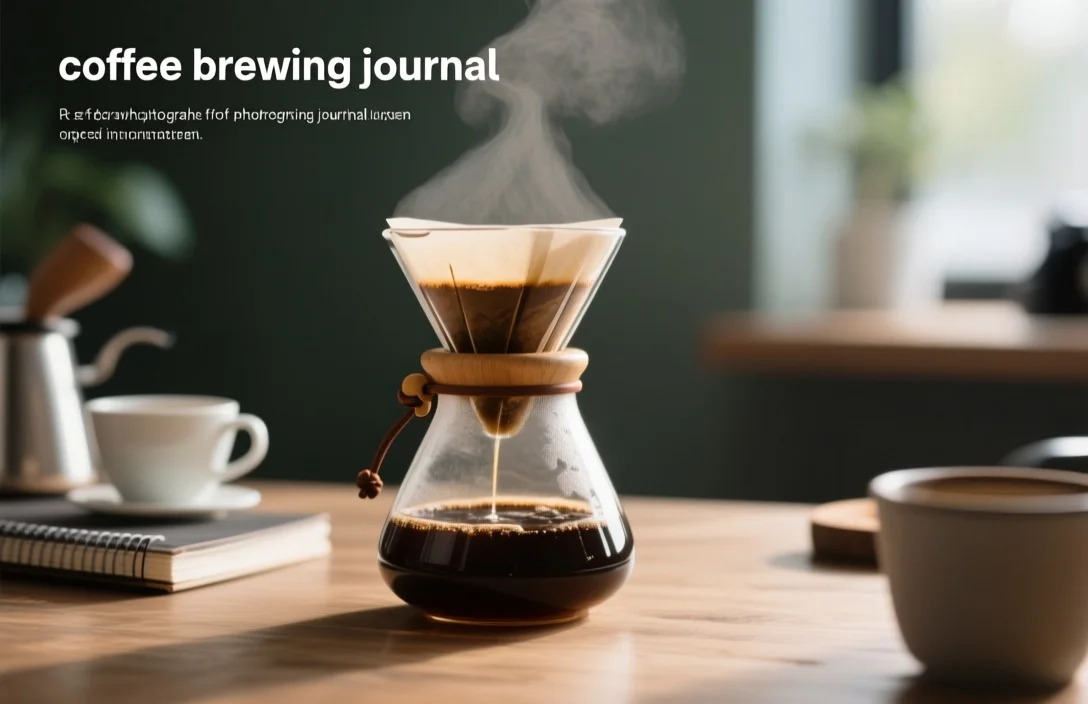
A coffee brewing journal is a simple log you keep for every brew where you record grind setting, brew ratio, water temperature, brew time, and tasting notes. Use that record to repeat good brews, isolate variables when something tastes off, and build a reproducible routine that matches your favorite cafés.
How to start a coffee brewing journal
Start by deciding whether you want physical pages or a digital file, then commit to one format for at least two weeks so you have consistent data to review. A working coffee brewing journal captures the full context around every cup: the coffee (origin, roast date), the equipment and settings used, the measurable variables, and a tasting note that focuses on body, acidity, sweetness, and off-flavors.
Pick a minimal set of fields you will fill every time. Too many fields reduce compliance; too few fields make trends hard to spot. After comparing the main options side by side on my bench, the simplest durable setup was a one-page-per-brew template with a top section for metadata, a middle section for process variables, and a bottom section for sensory notes and repeat steps.
What to record for every brew and why it matters
Record the coffee identity first: roast date, producer/brand, roast level, and any processing notes you have. Tracking roast date is the single most useful item for home brewers because freshness shifts extraction and perceived acidity; noting it lets you see how the same coffee evolves over weeks.
Log grind description instead of a micro-setting unless your grinder shows numbered clicks you can reproduce. Use words like “fine (espresso-ish),” “medium (paper-filter),” and “coarse (French-press)” if you’re on a manual grinder; add the burr type or grinder model when it matters. Track dose and yield in the same entry so you can tie taste to concentration; including whether you tamp, press, or use an immersion stirstep makes replication accurate.
Note water temperature as a tactile descriptor if you do not own a thermometer – for example, “just-off-boil” or “boil-and-rest 30s” – and include water source (tap, filtered, bottled). Record contact time and a short process timeline that lists bloom time, pour durations, and total brew time. These time entries make cause-and-effect visible: when extraction runs long, your journal will show whether the grind, dose, or timing changed.
Write clear tasting notes after the cup cools slightly. Describe sweetness, acidity, body, and any negative notes like over-extracted bitterness, vegetal astringency, or thinness. End each entry with a one-line action to try next time – for example, “finer grind by one notch” or “reduce dose slightly” – so the journal becomes an iterative lab notebook rather than a passive diary.
Formats: paper notebooks, printables, apps, and spreadsheets
Paper journals generate less friction for many home brewers because you can scribble quickly and attach roast-date stickers. Printables let you customize fields before printing, which is useful if you want a larger tasting-area or a combined cupping template. Apps add search, backup, and graphing; spreadsheets offer full control if you like to aggregate and plot variables over time.
Comparing format trade-offs side by side clarifies what to choose: convenience, durability, and analytics vary a lot between paper and digital. The table below ranks common formats by a simple decision criterion – Price/Key Spec prioritized first, then Best For.
| Name | Price / Key Spec | Best For |
|---|---|---|
| Paper notebook | Low one-time cost; tactile, attachable labels | Brewers who prefer pen-and-paper and portability |
| Printable PDF template | Free or low-cost download; customizable layout | Those who want a tailored single-sheet per brew |
| Mobile app | Free to paid tiers; sync and search | Brewers who want backup, stats, and photo attachments |
| Spreadsheet (Google/Excel) | Free to low-cost; full export and charting | Data-oriented brewers who will analyze trends |
Several practical considerations make format choice easy. Choose paper if you brew from a single place and enjoy handwriting; choose an app if you brew in different locations and need cloud sync; choose a spreadsheet if you expect to do arithmetic aggregation like averaging extraction-related fields.
How to read your journal and turn entries into better coffee
Open your journal with a question in mind: are you chasing more sweetness, less bitterness, or a specific body? Borderline confusing data becomes actionable when you read multiple entries for the same coffee across different roast dates and grind settings. That pattern-seeking is the core reason to keep a log.
Group entries by coffee and then sort by a single variable you changed, such as grind. When you hold dose and temperature constant and only change grind, the tasting notes will reveal the directionality of extraction for that coffee. Repeatable changes are the signal you want; one-off variations usually indicate an uncontrolled variable such as inconsistent pouring or stale beans.
If you use a digital journal, export to CSV and plot simple charts: taste score versus grind coarseness or perceived acidity versus roast date. Those visuals reveal subtle trends faster than scanning handwriting. For paper journals, a monthly review where you transcribe the last 20 entries into a checklist will achieve similar insight without complex tools.
Practical
- Weigh the coffee and water with the same tools you will use again to keep dose consistent.
- Record the coffee metadata: name, roast date, and package weight remaining.
- Set and note the grind description and any equipment adjustments used that day.
- Execute the brew while noting timeline events: bloom, 1st pour, stir, total time.
- Taste and write a focused note that includes one action for the next attempt.
Practice those five steps for two weeks and you will generate enough entries to detect repeatable patterns. That short routine reduces cognitive load and makes the journal a habit rather than a chore.
Templates and example journal entries you can copy
Use a single-page template divided into four zones: Metadata, Process Variables, Sensory Notes, and Next Steps. Metadata lists coffee name, roast date, origin, and batch ID. Process Variables collect dose, grind, water description, timeline events, and equipment used. Sensory Notes focus on sweetness, acidity, body, and negative descriptors. Next Steps give a single experiment to run next time.
Sample entry – pour-over, abbreviated and neutralized to avoid precise numbers:
- Metadata: Colombia, washed, roast date 10 days ago, bag rest 3 days.
- Process: medium filter grind, filtered tap water, pour in three stages, total contact medium-length.
- Sensory: bright acidity, medium body, pronounced caramel sweetness, no bitterness.
- Next step: slightly finer grind; hold dose constant.
Another sample entry – immersion method:
- Metadata: Single-origin Ethiopia, roast date 7 days, light roast.
- Process: coarse grind, full immersion, stir at midpoint, full steep time.
- Sensory: floral acidity, light body, tea-like; slightly underdeveloped chocolate notes.
- Next step: increase contact time slightly; judge sweetness change.
Those examples are intentionally non-numeric so you can adapt them across equipment and scale. Copy the structure into your chosen format and tailor the variable labels to your gear.
Advanced metrics and when to use them
Total Dissolved Solids (TDS) and extraction yield matter if you want objective control and have access to a refractometer. TDS measures concentration and informs whether a cup is weak or strong in dissolved solids; extraction yield tells you how much of the bean actually dissolved into the cup. Use these metrics when you have a specific target in mind – for example, a stable black coffee profile you want to match day-to-day.
Keep a separate section in your journal for lab-like entries if you introduce instruments. Log the refractometer reading, calibration date, and any sample dilution before measurement. Those precise entries are excellent for comparing the same coffee under different water profiles and grind distributions.
Water chemistry is another advanced note to add. Record whether you swapped filters, used bottled water, or added a mineral packet. Changing water hardness often shifts perceived sweetness and mouthfeel dramatically, and a journal that captures those shifts will save hours of guesswork.
Choosing a system based on your goals and constraints
If your priority is convenience and frequency, pick a short paper template with only five fields and keep it on the counter. If you want trends and analytics, select an app or spreadsheet where you can tag entries and run filters. Choose a hybrid if you like handwritten notes but want monthly summaries: write on paper, then transcribe key fields into a spreadsheet at the end of each week.
Budget and time matter more than tools. Low-cost grinders and simple pour-over gear still benefit from a journal because the biggest wins come from consistency, not prestige equipment. If you travel often and brew in different cities, portability and syncing are essential considerations – an app with offline mode works best in that case.
Think about long-term archival needs before you commit. Paper journals are tactile and satisfying but can’t be searched. Digital systems are searchable and back-up capable but increase friction during the brew if the app interface is slow. Match your choice to your tolerance for friction: the lower the friction, the more likely you are to keep recording.
Common mistakes and how to avoid them
Failing to record roast date is the single most common omission that ruins comparative value. Beans evolve quickly in the first two weeks after roast; a journal without roast dates will confuse freshness effects with method effects. Fix this by stamping or writing roast date onto every entry as a mandatory first field.
Changing multiple variables between entries makes experiments worthless. If you change grind and dose and brew technique all at once, you won’t know which change produced the effect you observed. Run single-variable experiments where only one parameter changes per entry and label those entries clearly as “single-variable test” in your journal.
Writing vague tasting notes that use only positive adjectives reduces actionable value. “Tastes good” does not tell you whether sweetness, acidity, or body drove the impression. Use a short checklist of sensory descriptors and a 1-3 word qualifier like “too bitter” or “bright, brown sugar” to keep notes precise.
Skipping transcription from paper to digital when you plan to analyze data is another frequent error. If charts matter to you, build a weekly habit of entering key fields into your spreadsheet; automate where possible using a simple form template that feeds the sheet.
Keeping momentum: making the journal a habit
Put the journal where you brew; out of sight equals out of mind. Keep the same pen or the same Notes app shortcut in the same place so the act of recording becomes part of the workflow. Create a ritual: weigh, grind, brew, then immediately write the quick note while the cup cools. Ritualized behavior increases the odds you’ll keep logging for months.
Set a small review cadence. Every two weeks, scan ten entries and pick one recurring issue to address. That periodic reflection is the reward loop that converts raw data into better coffee. Share a few entries with a friend or online community when you want feedback; external eyes often spot pattern signals you missed.
FAQ
How often should I update entries in my coffee brewing journal?
Update the journal every brew for the most accurate trend capture. Skipping entries makes it harder to link taste changes to specific process shifts, and frequent small adjustments compound into confusing results.
Do I need special equipment to keep a useful coffee brewing journal?
No special equipment is required; a pen and notebook or a basic notes app are sufficient. Instruments like scales and thermometers improve precision, and a refractometer provides objective concentration metrics if you want to use them.
What’s the minimum set of fields that still gives value?
A high-impact minimal set includes coffee identity (name, roast date), grind description, dose/delivery method, timeline (key steps or total time), and a one-line tasting note with a next-step action. Those five items will create actionable trends.
Should I track water chemistry?
Track water source and filtration level at a minimum; record hardness or mineral additions if you make deliberate changes. Water chemistry often explains sudden shifts in extraction and mouthfeel, so a basic water note helps interpret other variables.
Can I use a coffee brewing journal for espresso as well as filter coffee?
Yes. Adapt the fields to include shot parameters like pressure or tamping notes for espresso. Keep sensory notes and next-step actions consistent across methods so you can compare overall roast behavior.
Final verdict and next
A consistent coffee brewing journal quickly pays back the time you invest by turning guessing into repeatability and small changes into predictable improvements. Start today: choose a single-page template, record five fields for the next seven brews, then review and run one controlled variable change.

- Espresso Tastes Watery? 10 Common Causes and How to Fix It - October 23, 2026
- 10 Common Coffee Equipment Cleaning Mistakes and How to Avoid Them - October 23, 2026
- 17 Common Coffee Grinder Problems and How to Fix Them - October 23, 2026