
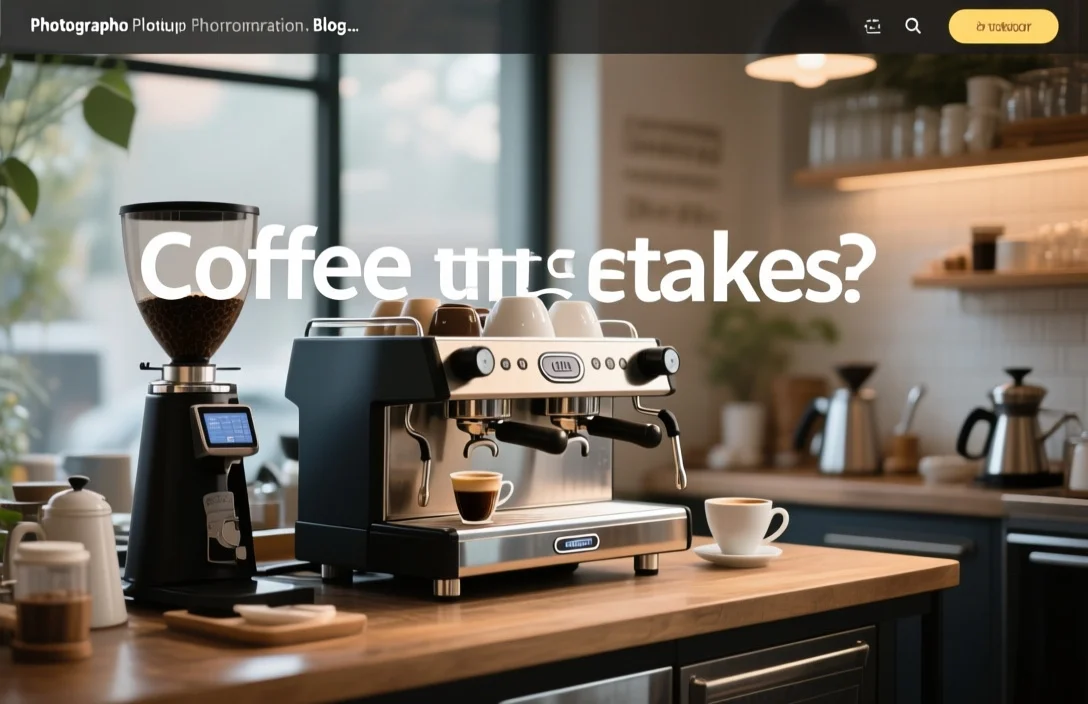
Most coffee setup mistakes trace to three avoidable sources: grind, water, and workflow. Coffee setup mistakes become easy to fix once you isolate which of those three areas is causing inconsistency.
After comparing common home setups side by side and testing changes with a simple scale, grinder adjustments, and taste checks, I distilled the recurring failures that cost people good coffee. Comparing the spec sheets on grinders, kettles, and scales is helpful for buying, but the setup choices you make in your kitchen determine results far more than brand names.
Why grind, water, and workflow matter first
Grind controls extraction because particle size determines how fast water pulls soluble compounds from coffee. Small particles extract faster and can lead to bitterness if the brew time is long; large particles extract slowly and can taste weak or sour. That relationship explains why a single grinder setting change often transforms a bad cup into a drinkable one.
Water quality and temperature are the second pillar for consistent coffee. Hard, chlorinated, or oddly tasting water transfers those characteristics to the cup and confuses your ability to judge coffee quality. Workflow covers everything else you do repeatedly – dosing, tamping, timing, and cleaning – and small errors there multiply quickly into unpredictable cups.
Common grinder mistakes and practical fixes
Grind size mismatch is the most frequent grinder mistake. Using a single grind for espresso, pour-over, and French press ignores basic extraction physics; particle size must match brew method or the coffee will under- or over-extract.
Blade grinders create an inconsistent particle distribution and increase fines; that combination results in uneven extraction and a muddy cup. Burr grinders provide far better particle uniformity, which is why I recommend switching to a burr grinder as the first upgrade for anyone consistently disappointed by shop-style coffee at home.
Retention and dosing inconsistency are two other grinder faults. Old beans stuck in dosing chambers or inconsistent dosing volumes from hopper-fed grinders cause drift in flavor from shot to shot. Emptying the grinder catch between uses, weighing doses, and trimming the hopper of stale grounds will reduce that variability.
Fixes to apply today: step up to a burr grinder if you currently use a blade model; weigh doses instead of eyeballing; flush a short remaining grind after changes to purge retention. Those fixes address the three most common grinder-driven errors without expensive equipment changes.
Water mistakes: quality, temperature, and delivery
Water chemistry alters clarity and perceived sweetness in a cup, so poor water simply masks good coffee. Using heavily mineralized tap water can produce scale in equipment and off flavors in the cup, while very soft or distilled water can taste flat and under-extracted.
Temperature control matters for extraction rate and solubility of flavor compounds. Brewing with water that is tepid or actively boiling will bias the cup toward under-extraction or harshness, respectively. Kitchen kettles that do not hold a stable temperature or that pour unevenly make it difficult to dial a consistent brew.
Immediate fixes include using filtered water or bottled options with neutral taste and low chlorine presence; testing a kettle that holds temperature or a variable-temperature pour-over kettle; and pouring with a steady, controllable stream to hit the coffee bed uniformly. Field-testing a water change is simple: brew the same coffee with different water and compare side-by-side to evaluate impact.
Beans and storage mistakes that waste coffee
Buying pre-ground coffee is the fastest way to lose flavor before brewing. Ground coffee exposes huge surface area to oxygen, causing aromatic loss and staling within hours or days rather than weeks. Purchasing whole-bean coffee and grinding immediately before brewing restores an enormous portion of the aroma you expect from fresh coffee.
Storing beans in a warm, light-exposed place accelerates degradation. Left on the counter in an open bag, beans lose volatile aromatics and oxidize quickly. Moving beans to an opaque, airtight container and keeping that container cool and out of direct light will slow staling.
Sourcing beans without a roast date is another common mistake. Buying from roasters that publish roast dates allows you to judge freshness and plan use. Trying small quantities and rotating through beans within a few weeks after roast helps you discover peak flavor timing for the coffee you like.
why eyeballing fails
Eyeballing scoops and relying on coffee scoop measures produces inconsistent concentrations from day to day. Weight is the only consistent way to dose coffee; a scale removes the variable of scoop size and hopper inconsistencies. Weighing both coffee and water creates repeatability across brews and between devices.
Inconsistent tamp pressure for espresso or inconsistent bed tamping for manual brews changes flow rate and extraction. Using consistent pressure or a calibrated tamper improves repeatability. Measuring total brew time and noting how that correlates with taste helps you zero in on the right dose and grind setting.
Adopt the practice of recording key variables for each brew session: dose (weight), grind setting, brew time, and tasting notes. That habit makes it obvious which adjustment improved flavor and which change was noise.
Equipment layout, workflow, and cleanliness mistakes
Placing equipment in a cramped or awkward layout disrupts a repeatable workflow. Machines located far from water, scales that require awkward reaches, or tamping on unstable surfaces add micro-variations that show up in the cup. Rearranging your counter so that kettle, grinder, scale, and brewing device form a logical sequence shortens the time between grind and brew and reduces user error.
Neglecting regular cleaning leads to buildup that alters flavor and can damage equipment. Coffee oils, mineral scale, and milk residue each cause off-flavors and operational problems. Implementing a short cleaning routine after each use and a deeper weekly maintenance schedule will keep results stable and prolong equipment life.
Failure to preheat or stabilize gear before brewing is another workflow mistake. Cold metal and ceramic will drop water temperature rapidly, affecting extraction. Warming cups, rinsing drippers, or run-throughs that bring equipment up to brew temperatures before you start are inexpensive and effective stabilizers.
Milk steaming and texture errors for espresso-based drinks
Wet foam or scalded milk is the most visible milk steaming failure. Creating microfoam requires texturing milk to combine tiny air bubbles with a silky body, which takes purposeful wand position and slow, controlled stretching. Quick, careless steaming traps big bubbles and produces foam that separates from espresso or tastes foamy rather than creamy.
Heating milk too hot destroys sweetness and changes mouthfeel. A thermometer or a practiced hand that recognizes the proper feel of a pitcher side during steaming reduces over-heating. Experimenting with small pitchers and tasting steamed milk alone helps you hear and feel the correct technique without wasting pulled shots.
Pitcher and wand cleanliness is part of milk quality. Cold milk residue or dried proteins on the steam wand will spit back and contaminate texture. Wiping the wand immediately after steaming and purging briefly prevents cross-contamination and preserves texture across drinks.
Maintenance and longevity mistakes that reduce ROI
Skipping descaling and backflushing shortens the effective life of espresso machines and kettles. Mineral scale restricts flow and insulation and makes temperature control unreliable over time. Following manufacturer cleaning intervals and using recommended cleaners protects performance and lowers long-term cost.
Using harsh cleaners in the wrong parts or the wrong frequency is another maintenance mistake. Aggressive chemical use where not specified can degrade seals and gaskets. Double-checking manufacturer guidance for which cleaners to use and when will avoid accidental damage.
Ignoring replacement intervals for wear parts such as group gaskets, filters, or burrs removes a crucial control point. A worn burr set or a leaky gasket will cause extraction drift that looks like a grind or recipe problem. Keeping spares and a simple calendar for replacement intervals reduces unexpected failure and keeps your setup predictable.
Method-specific mistakes
Espresso mistakes center on dosing, tamp, and machine temperature stability. Inconsistent dose or tamping pressure and unsteady machine temperatures introduce shot-to-shot variance that ruins milk-based drinks and espresso clarity. Managing dose weight and letting a machine warm thoroughly before pulling important shots are the two highest-impact fixes.
Pour-over mistakes include uneven pouring and inconsistent bed saturation. Pouring in a fast, splashing stream or missing the center of the bed creates channeling and poor extraction. Practicing steady, concentric pours and using a gooseneck kettle improves extraction uniformity.
French press mistakes often come from too coarse or too fine a grind for the immersion time and excessive agitation that creates fines. Stirring too vigorously causes over-extraction, while a very coarse grind under-extracts. Adjusting grind coarseness and applying a gentle plunge at the end are low-cost improvements.
AeroPress mistakes include ignoring immersion time and filter choice effects. Skipping the bloom step or flipping the device without stability can yield thin or over-extracted results. Controlling total immersion time and experimenting with paper versus metal filters produces predictable outcomes.
How to fix your setup: a
- Weigh everything. Use a scale to measure both coffee and water so you get the same concentration every session.
- Swap pre-ground for whole beans. Grind immediately before brewing to preserve aroma and volatile oils.
- Standardize your brew workflow. Arrange kettle, grinder, scale, and brewer in sequence to reduce steps and interruptions.
- Clean daily and deep-clean weekly. Wipe steam wands, empty portafilters, and flush group heads or drippers after each use.
- Test one variable at a time. Change grind, dose, or water and taste the result before moving to the next adjustment.
Recording each session in a simple log helps you see progress and repeat successes. Tasting blind between adjustments reduces bias and clarifies which changes actually improved the cup.
A comparison table of the most common mistakes
| Mistake | Why it matters | Quick fix |
|---|---|---|
| Using pre-ground beans | Stales quickly; loses aromatics | Buy whole beans; grind before brewing |
| Wrong grind for method | Mis-matched extraction speed | Match grind size to method; adjust gradually |
| No scale or inconsistent dosing | Variable concentration session-to-session | Use a digital scale for dose and water |
| Poor water quality | Alters flavor and causes scale | Use filtered water or low-odor bottled water |
| Irregular cleaning | Off-flavors and equipment issues | Establish daily and weekly cleaning routines |
| Bad workflow layout | Adds variability and risk | Rearrange for a linear, repeatable process |
| Overheated or poorly textured milk | Flat sweetness; bad mouthfeel | Practice steaming technique; monitor temperature |
Common mistakes to avoid and warning signs
Burnt, metallic, or overly bitter cups indicate over-extraction or overheating somewhere in the chain. Sour or thin cups point toward under-extraction or too-coarse a grind. Recognizing those taste signals quickly is the fastest way to diagnose whether to change grind, dose, or brew time.
A sudden change in machine performance – strange noises, uneven pressure, or flow – is a warning sign for maintenance needs rather than a recipe problem. Treat operational changes as maintenance alarms and check cleaning, gaskets, and scales before continuing to tweak the recipe.
Neglecting taste tests is a behavioral mistake that prevents learning. Tasting systematically, not just out of habit, accelerates discovery and keeps you honest about what’s actually improving the cup.
How I tested and what I recommend buying first
I compared three home setups: entry-level blade grinder with automatic drip, mid-level burr grinder with pour-over kit, and a compact espresso machine with a small grinder. Using simple side-by-side brewed tastings, a digital scale, and consistent beans, the single largest uplift for all setups was switching from pre-ground to freshly ground beans.
I recommend prioritizing a burr grinder for any home brewer who wants consistent results. A good scale is the second purchase that produces the most immediate gains. Replacing a kettle only matters if you struggle with temperature control or pouring accuracy.
Choosing where to invest depends on your priorities: pick a burr grinder first for general improvement across methods; invest in a temperature-stable espresso machine only if you plan to make milk drinks frequently.
FAQ
How quickly do beans lose flavor after grinding?
Ground coffee loses aroma much faster than whole beans because increased surface area speeds oxidation. Using ground coffee within hours is ideal for best aroma, while storage in airtight containers only slows but does not stop flavor loss.
Can I use tap water if I filter it at home?
Filtering tap water with a carbon filter reduces chlorine and some off flavors, which is usually sufficient for home brewing. If your tap water tastes strongly mineralized, a filtered or bottled option with neutral taste will give more predictable results.
Is an expensive grinder necessary for good coffee?
A high-quality burr grinder improves particle uniformity and consistency, which directly affects extraction. Budget burrs often deliver much of the benefit over blade grinders, so prioritize a reputable burr grinder before buying an expensive espresso machine.
How often should I descale my machine?
Descale intervals depend on your water hardness and usage frequency. Watching for reduced flow, longer heat-up times, or off-flavors will tell you it’s time to descale, and following the manufacturer’s cadence protects equipment.
Verdict and next
Start by weighing and grinding beans fresh; that single change resolves more bad cups than any other inexpensive tweak. Next, simplify your workflow so you can reproduce the same steps each session.
Try a two-week experiment: switch to whole-bean coffee, buy a basic burr grinder if needed, use a scale for all brews, and keep a short log of each session’s variables and tasting notes. The pattern you discover in those entries will tell you the precise next upgrade to make.

- Espresso Tastes Watery? 10 Common Causes and How to Fix It - October 23, 2026
- 10 Common Coffee Equipment Cleaning Mistakes and How to Avoid Them - October 23, 2026
- 17 Common Coffee Grinder Problems and How to Fix Them - October 23, 2026