
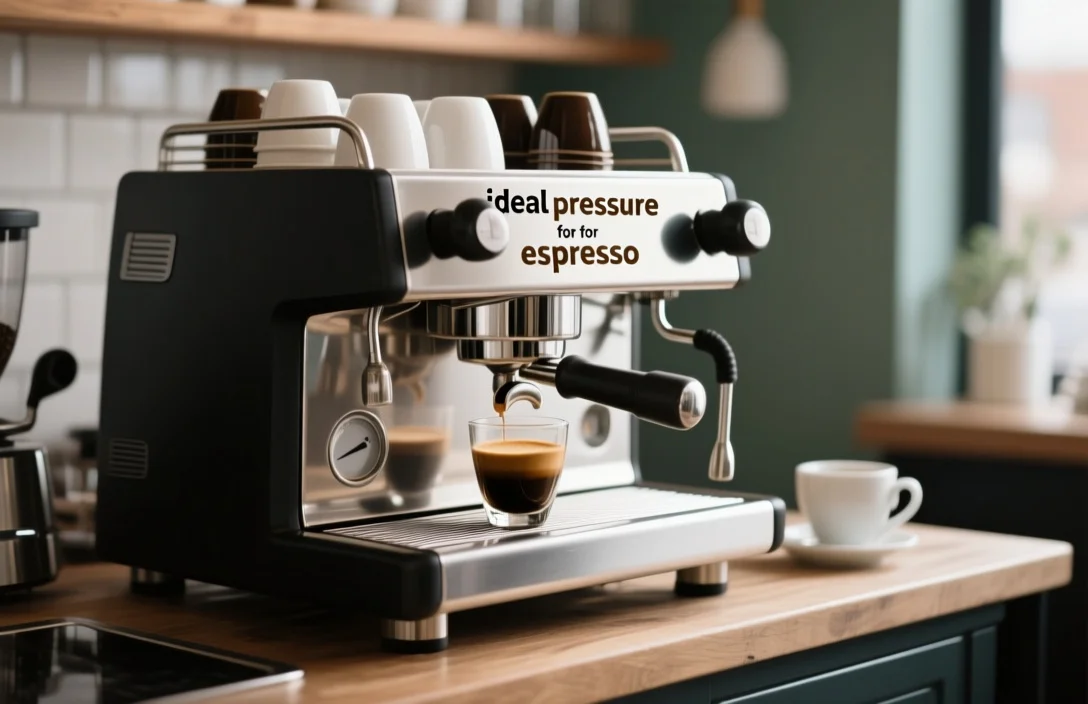
9 bars at the group head is the practical benchmark for brewing a balanced espresso shot; most commercial and quality home machines aim for this and you should too. A useful operational range sits near 8-9 bars for everyday shots, with specialty techniques exploring 6-11 bars depending on roast and style.
How pressure controls extraction and flavor
Pressure forces hot water through the compressed coffee puck and determines which compounds dissolve and when. Water under pressure extracts oils, sugars, and acids differently than gravity-only methods, concentrating flavors and creating crema. Machines that deliver consistent pressure avoid under-extraction (sour, thin shots) and over-extraction (bitter, harsh notes). Shot timing interacts with pressure; a typical benchmark is 25-30 seconds for a 1:2 brew ratio on a 9-bar extraction, which balances soluble yield and perceived sweetness.
Bar is a unit of pressure equal to roughly 14.5 PSI. One bar of pump pressure adds about that much force across the brew surface, so 9 bars equals roughly 130 PSI at the pump output. Pump pressure and brew pressure at the group head can differ because of flow restrictions, gaskets, and check valves inside the machine. Machines that advertise 15 bars typically reference pump capability rather than actual brew-head pressure; internal regulators or back-pressure valves commonly reduce that to the 8-9 bar brewing level.
Grind size, dose, puck density, and tamping are pressure-dependent variables you must control alongside machine settings. Finer grind increases resistance and raises head pressure for the same pump output; coarser grind does the opposite. A consistent tamp – industry guidance suggests around 30 lbs of force – produces an even puck and helps water flow uniformly, preventing channeling and sudden pressure spikes. Dose recommendations often run 18-20 grams for a double shot; altering dose without adjusting grind will change effective extraction pressure and flow rate.
Why 9 bars became the standard and what it implies
9 bars emerged as the standard after early pump-driven machines settled on that level to balance extraction speed, crema formation, and flavor. Modern Specialty Coffee Association guidance and technical literature typically identify 9 bars as the reference point for a standard espresso extraction. That pressure pushes water through finely ground coffee at a rate that extracts a broad set of desirable compounds in 25-30 seconds for most recipes.
Mechanical reasons underpin the standard as well. Group-head designs, portafilter geometry, and common basket sizes were optimized around the resistance that 9 bars produces with typical tamping and dosing. Modern home and commercial machines therefore build hardware, heating systems, and flow profiles to operate predictably at or near that pressure. Marketing labels of 15 bars reflect pump maximum output rather than brew-head conditions, so a machine rated 15 bars will often incorporate regulators to create the 9-bar working pressure.
Home baristas should treat the 9-bar recommendation as a starting point, not an absolute law. Coffee varietal, roast level, and personal taste all matter. Lighter roasts sometimes benefit from lower initial pressure or pressure profiling to highlight acidity and aromatics, while darker roasts can tolerate or even prefer slightly higher pressure to emphasize body and crema.
Pressure ranges and the practical effects on shots
| Pressure Range | Effect on Extraction / Crema | Best For |
|---|---|---|
| 6-7 bars (low pressure) | Produces gentler extraction with less bitterness and thinner crema; can reveal delicate acids and aromatics | Single-origin light roasts, experimental batch profiling |
| 8-9 bars (standard) | Delivers balanced extraction with good crema; typical 25-30 second extraction time and wide compatibility with roast levels | Everyday espresso, milk drinks, consistent cafe shots |
| 10-15 bars (high pump-rated) | Can produce thicker crema but increases risk of over-extraction and bitterness if not dialed in; many machines advertise 15 bars but brew head may still be regulated down | Marketing-heavy home machines or lever adjustments for specific styles |
Lower-pressure extractions often produce sweeter, less astringent cups by reducing the rate at which bitter compounds are pulled from the puck. That effect can be desirable with single-origin beans where clarity is important. Higher pressure speeds extraction through the puck if other variables remain fixed, which increases the likelihood of extracting harsher, late-stage solubles; careful grind and dose control are necessary to compensate.
Consistency of pressure matters more than a one-off number. A stable 8-9 bar profile shot after shot produces repeatable outcomes. Machines with pressure drift, or units that show wide fluctuations during extraction, will force you to re-dial the grind and dose every few shots. Regular maintenance – pump checks, gasket replacement, and descaling – keeps pressure behavior predictable.
How to measure and test your machine’s pressure
- Install a group-head pressure gauge or a portafilter-mounted pressure gauge.
- Warm up the machine for 10-15 minutes to stabilize boiler and group-head temperatures.
- Lock a blind (no-hole) basket into the portafilter, apply a typical dose and tamp, then run the pump while reading the gauge.
- Record the steady-state pressure during an active extraction cycle.
- Adjust grind or dosing to match the target flow rate if brew-head pressure seems off.
- Re-check pressure after any service work or every 2-3 months for vibratory pumps.
A portafilter-mounted gauge that reads at the basket gives the most realistic measurement of brew-head pressure. Devices in the $20-50 range provide adequate accuracy for home-use diagnostics. Blind-basket testing forces the pump to build pressure against a closed system, revealing maximum system pressure and any leakage. This method will show if your machine’s internal regulator is working or if wear has reduced effective pressure.
Tamping and dose during testing must match your normal routine. Using the 30 lbs tamp benchmark and an 18-20 gram double dose offers a consistent basis for comparison. Changes in these variables will alter the pressure reading even if pump output stays the same. Pressure can also fluctuate during extraction; watch for a stable plateau around your target rather than a needle that bounces throughout.
Common pressure-related problems and how to fix them
Symptom: Shot pours too quickly and tastes thin or sour.
Fix approach: Grind finer, increase dose, or tamp with firmer, consistent pressure to raise puck resistance. Check for worn group-head gaskets that let water bypass the puck.
Symptom: Shot pours extremely slowly, tastes bitter or burnt.
Fix approach: Grind coarser, reduce dose slightly, or check for clogged group-head, filter holes, or scale buildup restricting flow. Monthly descaling is advisable in hard-water areas to avoid gradual pressure rise caused by blockages.
Symptom: Crema is thin, patchy, or absent.
Fix approach: Verify pump calibration; ensure extraction pressure reaches near 9 bars on a normal pull. Use fresh, recently roasted beans and check basket cleanliness.
Symptom: Pressure reads steady during a blind test but actual shots vary in flow.
Fix approach: Inspect for channeling caused by uneven tamping or cracked baskets. Replace worn baskets and maintain consistent puck preparation. Consider a distribution tool to get even bed density.
Routine maintenance is a pressure-control strategy as much as a longevity measure. Cleaning and backflushing remove coffee oils and particles that change flow dynamics, while descaling prevents mineral deposits from narrowing flow paths. Manufacturers and technicians commonly recommend pump calibration every 2-3 months on high-use machines; for home users that means checking pressure seasonally or when shot behavior shifts.
Pressure profiling and advanced tuning for different beans
Pressure profiling means varying brew pressure during the extraction to shape flavor. A typical profile might start at low pressure for a short pre-infusion to wet the puck gently, then ramp to 9 bars for main extraction, and finally taper down to reduce bitter late-extracts. Commercial espresso bars and advanced home setups use this method to highlight acidity, increase sweetness, or control body.
Lever machines and some high-end electronic machines provide explicit pressure control. Manual lever machines use piston mechanics to create a pressure curve determined by user force and travel; profiles commonly span 3-9 bars depending on how the lever is handled. Electronic machines with programmable pumps allow precise ramps, dwell times, and plateau control, enabling repeatable experiments across roast levels.
Trade-offs with profiling include complexity and time investment. Dialing in a profile requires a reliable scale, accurate timers, and careful recording of taste differences across shots. Machine wear is another factor; repeated high-pressure ramps impose more stress on seals and components. Some baristas accept those costs for the flavor benefits, especially when working with specialty single origins where nuanced control provides clear sensory rewards.
what to look for on pressure
Gauge placement and adjustability should be top priorities when selecting a new machine. A visible group-head pressure gauge that reads during extraction gives you usable feedback for dialing shots. Machines that advertise 15 bars are not necessarily superior; look instead for machines that deliver stable 8-9 bar brew-head pressure with a reliable regulator or PID-controlled pump.
Vibratory pumps are common in home machines and often have serviceable parts and compact size. Rotary pumps provide quieter, steadier output and are typical on commercial equipment. Machines that allow easy pump calibration or that provide factory-adjustable pressure are better for baristas who plan to tune for different beans. An E61-style group head helps maintain temperature and pressure consistency, while a robust steam boiler and PID temperature control complement consistent brewing.
Consider maintenance requirements alongside pressure specs. Units that require monthly descaling in your water hardness conditions need either a water-softening system or a commitment to schedule. Warranty and available local service for pump and regulator repairs affect long-term pressure stability and cost of ownership. A workable checklist: group-head gauge, ability to adjust brew pressure or perform calibration, proven warm-up stability (10-15 minute range), and accessible service parts.
Practical dialing
- Use a scale to dose 18-20 grams for a double shot and record the result.
- Tamp with approximately 30 lbs of pressure and ensure a flat, even surface.
- Set grind size so a 1:2 ratio (e.g., 20 g in → 40 g out) extracts in 25-30 seconds at target pressure.
- Warm machine for 10-15 minutes before dialing.
- Check brew-head pressure with a portafilter-mounted gauge and adjust grind/dose to maintain stable 8-9 bars during an active pull.
- Clean and backflush daily; descale monthly if water hardness is high.
- Re-calibrate pump every 2-3 months, or whenever extraction behavior changes.
This checklist blends machine-side controls with puck preparation. Using a blind basket test first confirms pump/regulator behavior under a fixed load. After that, swap to a regular basket and dial grind to reach the desired flow and shot time. Keep notes – small changes in roast, humidity, or bean age will change the optimal setting, and recorded parameters let you return to a known good baseline quickly.
FAQ
What exactly is “bar” and how does it relate to PSI?
One bar equals approximately 14.5 PSI, so 9 bars translates to roughly 130 PSI. Espresso literature uses bars because it maps neatly onto the pressures produced and regulated inside pumps and group-head assemblies.
Can I get good espresso from a 15-bar machine?
Yes, but verify brew-head pressure. Many 15-bar machines regulate the output down to around 8-9 bars for extraction. A 15-bar pump is not harmful on its own, yet you should confirm the regulated brew pressure and measure during a real pull.
Should I always aim for 9 bars on every shot?
No. Treat 9 bars as a standard starting point. Certain light single-origin roasts can benefit from lower pressure or profiling, while very dark roasts may tolerate slightly higher pressure. Taste and consistent measurements should guide final choices.
How often should I check or calibrate my pump?
Routine checks every 2-3 months are recommended for regular or heavy use. Home users who notice drift in shot time, crema, or extraction consistency should test pressure immediately after any changes or suspected wear.
What maintenance affects pressure most?
Scale buildup in boilers and group- head channels, clogged basket holes, worn gaskets, and dirty valves change flow and pressure over time. Regular backflushing, monthly descaling in hard-water areas, and gasket replacement when worn will preserve stable brewing pressure.
Is tamp force critical for pressure?
Yes. Consistent tamping – a guideline of about 30 lbs of force – helps create a uniform puck density and predictable resistance, which in turn makes pressure readings meaningful and shots repeatable.
A short practical verdict: aim for 9 bars at the group head and dial grind, dose, and tamp to make that pressure produce a 25-30 second 1:2 shot for most beans. Next step: fit a portafilter pressure gauge, run a blind-basket test after a 10-15 minute warm-up, then use the dialing checklist above to stabilize your shots.

- Espresso Tastes Watery? 10 Common Causes and How to Fix It - October 23, 2026
- 10 Common Coffee Equipment Cleaning Mistakes and How to Avoid Them - October 23, 2026
- 17 Common Coffee Grinder Problems and How to Fix Them - October 23, 2026