
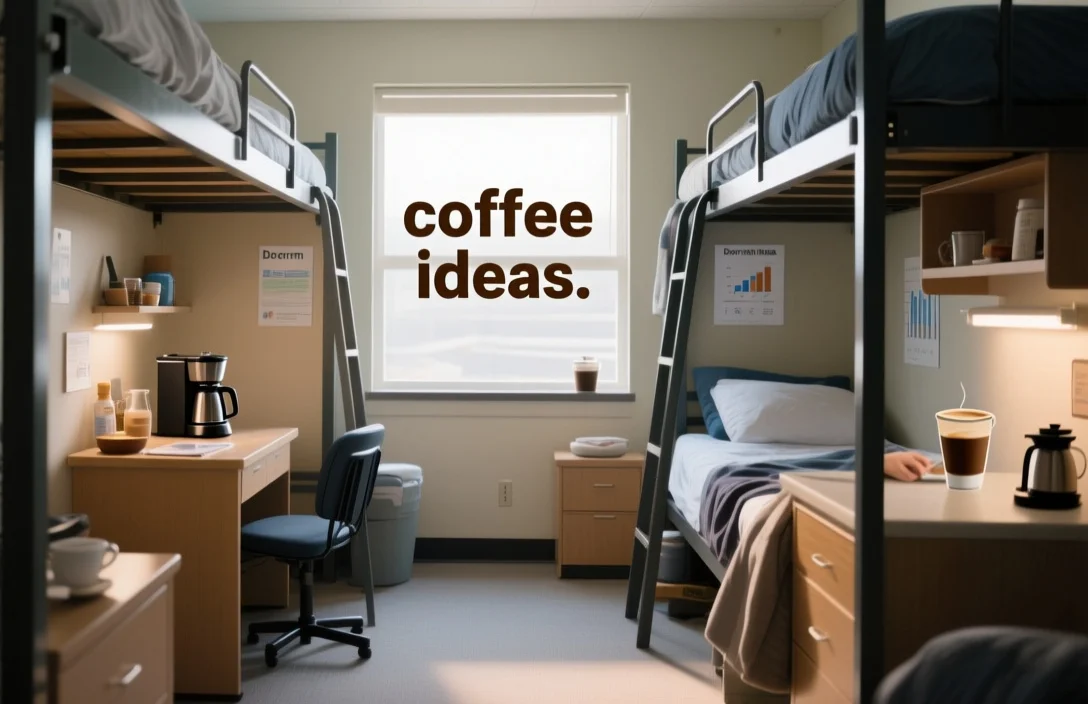
Dorm-room coffee that actually works comes down to three decisions: how much space you have, whether your hall allows hot-plate appliances, and how much cleanup you want to do. If you want one short recommendation to start with: an AeroPress plus a small, auto-shutoff electric kettle is the best all-around choice for balance of flavor, footprint, and ease. If you care most about speed, pick a single-serve pod machine. If you want make-ahead iced coffee with minimal daily fuss, cold-brew concentrate is the right move.
Below I explain the trade-offs so you can pick the setup that fits your dorm rules and morning routine.
How I judge a dorm-friendly coffee setup
My practical rule is simple: the best dorm coffee gear fits on a shelf, heats quickly with a dorm-safe kettle or single-serve brewer, and leaves little to clean. In practice that means prioritizing compact size, low power draw, short total brew time (under about 10 minutes for a single cup), and manageable waste. Readers looking for absolute speed will pick different gear than readers who want maximum flavor; this guide separates those priorities so you can choose without guessing.
When evaluating options, focus on these factors: physical footprint, required accessories (kettle, grinder, filters), per-cup cost and waste, and maintenance burden. Those trade-offs determine the right choice for single rooms, shared doubles, and suite-style housing.
Best setups by dorm situation
Housing constraints matter. Here’s how to match method to living situation:
- Single rooms: you usually have the most flexibility. Small drip makers, single-serve pod machines, and compact grinders are reasonable here.
- Doubles/shared rooms: choose gear that stores compactly and makes one or two cups quickly. Avoid noisy electric grinders unless you and your roommate agree.
- Suite/apartment style: more room and often kitchen access, so you can use larger kettles, grinders, or a small espresso-like setup if allowed.
I rank practical options roughly by footprint and daily convenience, smallest to largest: instant coffee, AeroPress + small kettle, single-serve pod machine, compact pour-over with gooseneck kettle, small French press, and cold-brew jar. Each has trade-offs in flavor, cost-per-cup, and cleanup.
Quick recommendations
- AeroPress + small electric kettle: best balance of flavor, speed, and space.
- Single-serve pod machine: best for speed and minimal skill.
- Pour-over cone + gooseneck kettle: best for ritual and clean flavor.
- French press (12-17 oz): best for fuller body with modest space.
- Instant coffee / concentrates: best when rules or budget are most restrictive.
- Cold-brew concentrate jar: best for hot climates and low daily effort.
How each brewing method works, and what you’ll actually need
AeroPress
- What it gives you: concentrated, clean cup with fast total time.
- Essentials: AeroPress, paper or metal filter, small (300-500 mL) kettle, spoon.
- Notes: Use medium-fine grounds. Short brew time; easy cleanup.
Pour-over cone
- What it gives you: clean, controlled extraction and better clarity.
- Essentials: cone and paper filters, gooseneck kettle (or collapsible kettle if space is tight), scale and timer if you want consistency.
- Notes: Ritual takes a few minutes but waste is limited to a filter and grounds.
Single-serve pod machines
- What it gives you: one-button speed and consistent cups.
- Essentials: the machine and pods for your chosen system.
- Notes: Pods increase cost per cup and create waste unless you use recyclable or compostable options accepted by your campus.
French press (small size)
- What it gives you: fuller body and thicker mouthfeel.
- Essentials: 12-17 oz press, coarse grounds, spoon for decanting.
- Notes: Clean immediately to prevent stale oils; trap and remove grounds promptly.
Cold-brew concentrate
- What it gives you: batch-made concentrate you dilute for several days.
- Essentials: 32-48 oz jar, coarse coffee, fine mesh or paper filter for straining.
- Notes: Steep 12-24 hours; one jar makes multiple servings and cuts daily effort.
Instant coffee and concentrates
- What it gives you: no brewing gear required, minimal water heating.
- Essentials: instant packets or bottled concentrate, hot water or hot water from a kettle.
- Notes: Works under the tightest dorm restrictions.
Side-by-side comparison
| Name | Price / Key Spec | Best For |
|---|---|---|
| Instant coffee kit | Low cost, no equipment | Fast mornings, strict dorm rules |
| AeroPress + small kettle | Low-Medium, very compact | Flavor with minimal fuss |
| Single-serve pod machine | Medium, heats in 1-2 minutes | Convenience and consistency |
| Pour-over cone + gooseneck kettle | Low-Medium, manual control | Flavor-focused drinkers |
| French press (12-17 oz) | Low-Medium, immersion brew | Fuller body, single-cup servings |
| Cold-brew jar | Low, makes multiple servings | Make-ahead iced coffee, low daily effort |
Table notes: price categories are relative. “Best For” prioritizes routine – speed, flavor control, or low daily workload.
what to buy and what to skip
Buy only what fits your chosen routine and dorm rules.
Essentials
- One primary brewer: AeroPress, small French press, pod machine, or pour-over cone.
- A compact electric kettle with auto-shutoff and modest wattage; check hall rules on appliance wattage before you buy.
- Coffee format: whole beans + grinder for best flavor; pre-ground for convenience; pods for speed; instant for minimal gear.
- A travel mug with a leakproof lid for classes.
- Paper filters sized to your cone or AeroPress, or a reusable metal filter if you accept slightly more cleanup.
Optional upgrades
- Manual burr grinder for better flavor, quieter and smaller than electric options.
- Gooseneck kettle for better pour control on pour-over setups.
- Reusable travel filters or a small descaling solution for pod machines.
What to ski
- Oversized kettles and heavy espresso machines unless your housing explicitly allows them.
- Electric grinders if you live in a shared room and the sound will bother roommates.
Packing tip: store beans in small airtight containers or one-way valve bags to preserve aroma and avoid attracting pests. Keep filters and spoons together in a small pouch.
Three dorm-friendly brewing routines
Speed routine (about 5 minutes)
- Preheat a 12-16 oz travel mug with hot water, then discard.
- Use one instant scoop or one pod, heat 8-10 oz water, pour, stir, and go.
Flavor routine (about 8-10 minutes)
- Grind 15-18 g whole beans on a burr grinder.
- Heat 300-350 mL water, bloom with 30-40 mL for 30 seconds, then pour slowly.
- Rinse and set filters to dry immediately after use.
Batch routine (cold-brew, low daily effort)
- Combine 100 g coarse beans with 800 mL water in a jar, stir, and steep 12-18 hours.
- Strain and refrigerate concentrate; dilute 1:1 with water or milk when serving.
These routines assume access to a small electric kettle and a durable travel mug for grab-and-go convenience.
Cleaning and small-space maintenance
A simple cleaning routine prevents odor and mold. Rinse brew devices immediately after use and deep-clean once a week. A collapsible dishpan or a small bin makes handwashing easier at shared sinks.
- AeroPress and pour-over cones: dump grounds and rinse. Compost if possible; otherwise seal grounds for trash.
- French press: separate the mesh and rinse; deep-clean periodically with baking soda to remove oils.
- Pod machines: empty drip tray regularly and descale with citric acid or manufacturer solution every 1-3 months depending on water hardness.
- Cold-brew jars: strain and rinse filter material promptly to avoid trapped wet grounds.
Storage: keep beans and grounds in airtight containers away from light. Do not refrigerate opened bags; buy smaller quantities and replace frequently.
Dorm rules, safety, and common pitfalls
Dorm policies range widely. Before you buy, check your residence handbook or email housing with the appliance model and wattage. Many halls restrict appliances with exposed heating elements or open coils; some allow small electric kettles and single-serve makers, others do not.
Safety tips
- Avoid overloading outlets with multiple high-wattage devices.
- Do not use unapproved extension cords; use a properly rated power strip only if allowed.
- Choose lower-wattage kettles if you live in older buildings with limited circuit capacity.
Common mistakes to avoid
- Buying a large espresso machine without checking policy.
- Using kettles that keep heating continuously.
- Leaving used grounds in devices overnight, which invites mold.
- Skipping descaling on pod machines, which shortens machine life and harms flavor.
If you’re unsure, get written confirmation from your hall director or housing office. A short email with model and wattage often prevents trouble later.
Budget tips that actually work
Brewing at home cuts per-cup cost sharply compared with coffee shops. Practical savings:
- Buy whole beans in modest quantities and grind small batches with a manual grinder to keep freshness without paying for an electric grinder.
- Use reusable filters to save on paper filters, or choose a method like AeroPress that uses inexpensive microfilters.
- Make cold-brew concentrate once and serve it over several days to reduce daily effort and per-cup cost.
- Split a higher-ticket item, such as a pod machine or burr grinder, with roommates but agree upfront on cleaning and storage.
Check student-discount retailers and campus stores for move-in season bundles and deals.
How I evaluated these options
I prioritized practical criteria over marketing claims: footprint, power use, cleanup time, and per-cup cost. From that perspective, some machines deliver great flavor but are impractical in many dorms; others are cheap and easy but produce a less interesting cup. The AeroPress plus a small kettle consistently sits in the middle of those trade-offs, which is why I recommend it as a starting point for most students. Pick the method that matches the trade-off you care about most – speed, flavor, or low daily effort – and choose a model that fits your hall rules.
FAQ
Can I use a standard electric kettle in a dorm room?
Some dorms permit small electric kettles; others forbid them. Check your residence handbook or email housing with the kettle’s wattage and model to confirm.
Is a grinder worth it in a dorm?
If you care about flavor and will buy whole beans regularly, a burr grinder is worth it. Manual grinders are quieter and smaller than electric grinders and are the best compromise for many dorms.
How long will cold-brew stay good in a dorm fridge?
Properly strained cold-brew concentrate typically stays good refrigerated for about 5-7 days. Keep it in an airtight container and check by smell before using.
What’s the cleanest single-cup option for shared suites?
AeroPress and pod machines both clean quickly. AeroPress creates little trash and rinses quickly; pods are easier but create more waste unless you use a recyclable or compostable option accepted by your campus.
Can I make espresso-style drinks without an espresso machine?
Yes. An AeroPress or a moka pot produces a concentrated brew that works well with frothed milk. A small handheld milk frother will create foam without a steamer.
Are compostable pods a good compromise?
Compostable pods reduce landfill waste in some cases but can cost more per cup. Some require industrial composting, so confirm whether your campus compost program accepts them before relying on that option.
Practical next steps: check your housing policy for appliance rules, measure a shelf where you’ll store gear, and choose one setup from the recommendations above. Start simple and add an upgrade later if your routine and space allow.

- Espresso Tastes Watery? 10 Common Causes and How to Fix It - October 23, 2026
- 10 Common Coffee Equipment Cleaning Mistakes and How to Avoid Them - October 23, 2026
- 17 Common Coffee Grinder Problems and How to Fix Them - October 23, 2026