
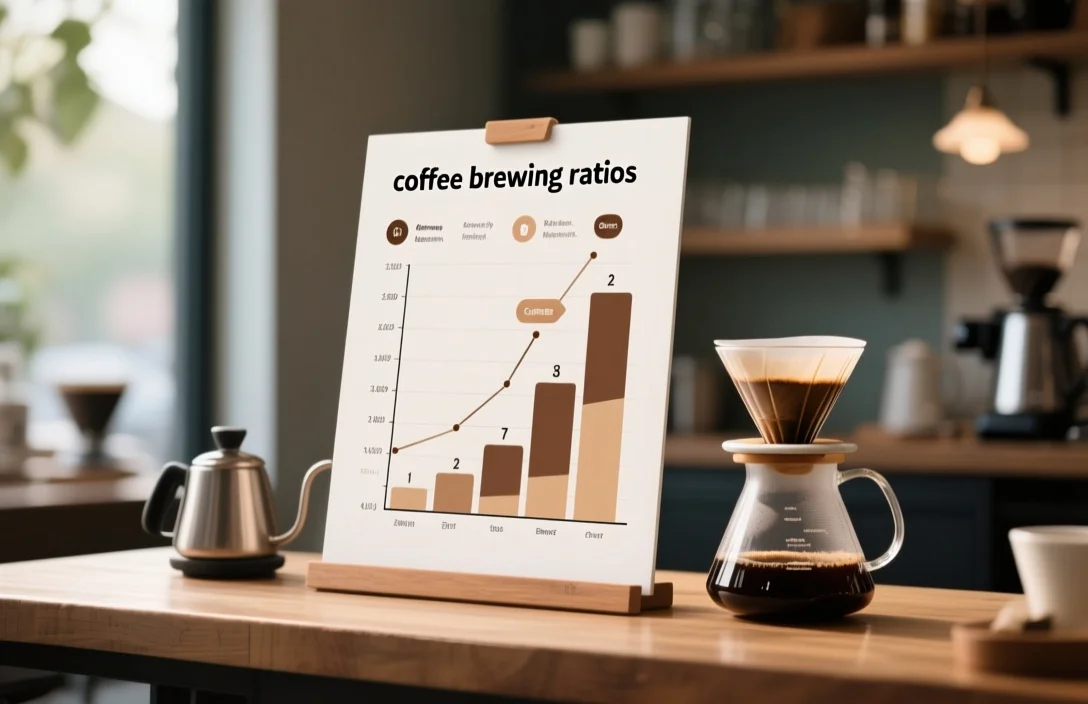
Start here: use a scale and aim for a coffee-to-water ratio that matches your preferred strength. Coffee brewing ratios chart shown below gives practical starting points – listed as coffee: water by weight and marked as approximate so you can dial in taste.
Quick reference chart
Baristas and home brewers commonly work in weight ratios. The table below shows widely used starting points you can try immediately. Adjust up or down from each starting value by small increments to taste.
| Method | Typical coffee: water (by weight, approximate) | Best for |
|---|---|---|
| Espresso (brew ratio, not dose) | 1: 2 | Concentrated, single-serve espresso shots |
| Pour-over / Drip | 1: 15 to 1: 18 | Clean, balanced cup; pour-over and automatic drip brewers |
| French press | 1: 12 to 1: 15 | Fuller-bodied, heavier mouthfeel |
| Aeropress (varies) | 1: 14 to 1: 17 | Fast single-cup clarity or espresso-like concentrates |
| Moka pot | 1: 9 to 1: 10 | Strong stovetop coffee similar to espresso strength |
| Cold brew (concentrate) | 1: 4 to 1: 8 | Concentrated brew diluted before drinking |
| Cold brew (ready-to-drink) | 1: 12 to 1: 17 | Smooth, low-acidity cold coffee |
Use this chart as a starting playbook. Taste each batch, then change the coffee weight by 1-2 grams per 250 g water (or change the ratio by small steps) until the brew matches your preference.
Why ratio matters: strength versus extraction
Coffee strength and extraction are two different variables that the ratio directly affects. Strength describes how much dissolved coffee solids are in the finished cup. Extraction describes what percentage of the coffee grounds’ soluble material ended up dissolved into the cup.
Higher coffee relative to water increases brew strength. Lighter ratios (less coffee per water) produce weaker cups. Extraction depends on grind size, contact time, water temperature, agitation, and the same ratio can under-extract or over-extract depending on those variables.
Measure both strength and extraction to understand what to change. For a fixed grind and brew method, changing the ratio alters perceived strength without changing extraction percentage significantly. For example, a stronger cup can be produced either by adding more coffee (ratio change) or by extracting more from the same coffee (changing grind/time). Keep the ratio as the first control if your problem is sheer weak or overly concentrated taste.
How to read and use a brewing ratios chart
Charts show coffee: water by weight because volume measures for coffee (tablespoons, scoops) are inconsistent. Weighing gives repeatability.
Read a ratio like 1: 16 as “one gram of dry coffee for every 16 grams (or milliliters) of water.” Measure water in grams rather than milliliters if you prefer metric precision; 1 g water ≈ 1 ml water at normal kitchen temperatures, so a 1: 16 ratio with 20 g coffee uses 320 g water.
Start from a recommended ratio in the earlier chart, brew one batch, and evaluate mouthfeel, acidity, sweetness, and bitterness. If the cup tastes thin, increase coffee weight a small amount. If the cup tastes overly concentrated or muddy, reduce coffee weight or improve extraction by pulling a finer grind or shorter brew time depending on method.
what to try first and why
Pour-over and drip methods favor clarity and balanced extraction. Start at the middle of the pour-over range and use a medium-fine grind. Aim for even pouring, consistent water temperature, and a bloom phase on fresh coffee.
French press favors full body and heavier oils because a metal filter passes more solids. Begin near a slightly heavier ratio than pour-over and coarser grind. Longer steep time increases extraction; watch for excessive bitterness and cut time or coarsen grind rather than immediately changing ratio.
Espresso uses a different concept: dose and yield produce the brew ratio. Use the espresso ratio in the quick chart as a guideline for yield (brew weight) relative to dose. Small changes in dose or yield make large perceptible changes in taste. Adjust yield to change strength while keeping dose and grind consistent to manage extraction.
Aeropress recipes vary dramatically; many successful recipes sit inside the pour-over ratio band when brewed diluted to drinking strength. Try a compact recipe first, then tweak steep and plunge times rather than ratio if extraction seems off.
Cold brew concentrates are intentionally heavy so that dilution produces a drinkable cup. Use a concentrate ratio that fits your dilution habits; if you prefer to drink the concentrate straight, move toward a ready-to-drink ratio.
Moka pot recipes tend toward stronger, espresso-like output; start with a heavier ratio and a grind between espresso and drip.
How to measure coffee and water accurately
Use a digital scale with 0.1 g resolution for small doses or 1 g resolution for everyday home brewing. Place your brewer on the scale, tare to zero, add coffee until you reach the intended grams, and pour water until the scale reads the water target.
Measure whole-bag coffee by weight rather than scoops. If you must use volume, count on variance: a tablespoon of medium-ground coffee typically falls in a range, so treat volume as an approximation.
Record your numbers. Keep a brewing log that lists coffee weight, water weight, grind setting if applicable, water temperature, and extraction time. Repeatable logs let you find small changes that matter.
Conversions and practical quick rules
Weighing gives repeatable control but quick kitchen conversions help when no scale is available. Use these practical rules but expect variation across grinders and bean density.
- One gram of water equals one milliliter of water for brewing measurements.
- A reasonable home-brewing habit is to measure water in grams or milliliters and coffee in grams.
- If you must dip into scoops, treat them as approximate and use taste to confirm.
Keep a simple cheat list near your machine: coffee grams for 1, 2, and 4 cups (based on your chosen ratio) so you can brew consistently without recalculating.
How to dial in a ratio – a step-by-step approach
- Choose a starting ratio from the chart that matches your brew method.
- Weigh coffee and water precisely and brew using consistent technique.
- Taste the cup and note three dominant impressions: underdeveloped (sour/weak), balanced, or overdone (bitter/astringent).
- If sour or weak, either increase coffee slightly or improve extraction by finer grind or longer contact time.
- If bitter or hollow, either decrease coffee slightly or coarsen grind or shorten contact time.
- Repeat with a one-step change (for example, change coffee by 0.5-2 g for home doses or adjust grind by one setting) and compare.
- Keep a log of two or three consecutive adjustments; stop when the cup has the balance you want.
Use the numbered plan above every time you change beans, roast level, or water source, since those variables affect perceived strength and extraction.
Common mistakes and how to avoid them
Relying on tablespoon measures creates inconsistency. Grind and bean density vary, so scoop-volume changes dose unpredictably. Use a scale instead.
Ignoring water temperature creates extraction issues. Water that’s too cool reduces extraction and highlights acidity. Water that’s too hot may over-extract and emphasize bitterness. Use a thermometer when brewing specialty coffee or follow device-specific guidance.
Skipping a bloom on pour-over or using a wet paper filter without rinsing can impart papery tastes. Rinse paper filters to remove residual fibers and preheat equipment so temperature loss doesn’t reduce extraction.
Changing multiple variables at once makes troubleshooting impossible. Alter only one parameter at a time – grind size, ratio, temperature, or brew time – then compare results.
Failing to adjust for roast level produces inconsistent cups. Darker roasts extract faster; lighter roasts often need a finer grind or higher temperature for the same extraction. Adjust grind and technique before resorting to large ratio swings.
Water, grind, and time
Water composition matters. Minerals in water affect extraction and mouthfeel. Soft water can under-extract; very hard water can mute acidity or cause scale build-up. If you suspect water quality is affecting your coffee, try bottled water with known mineral content or use a home test to guide adjustments.
Grind size changes extraction rate. Finer grinds expose more surface area and extract faster. Coarser grinds extract slower and yield fuller body in immersion methods. Use your grinder’s index to document settings for each recipe.
Brew time interacts with grind and ratio. Shorter contact time requires finer grind or a heavier ratio to maintain strength; longer contact time may need coarser grind to avoid bitterness. Balance time and grind before changing ratios radically.
Practical
Use a digital scale and these example starting points tailored to each method. Remember that recipes are starting points only; taste and adjust.
- Pour-over (V60 / Chemex): start in the 1: 15-1: 17 band with a medium-fine grind. Perform a 30-45 second bloom then continue with steady pours.
- French press: start near 1: 12-1: 15 with coarser grind, steep 3-5 minutes depending on roast and size, then plunge and serve promptly.
- Espresso: choose dose and target yield to produce a 1: 2 brew ratio as a starting benchmark; adjust yield for taste and extraction.
- Aeropress: begin with a 1: 15-1: 17 working dilution, experiment with immersion time and inverted or standard methods.
- Cold brew concentrate: make a concentrate near 1: 4-1: 8 and dilute 1:1 to desired strength before serving.
Record exact grams, brew times, and grind settings for each trial so you can recreate successes.
When to change ratio versus changing other variables
Change ratio when you want to shift overall strength quickly. Change grind or time when the issue is extraction quality (sour versus bitter). Use water temperature to nudge sweetness and perceived acidity.
If multiple flaws appear, prioritize fixing extraction first (grind/time/temperature). Use ratio as a fine-tuning control to reach your target strength once extraction looks correct.
Troubleshooting grid
- Sour but bright and thin: try finer grind or slightly higher water temperature before increasing coffee dose.
- Bitter and hollow: coarsen grind or shorten contact time; reduce dose only if bitterness persists.
- Muddy or excessive body in pour-over: coarsen grind, improve pouring technique, or reduce dose slightly.
- Flat cold brew: use a stronger concentrate ratio or longer steep time; consider a finer grind for faster extraction.
Write down changes and compare three consecutive brews to confirm which adjustment solved the issue.
Equipment notes that affect ratio choices
Grinders with consistent particle distribution let you use leaner ratios without introducing sourness. Blade grinders produce uneven particles that can drive you toward heavier ratios to cover inconsistency.
Automatic drip machines sometimes require slightly heavier ratios because heat and pour dynamics are less controllable than manual pour-over. Manual methods give you the flexibility to lean toward more delicate ratios if you can manage temperature and pour.
Use a scale, reliable kettle, and a grinder with repeatable settings whenever possible. Those three purchases provide the most consistent path to repeating your best brew.
FAQ
What is the single best ratio to use for everyday coffee?
A single best ratio does not exist for every coffee or taste. Try a middle-ground ratio of about one part coffee to 16 parts water as a starting point for drip or pour-over, then adjust in small steps to preference.
Can I convert ratios to scoops or tablespoons?
Conversion is approximate because grind and bean density vary. Use a scale when possible. If you must use spoons, treat them as rough guides and taste as you refine.
How much should I change a ratio when dialing in?
Make small changes – a few percent of the coffee weight at first. For home doses, change coffee by 0.5-2 g or move the ratio one step (for example, from 1:16 to 1:15) and test again.
Does roast level change the ideal ratio?
Yes. Darker roasts extract faster and often work with slightly lighter ratios. Lighter roasts may require finer grind or slightly heavier ratios to achieve the same perceived strength.
Is it better to change grind or ratio if my coffee tastes sour?
Start with grind or temperature. Sourness typically indicates under-extraction, so a finer grind or higher temperature is usually the correct fix before increasing coffee dose.
How should I adjust ratios for multiple servings?
Keep the same ratio and scale the weights. Doubling a 1:16 recipe keeps a consistent result if grind, temperature, and brew method remain the same.
Final step: pick one method from the chart, set up a scale, and brew one batch exactly to the numbers listed. Taste, change only one variable, and repeat until you reach your preferred cup.

- Espresso Tastes Watery? 10 Common Causes and How to Fix It - October 23, 2026
- 10 Common Coffee Equipment Cleaning Mistakes and How to Avoid Them - October 23, 2026
- 17 Common Coffee Grinder Problems and How to Fix Them - October 23, 2026