
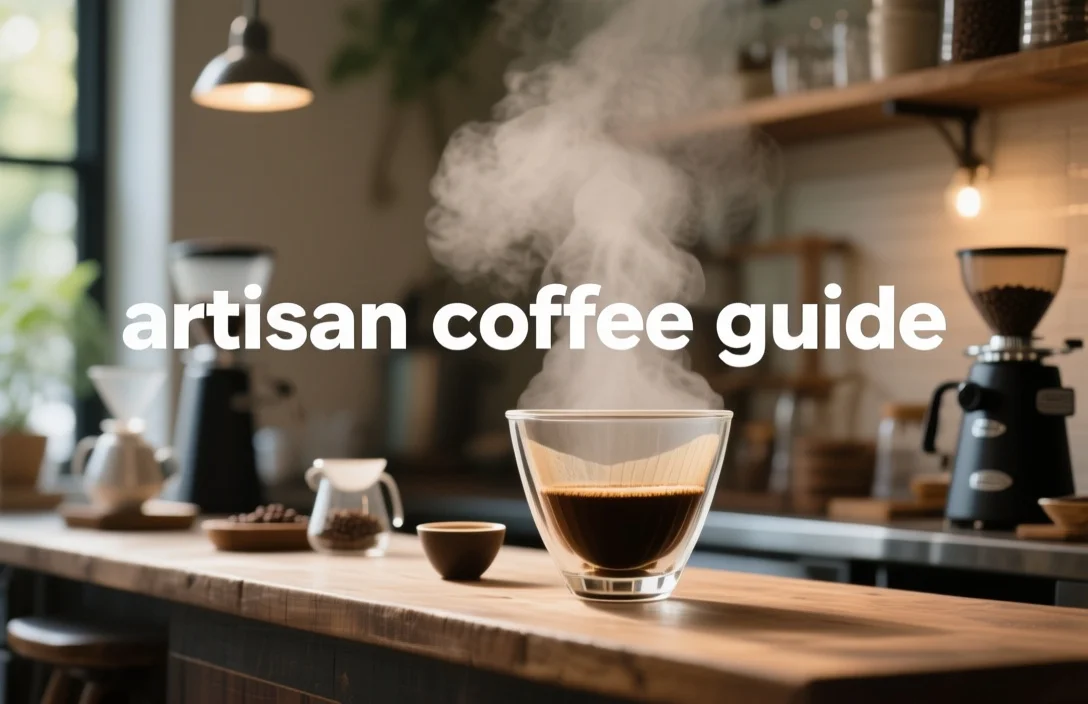
Artisan coffee is coffee made with care at every step, from sourcing and roasting to the final brew. If I had to reduce the whole subject to one practical point, it would be this: artisan coffee is less about marketing and more about traceability, freshness, and control. You want to know where the beans came from, when they were roasted, and how they are meant to be brewed.
What “artisan” means in coffee, and why that matters
In coffee, artisan usually means human judgment is doing the work that mass production tends to flatten out. That can mean selective sourcing, small-batch roasting, and brewing methods that are adjusted on purpose instead of copied from a factory formula.
The word itself points to skilled craft. In coffee, that translates into a few things you can actually look for: single-origin or micro-lot beans, clear roast dates, and roasters who give you enough information to make a choice. I would start there. If a bag tells you nothing except a brand name and a flavor slogan, that is already a warning sign.
The cup changes in predictable ways when those craft decisions are present.
- Origin clarity gives you a better sense of the bean’s own character.
- Roast development shapes how acid, sugar, and aroma come across.
- Brewing parameters decide whether those qualities stay clear or get buried.
A light, careful roast can make floral or fruit notes easier to taste. A darker roast can bring more caramelized and chocolate-like flavors, but it usually pushes the origin notes into the background. That is not automatically a flaw. It is a choice. My practical rule is to judge the roast by whether it fits the bean and the intended brew, not by whether it sounds fashionable.
How to judge beans before you buy
The bag tells you more than the marketing copy does, if you know what to check.
Origin and processing
Single-origin coffee is often the easiest place to start because it gives you a narrower range of flavors to understand. Blends have their place, especially if you want consistency, but they are less useful when your goal is to learn what you like.
Processing matters too.
- Washed processing usually gives you more clarity and brightness.
- Natural processing often leans sweeter and fruitier.
- Other methods sit somewhere in between, but the general pattern holds well enough for shopping.
If you are new to this, I would not get lost in jargon. Just ask a simple question: does the process seem suited to the flavors you want?
Roast date and freshness
Roast date matters more than roast level when you are trying to buy well. Fresh coffee does need a little time to rest after roasting, but stale coffee is stale coffee. Bags that list a roast date are usually a better sign than bags that only list a best-by date.
As a rough guide, many coffees taste best within a few weeks of roasting, though the exact window depends on roast level and storage. Light roasts often benefit from a bit more rest. Darker roasts can be ready sooner. I would keep the focus on freshness first, then dial in the roast style you prefer.
Tasting notes
Tasting notes are useful, but they are not a promise. Think of them as a map, not a contract. If a roaster says a coffee tastes floral, stone fruit, or chocolatey, that tells you what direction the coffee leans. It does not guarantee that you will taste the same thing at the same intensity.
A better approach is to compare coffees side by side when you can. Keep the variables simple. Same grinder, same brew method, same water if possible. Then write down what you notice. Over time, you will learn which descriptions actually match your palate.
Which brew method fits your goal
Different brew methods do different jobs. I would choose the method based on what you want to taste, not based on what looks most serious on a countertop.
| Method | Key spec | Best for |
|---|---|---|
| Pour-over (V60 / Kalita Wave) | Low to mid cost, paper filters, careful pouring | Clarity, light roasts, single-origin coffee |
| Espresso | Higher upfront cost, precise grinder needed | Concentrated drinks, milk drinks, crema, sweetness |
| French press | Low cost, coarse immersion, metal filter | Heavy body, darker roasts, blends |
| AeroPress | Low cost, portable, short immersion | Fast single cups, travel, experimenting |
| Cold brew | Minimal equipment, long steep time | Low acidity, sweet iced coffee, concentrate |
If you want to taste the differences between coffees, I would start with pour-over. If you want thick, concentrated drinks, espresso is the target, but it is the least forgiving and the most expensive to set up properly. French press and AeroPress sit in the practical middle. Cold brew is useful, but it tells you less about the bean than a hot brew does.
The gear that actually changes the cup
A lot of coffee gear gets sold as if it is essential. It is not. A few pieces matter a great deal, and the rest are optional until your habits justify them.
Grinder first
If you buy one upgrade, make it the grinder. Burr grinders, whether conical or flat, give you a much more even particle size than blade grinders. That matters because extraction depends on consistency. Uneven grounds mean some particles over-extract while others under-extract.
A manual burr grinder can work well for pour-over and immersion brewing if you are willing to put in the effort. For espresso, I would treat a capable grinder as non-negotiable.
Scale and timer next
A scale accurate to 0.1 g and a reliable timer make repeatability possible. Without those two tools, you are guessing more than brewing. That is fine if you do not care about consistency. If you do, the scale comes quickly after the grinder.
Water quality
Water changes the cup more than most people expect. Very soft water can make coffee taste flat. Very hard water can muddy it. Filtered water with moderate hardness is usually a sensible place to begin. I would not overcomplicate this on day one, but I would not ignore it either.
Kettles and espresso machines
A gooseneck kettle gives you better pour control for pour-over. For espresso, you need more than a kettle and a good guess. Pressure control, temperature stability, and grinder precision all matter. A machine with a PID controller can help with temperature consistency. If you want convenience over control, a super-automatic machine is easier. If you want to shape the shot yourself, buy separate pieces and accept the learning curve.
A simple pour-over recipe to start with
I would start here if your goal is a clean, balanced cup.
- Weigh 16 g of coffee and grind it medium-fine, roughly like table salt.
- Heat filtered water to 200°F, or about 93°C.
- Rinse the paper filter, then add the grounds.
- Start the timer and bloom with 32 g of water for 30 to 45 seconds.
- Pour in slow circles until you reach 260 g total water.
- Aim for a total brew time of about 2:30 to 3:00 minutes.
- Taste the coffee and adjust from there.
If the cup tastes sour, go a little finer, raise the water temperature slightly, or extend the brew time. If it tastes bitter or dry, go coarser, shorten the brew time, or lower the temperature a bit. I keep coming back to this because it is the simplest useful brewing rule: change one thing at a time and write it down.
How to taste coffee with more precision
Tasting coffee does not require ceremony. It does require consistency.
If you want to compare coffees fairly, keep these variables steady:
- same grind style
- same water
- same temperature
- similar roast level or roast age
- same steep time, where possible
Cupping is the standard method for comparison. You grind coffee, add hot water, let it steep, then break the crust and taste with a spoon. The goal is not elegance. It is clarity.
When tasting, pay attention to four things:
- Aroma
- Acidity
- Body
- Finish
Aroma is what you smell before and during the sip. Acidity is brightness, not sourness. Body is texture. Finish is what stays after the sip is gone.
I would not try to build a complex tasting vocabulary too fast. It is enough to notice whether a coffee feels clean, sweet, sharp, heavy, or thin. That is useful language, and it is easier to trust than a bag full of polished descriptors.
Where to spend, and where to save
Artisan coffee usually costs more than commodity coffee, and that is not surprising. You are paying for careful farming, sorting, roasting, and smaller batches. The question is not whether it costs more. The question is whether the extra cost matches how you drink.
Spend more when:
- you want to taste origin differences
- you are buying single-origin micro-lots
- freshness matters more than volume
- you are sampling for learning
Save more when:
- you want a dependable daily coffee
- you do not need rare lots
- you value consistency over novelty
- you drink through coffee quickly
Subscriptions can make sense if you want fresh coffee arriving on a regular schedule. They are less useful if you like to choose bag by bag. I would also lean toward smaller bags, usually 250 g to 500 g, while you are still figuring out what you like. Larger bags look economical, but stale coffee is a bad bargain.
A short buying checklist helps:
- Look for a roast date.
- Prefer single-origin or micro-lot beans when learning.
- Choose blends when you want steadier daily performance.
- Ask about process, origin, and altitude if the roaster provides that information.
- Buy less coffee more often if freshness matters to you.
How to store coffee so it stays usable
Coffee is picky about air, light, heat, and moisture. That is the whole story, really.
Store beans in an opaque, airtight container away from heat. Resealable bags with one-way valves are fine for short-term use. I would not recommend the refrigerator for regular storage. Condensation is the problem there, especially if you are opening and closing the bag.
Freezing can work if you are careful. It is best for unopened bags or for portioned, vacuum-sealed coffee that you do not plan to open and close repeatedly. If you freeze coffee, let it come back to room temperature before opening.
And yes, grind right before brewing if you can. Pre-ground coffee loses aroma quickly. Whole beans keep more of what makes the cup interesting.
The mistakes that ruin good coffee faster than anything else
Some problems are easy to fix once you name them plainly.
- Buying large bags of pre-ground coffee
- Using a blade grinder
- Ignoring roast date
- Brewing with inconsistent water temperature
- Changing three variables at once and not knowing what helped
The biggest misconception is that darker roast means stronger coffee. Strength comes from extraction and concentration, not roast color by itself. A dark roast can taste intense, but it is not a shortcut to a better cup.
I would also skip the habit of masking bad brewing with a lot of sugar or cream. There is nothing wrong with adding either one if you enjoy them. But if the base coffee is weak or poorly extracted, those additions are only covering the problem.
A better way to learn your taste
The fastest way to improve is to compare like with like.
Try one of these:
- two coffees from the same origin with different processing methods
- the same coffee brewed two different ways
- one roaster’s light roast and medium roast from the same region
This kind of comparison teaches you more than random sampling does. It lets you see what changes when one variable moves. I would keep a short tasting log with the coffee name, roast date, brew method, grind setting, dose, water amount, and what you thought of the cup. That record matters more than memory.
If you find a coffee you like, ask what sits near it in flavor. A good roaster or barista can usually point you toward something adjacent rather than throwing a completely different profile at you.
What to ask about ethics and sourcing
If sourcing matters to you, ask direct questions. You do not need a lecture.
Useful questions include:
- Is the coffee traceable to a farm or cooperative?
- Is it direct trade, Fair Trade, organic, or something else?
- How transparent is the pricing?
- Do you publish the roast date and origin details?
- Do you pay premiums for higher quality or specific processing?
Certifications can be helpful, but they do not answer everything. I would treat them as part of the picture, not the whole picture. Roasters that talk plainly about sourcing tend to give you more useful information than roasters that rely on vague claims.
What you should expect to pay
There is no single fair price for artisan coffee, but there is a sensible way to think about it.
You will usually pay more for:
- small-batch roasting
- single-origin lots
- careful processing
- better traceability
- fresh packaging and shorter supply chains
That does not mean expensive coffee is always better. It means price and purpose need to match. A coffee you drink every morning should be judged differently from a coffee you buy to taste and compare.
Espresso also changes the math because it uses more coffee per drink than pour-over. That raises cost per cup quickly. If budget matters, a pour-over setup usually stretches a bag farther.
FAQ
How long after roast should I drink artisan coffee?
A lot of coffees taste best after a short resting period, often 24 to 72 hours after roasting, though some benefit from more time. The ideal window depends on roast level, bean density, and storage. If you want a practical answer, taste the same coffee over several days and note when it opens up.
Is dark roast artisan coffee lower quality?
No, not by default. Dark roast is a style choice. It can emphasize body, caramelization, and lower perceived acidity. It does hide some origin character, though, so it is less useful if your goal is to taste the bean itself.
Can I brew espresso with light-roast beans?
Yes, but light roasts are harder to extract well. You usually need a fine, consistent grind and a careful brew recipe. If your grinder is weak, light-roast espresso will be frustrating fast.
What is the easiest way to improve home coffee right now?
Use whole beans, a burr grinder, and a scale. That alone fixes a lot. After that, use filtered water and keep your recipe consistent enough to learn from it.
How much coffee should I use for pour-over?
A good starting point is 60 g per liter, which is about 1:16.7. From there, adjust a little depending on taste. More coffee gives you a fuller cup. Less coffee usually gives you more brightness.
A sensible place to begin
If you want one clean starting point, this is mine: buy freshly roasted whole beans from a roaster that lists the roast date, use a burr grinder, and learn one brew method well before you chase every style at once. That is the shortest path to a better cup.
Start with one coffee, one grinder setting, one water recipe, and one method. Then adjust slowly. Coffee rewards patience far more than it rewards cleverness.

- Espresso Tastes Watery? 10 Common Causes and How to Fix It - October 23, 2026
- 10 Common Coffee Equipment Cleaning Mistakes and How to Avoid Them - October 23, 2026
- 17 Common Coffee Grinder Problems and How to Fix Them - October 23, 2026