
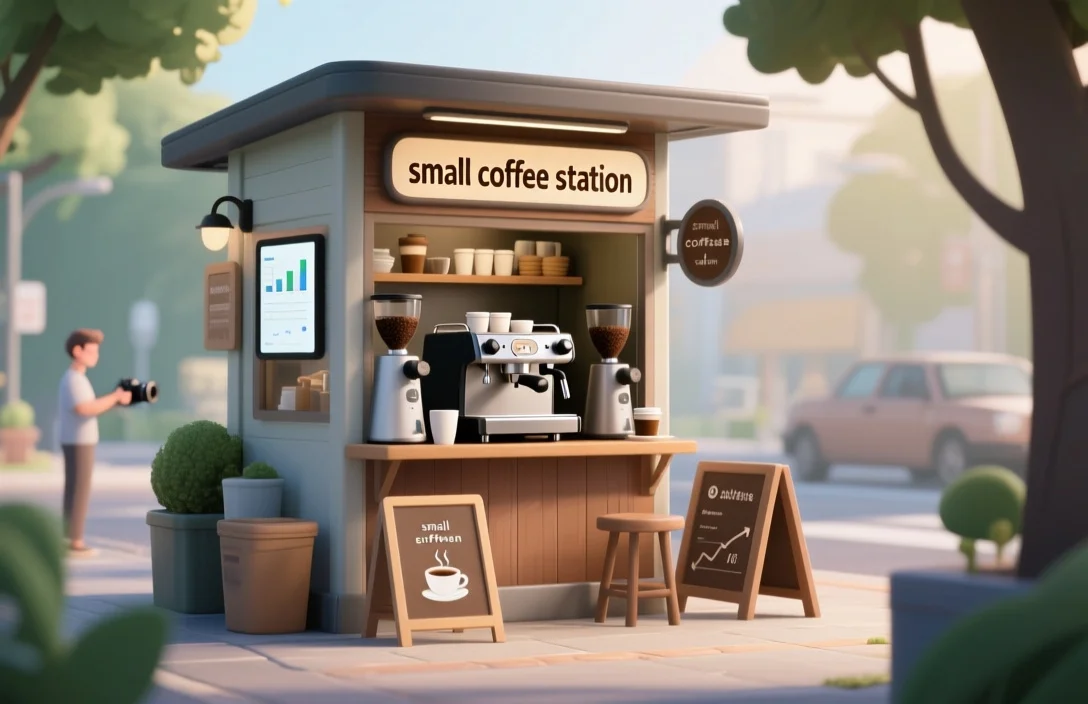
You can set up a useful small coffee station in a narrow counter, a cart, or even a single cabinet shelf if you make the workflow do the work. I would start with three decisions: your brew method, how many cups you need each day, and where the station sits in relation to an outlet and a water source.
What a small coffee station actually is
A small coffee station is a coffee-making area built for limited space and ordinary daily use. In practice, that means the essentials only: a brewer, a grinder or pre-ground coffee, storage for beans and filters, something for milk or creamer, and a place for cups and tools. The footprint may be no larger than a microwave or a 12-18 inch cart.
The point is speed and simplicity. The best small stations keep the morning sequence tight, beans to grinder, grounds to brewer, brewer to cup, without a lot of reaching or shuffling equipment around. My practical rule is to plan that sequence before buying anything.
The choices that shape the whole setup
I would decide on the brew method first, because everything else depends on it. Espresso-style coffee needs a grinder and either a compact espresso machine or a manual espresso device. Pour-over or AeroPress setups are easier to fit into a small space, since they usually need only a compact brewer and a kettle.
Then set a realistic daily capacity. A person who makes one or two cups each morning does not need the same setup as a household that brews for guests or a remote-work routine that runs through several cups. If you get this wrong, you either waste space on oversized gear or end up refilling and resetting too often.
Site selection comes next. A station beside a sink is easier to fill and clean. A corner counter pushes you toward vertical storage. A rolling cart gives flexibility, but it needs a stable top and locking casters. I keep coming back to this point: measure the width, depth, and height before you shop.
What to buy, and what you can skip
Choose a grinder that fits the brew method. Grind quality matters more than people expect, and a compact burr grinder is usually the best balance of size and performance for most homes. It handles a wider range of methods than a blade grinder. If footprint matters more than precision, pre-ground coffee or a blade grinder will take less room, but the trade-off is real.
Pick a brewer that matches your capacity goal without taking over the counter. Single-serve pod machines and slim drip coffeemakers are compact and easy to live with. Manual brewers like an AeroPress or a collapsible pour-over cone store easily when not in use. Portable manual espresso makers save space compared with electric espresso machines, but they ask for more effort and a separate hot-water source.
Kettles and milk gear fill out the rest. An electric gooseneck kettle is worth the space if you plan to make pour-over coffee or want tighter temperature control. For milk drinks in a cramped station, a compact frother or a small steam wand attachment can do the job. If outlets are tight, a battery or USB-powered frother is often easier to place than another corded appliance.
Layouts that work when space is tight
I would lay the station out around how you naturally move. Left to right or right to left, the sequence should feel obvious. Beans and grinder go at one end, the brewer in the middle, and cups or the staging area at the other end. That keeps spills and clutter in one zone instead of spreading across the whole counter.
Vertical storage helps more than people expect. Wall shelves, pegboards, and shallow floating cabinets can hold cups, filters, and small jars while leaving the counter open for brewing. In a corner, a lazy Susan tray can keep the things you reach for most often within easy reach. A narrow rolling cart is a good option if you need the station to move, but choose one with a slim profile and a steady top.
Power and water are part of the layout, not an afterthought. Put the main appliance near an outlet if you can. If the nearest outlet is already occupied, a short heavy-gauge extension cord rated for kitchen appliances is safer than stacking power strips. If you do not have easy sink access, keep a small pitcher for fresh water and a separate container for used grounds.
How to store beans, filters, and the rest
Beans belong in an opaque, airtight container close to the grinder. That reduces steps and helps keep them from going stale too quickly. Mason jars can work, but a purpose-made canister with a small footprint is often easier to fit on a shelf. If you buy large bags, portion them into smaller containers so you are not opening the main bag every day.
Keep filters, pods, capsules, or paper cones organized near the brewer. A drawer or a small shelf is enough. I would also use a shallow divider for tampers, measuring spoons, and cleaning brushes. Once those pieces start migrating to the top of the counter, the station feels crowded fast.
A simple restock habit helps more than a fancy system. A note in your phone or a checklist inside a cabinet door can remind you to buy beans, filters, and cleaning supplies before they run out. Rotate beans by roast date or expiration date so you are not stuck with stale coffee at the bottom of the cabinet.
A simple way to set it up
- Measure the width, depth, and height of the space.
- Choose the brew method first.
- List the pieces that method actually needs.
- Place the largest item first, usually the brewer or grinder.
- Add storage around it, such as a small shelf, drawer organizer, or wall hook.
- Run a mock morning routine, from grinding to serving.
- Move things around until you can do the whole process without extra steps.
- Make a cleaning and restock checklist and keep it nearby.
That dry run is worth doing. Small layout problems show up quickly once you try to move through the routine at normal speed. Sometimes the fix is minor, like swapping the grinder and brewer or adding a cup holder. Those small changes matter.
Cleaning and safety in a compact setup
Small stations need more frequent cleaning, partly because dust and oils collect faster when everything is packed together. A grinder benefits from a quick brush-out after use and a deeper clean on a weekly schedule. Espresso machines and pod machines also need descaling when the manufacturer recommends it, since scale buildup can clog fine internal passages.
Heat and spills need a little respect. A heat-resistant mat or a small silicone pad under hot gear can protect the surface. I would keep towels and paper products away from the brewer itself. A small tray for used grounds and a covered waste container are useful when the sink is not right beside the station.
Electrical safety matters too, especially in a crowded kitchen. Do not run several high-draw appliances from the same outlet at once. If the setup is going to be used heavily, plan for a dedicated circuit or keep operations limited. Cord clips and tidy routing also cut down on trip hazards.
Common missteps to avoid
The smallest appliance is not always the best choice. Compact blade grinders and cheap single-serve machines save space, but they can give up grind consistency, temperature control, or durability. I would rather see someone choose a small burr grinder or a slim drip brewer with decent performance than chase the tiniest possible footprint.
A pretty layout can still be a bad one. If the machine sits in a place that forces you to move mugs, lids, or canisters before every brew, the routine gets annoying fast. Function should lead here. Uniform cabinet lines are nice, but access matters more.
Cleaning is another place where small stations fail. If the brewer is awkward to reach or difficult to take apart, it will not get cleaned as often as it should. Simple maintenance is a real advantage when you are working in a tight space.
Compact setup comparison
| Name | Price/Key Spec | Best For |
|---|---|---|
| Compact bean-to-cup machine | Small footprint, built-in grinder; electric heating | Users wanting automatic shots and minimal manual steps |
| Single-serve pod machine | Very small footprint; pod use, quick one-cup workflow | Those prioritizing convenience and low cleanup |
| Pour-over kit (gooseneck kettle + cone) | Minimal equipment, manual temperature control | Pour-over fans who want control and small storage |
| AeroPress + kettle combo | Lightweight, collapsible; requires hot water | Travelers, campers, and minimalists who want coffee quality |
| French press setup | Low-tech; glass or steel beaker; needs storage for plunger | Drinkers who prefer full-bodied coffee with minimal gear |
| Manual espresso (lever or pump) | Tiny footprint; requires hot water and technique | Enthusiasts who want espresso without a large machine |
I would treat the table as a fit guide, not a shopping list. The best choice depends more on daily habits than on compactness alone.
Small accessories that save space
A magnetic strip or small pegboard can hold scoops, spoons, and other small metal tools without taking up counter space. Wall-mounted storage helps more than people expect. Stackable trays inside cabinets, or a vertical mug rack on the wall, can also free up room where you need it.
Nested measuring cups and small pitchers are worth buying because they reduce drawer clutter. Collapsible silicone pour-over cones and foldable kettles store well when they are not in use. A small basket or caddy can keep pods or single-use filters from spreading across the counter.
Labels help on sleepy mornings. I would label containers and shelf edges if the station is shared or crowded. A dated container for opened beans is also a good habit, since it makes freshness easier to track.
Upgrades that are actually worth it
A better burr grinder is often the smartest upgrade. In many setups, that will improve coffee more than swapping the brewer itself. If the station already works, I would start there before spending on a more elaborate machine.
Water quality is another useful improvement. A small under-sink filter or a filtered pitcher can improve cup quality and reduce scale buildup in compact machines. That matters more than people expect, especially with machines that have narrow internal channels.
A dedicated tray for spent grounds, plus a compact hand pump for milk or water, can make cleanup less awkward. These are modest additions, but they make a small station easier to live with over time.
The questions people usually end up asking
A small coffee station will always involve trade-offs between control, speed, and footprint. The goal is not to remove those trade-offs. It is to choose the ones you can live with every day.
Cordless or battery-powered devices can reduce clutter, but I would check runtime and charging needs before making them the main setup. Portability is nice. A steady hot-water source and a stable surface matter more.
FAQ
How much counter space do I need for a functional small coffee station?
A space about the size of a microwave plus a toaster, placed side by side, is often enough for a compact grinder and a small brewer. Add a little room for cups and a staging area so you are not squeezed at every step.
Can I have an espresso-style station in a small kitchen?
Yes. The main requirement is accepting the extra pieces that espresso brings, especially a grinder and regular cleaning. Manual and compact machine options can keep the footprint down, but they still ask for more management than drip coffee.
What water supply works best for a small station?
A filtered pitcher or a small under-sink filter is a practical choice. It is convenient, and it can help reduce scale. I would avoid relying on bottled water for daily use if you can help it.
How do I keep a small station clean without spending much time?
Clean up residue after each use and set a weekly deeper-clean routine for the grinder and brewer. Silicone mats and removable drip trays make quick cleanup easier.
Is a pod machine a good choice for a tight budget and small space?
It can be, if convenience is the priority. Pod machines are compact and easy to use, but they limit coffee choice and can cost more per cup over time.
How should I store beans in a small kitchen?
Keep beans in an opaque, airtight container in a cool, dark cabinet. I would not store them in the refrigerator, since temperature swings and moisture can work against freshness. Smaller purchases are usually better than one large bag left open for too long.
My practical takeaway is simple: pick the brew method first, measure the space carefully, and buy only the gear that supports the routine you actually want. If you want the station to work well on day one, mock up the setup with the real containers and cups before you commit to appliances.

- Espresso Tastes Watery? 10 Common Causes and How to Fix It - October 23, 2026
- 10 Common Coffee Equipment Cleaning Mistakes and How to Avoid Them - October 23, 2026
- 17 Common Coffee Grinder Problems and How to Fix Them - October 23, 2026