
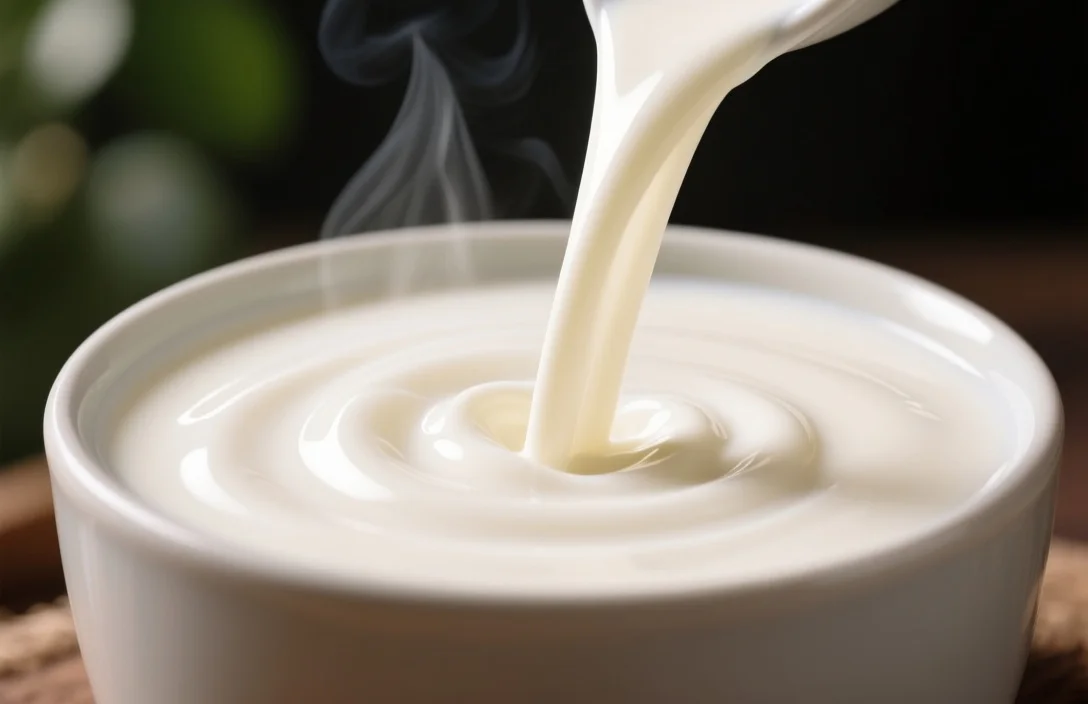
Silky milk texture is a smooth, glossy microfoam that blends into espresso and gives the drink a velvety mouthfeel. If you want it, the short answer is this: control the air you add, keep the milk moving, and stop before the milk turns dry or bubbly. That is the whole game, even if the details take a little practice.
Why microfoam feels silky
Microfoam feels silky when the bubbles are tiny and even enough to become part of the milk instead of sitting on top of it. Milk proteins and fat form a thin structure around those bubbles. When the bubbles stay small, the surface looks glossy and the foam pours cleanly.
Fat adds richness. Protein helps hold the foam together. Lactose adds sweetness, but it does not stabilize foam. Heat matters too. Mild heat helps the proteins do their job. Too much heat makes the texture brittle and harder to work with.
My practical rule is simple: aerate first, then polish. If those two parts blur together, the foam usually turns rough.
How milk composition changes the result
Whole milk, reduced-fat milk, and skim milk all behave differently.
Whole milk usually gives the richest mouthfeel and a denser look. Lower-fat milk can produce lighter foam, and in some hands that foam is easier to stabilize, but it may feel less creamy in the cup. There is no single winner here. It depends on whether you care more about body or about a lighter finish.
Plant milks vary even more. Oat and soy are often the most consistent choices for microfoam, especially when they are made for coffee. Almond and rice milks are more likely to make larger bubbles unless they are labeled as barista blends.
Protein matters more than fat for the stability of the smallest bubbles. Pasteurization and homogenization also change the way milk behaves under steam. Fresh, cold milk tends to take air more predictably than milk that has been sitting warm.
I keep coming back to this point because it saves time: if the texture is wrong, changing the milk is often more effective than chasing tiny technique tweaks.
Which tools are worth using
A steam wand is the best tool if you want consistent silky microfoam and care about latte art. It gives you direct control over aeration and rolling, which is what you need to get the finish right.
Automatic electric frothers are convenient and can make pleasant foam, but they give you less control over bubble size and sheen. Handheld frothers are faster still, though they usually leave you with more visible bubbles. Manual whisking or shaking can work in a pinch, but the result is usually less refined.
| Tool | Result | Best use |
|---|---|---|
| Steam wand | Fine microfoam with a polished finish | Home baristas and cafés |
| Automatic electric frother | Medium-fine foam, easy to repeat | Quick single drinks |
| Handheld battery frother | Airier foam, larger bubbles | Fast cappuccino-style foam |
| Whisk or shaker | Uneven foam, variable texture | Travel or no-electricity situations |
A few practical details matter more than people expect. Pitcher shape affects how well the milk rolls. Wand tip design affects how much air gets pulled in. Motor speed changes the size of the bubbles in an electric frother. Clean equipment also matters, because old milk residue changes how steam and foam behave.
A straightforward way to get silky milk texture
If I were starting from scratch, I would use this sequence.
- Begin with cold milk and a cold metal pitcher.
- Purge the steam wand before using it.
- Place the wand tip just under the surface for a brief burst of air.
- Lower the tip slightly so the milk starts to whirl.
- Keep the milk moving in a steady rolling motion.
- Stop adding air once the milk has expanded a little.
- Continue heating and swirling until the texture looks glossy.
- Wipe and purge the wand right away.
- Tap and swirl the pitcher to break any remaining larger bubbles.
- Pour steadily, and move the pitcher closer to the cup if you want to do latte art.
That routine sounds basic because it is basic. The hard part is timing. Too much air at the start gives you dry foam. Too little gives you flat milk. The middle ground is what you want.
Common texture problems and what usually causes them
Large, visible bubbles
This usually means too much air was added, or the wand tip stayed too high in the milk.
What to do:
- Shorten the time you spend introducing air.
- Sink the wand tip sooner.
- Tap and swirl the pitcher after steaming.
Flat foam that separates from espresso
This often comes from under-aeration or milk that was not heated enough to build structure.
What to do:
- Add a brief burst of air at the start.
- Steam a little longer.
- Check whether the milk choice itself is too weak for foaming.
Foam that collapses quickly
Overheating is a common cause. Low-protein milk can also be part of the problem.
What to do:
- Stop heating earlier.
- Try a different milk or a barista blend.
- Keep the milk moving so the texture stays even.
Dry, matte, gritty-looking foam
This usually points to too much agitation or too much air.
What to do:
- Ease up on the airflow.
- Focus on rolling and polishing instead of building volume.
- Use less aggressive steaming.
Wand sputtering or uneven steam
This often comes from a clogged tip or leftover milk residue.
What to do:
- Clean the tip.
- Purge the wand before and after use.
- Do deeper cleaning on a regular schedule.
Picking the right milk for the drink you want
Your drink matters. So does the finish you want.
Lattes usually benefit from milk that is silky and well integrated, because the texture should blend into the espresso. Cappuccinos can handle more body and a thicker foam layer. Flat whites need a very fine, integrated texture with little visible foam on top.
Whole milk is the safest starting point if you want a café-style result. It gives body and pours well. Reduced-fat milk can feel lighter and sometimes produces a foam that seems more stable in taller drinks. Oat milk labeled barista style is often the easiest plant milk to work with. Almond milk usually needs a barista version to avoid coarse bubbles.
If you use a non-dairy milk often, I would stick with one brand for a while instead of switching every time. Small formulation differences can change the result more than you expect.
Pouring matters as much as steaming
Even good microfoam can look wrong if the pour is sloppy.
Start higher so the milk sinks beneath the crema and forms a base. Then lower the pitcher when you want the foam to sit on top and create contrast. If you want latte art, a small wiggle or controlled shake near the cup helps form a heart or rosetta.
I would also swirl the pitcher before pouring. That keeps the texture uniform and stops the foam from separating in the pitcher.
Cup temperature plays a role too. A slightly warmed cup helps the milk settle more predictably. Very cold cups can make the pour feel less forgiving.
Cleaning and maintenance that protect the texture
Milk residue builds up fast, and once it does, the texture changes.
Wipe and purge the steam wand after every use. Do not skip that step. Clean the tip regularly, and follow the machine’s instructions for deeper maintenance or descaling. If you use an electric frother, clean the whisk and any removable parts so the mechanism keeps working properly.
Pitchers should be rinsed and dried after use. Leftover protein film can interfere with foam quality. If you use more than one type of drink, it also helps to keep milk pitchers separate from pitchers used for other liquids.
A few practice drills that help faster than random trial and error
- Aeration timing drill: Steam three small portions of the same milk and change only the time spent adding air.
- Rolling drill: Add the same short burst of air each time, then focus on keeping the milk moving in a steady whirlpool.
- Pour drill: Use hot water in a cup and practice your pour height and speed before trying it with milk.
I would keep the milk, pitcher, and machine the same while practicing. That way, you can tell whether a change in texture came from your hand or from the ingredients.
Safety and habits worth keeping
Steam can burn you, so use care when checking the pitcher or wiping the wand. Do not steam too aggressively, because splashing makes the milk harder to control and can scald it. Do not leave milk in the wand or machine parts for long periods. That is a hygiene problem, not just a cleanup issue.
If the machine has care instructions, follow them. Parts wear out. When they do, steam behavior changes too.
FAQ
What is the difference between froth and microfoam?
Froth usually has larger, more visible bubbles and feels lighter. Microfoam has tiny, even bubbles and looks glossy. It blends into espresso instead of sitting on top of it.
Can I make silky milk with non-dairy milk?
Yes. Some non-dairy milks work very well, especially barista versions and milks with added emulsifiers. Results vary by brand, so it helps to test a few.
How can I tell if I overheated the milk?
Overheated milk often smells sweeter, but the texture becomes dry, matte, or unstable. If the foam breaks apart quickly, heat may be part of the problem.
Will any steam wand work the same?
No. Wand design, hole count, and steam pressure all affect how the milk behaves. The same technique can feel different from one machine to another.
Do I need a professional machine for silky microfoam?
No. A good home machine with a decent steam wand can produce very good results. Technique matters a lot.
What if I only have a handheld frother?
You can still make foam. It usually will not be as polished as steam-wand microfoam, but it works for many drinks. Tap and swirl the cup afterward to smooth out larger bubbles.
If you want the shortest path to better texture, start with cold milk, keep the air burst brief, and focus on the rolling motion. After that, change only one variable at a time, whether it is the milk, the steaming time, or the pour height. That is usually how the texture becomes repeatable.

- Espresso Tastes Watery? 10 Common Causes and How to Fix It - October 23, 2026
- 10 Common Coffee Equipment Cleaning Mistakes and How to Avoid Them - October 23, 2026
- 17 Common Coffee Grinder Problems and How to Fix Them - October 23, 2026