
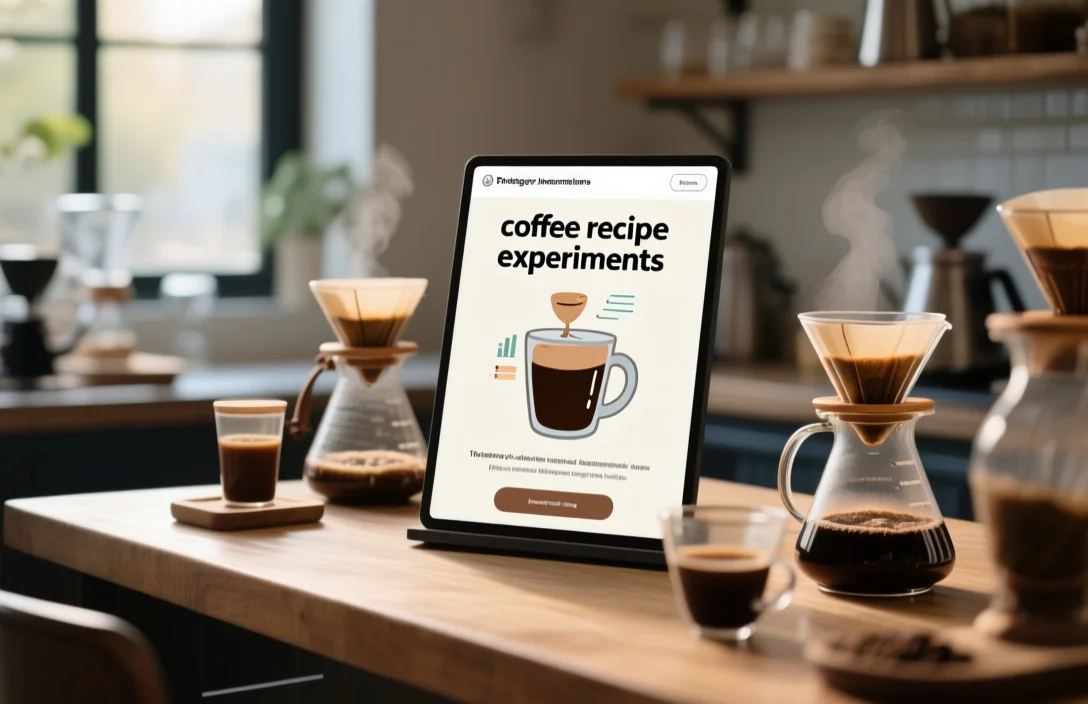
Quick result up front: start with a control brew, then change one variable at a time – brew ratio, grind size, temperature, or brew time – so you can actually tell what changed the cup. That is what coffee recipe experiments are for. Treat each brew like a recipe test, write down what you did, taste it, and adjust with purpose.
What a coffee recipe experiment looks like
A coffee recipe experiment is a deliberate change to one brewing variable while the others stay fixed. That is the only way to get a clean read on cause and effect. Swap grind size in a pour-over, change steep time in French press, adjust coffee-to-water ratio in cold brew, and keep the rest steady.
My practical rule is simple: plan, measure, brew, taste, record. If you skip the record, you are mostly guessing.
Ingredients, equipment, and setup
You only need a few basics to make the experiments meaningful.
Freshly roasted whole-bean coffee and clean water are the starting point. I would aim for beans roasted within the last three weeks, stored in an airtight container away from light.
The minimal equipment set is a scale, a timer, and a grinder. A digital scale that reads to 0.1 grams, a reliable timer, and a burr grinder with adjustable settings give you control over ratio and grind size. Pour-over drippers, an espresso machine, a French press, and a refrigerator for cold brew widen the range of tests.
Water matters more than most people expect. Filtered water with balanced mineral content usually gives the most repeatable results. If your tap water tastes odd on its own, use bottled spring water or a basic carbon filter.
What to test first
I would start with one control recipe and copy it exactly before changing anything.
For pour-over, begin with a medium-fine grind and a steady pour. For immersion methods, use a coarser grind and track the steep time. For espresso-style experiments, keep dose and tamp consistent, then change extraction time or pressure. For cold brew, adjust steep time and coffee-to-water ratio.
Changing one variable at a time is the whole point. If you alter grind and brew time together, you may get a different cup, but you will not know why.
Recipes and experiment sequences
Below are three base recipes you can use as controls, followed by sensible experiment paths.
Pour-over control
Use a Hario V60 or a similar dripper.
- Set up a medium-fine grind, a scale, and a gooseneck kettle.
- Weigh 18 grams of coffee and 300 grams of water.
- Bloom with 60 grams of water for 30 seconds.
- Pour the rest in slow concentric circles until you reach 300 grams.
- Let it drain fully. Total brew time should land around 2:30 to 3:00 minutes.
Experiment sequence:
- Change grind size one step coarser and repeat. Note clarity and body.
- Keep grind the same and raise water temperature slightly. Watch acidity shift.
- Hold grind and temperature steady, then pour more slowly to extend contact time and compare bitterness.
French press control
Use a coarse grind.
- Measure 30 grams of coffee to 500 grams of water.
- Pour in water just off the boil, about 95°C.
- Saturate the grounds and start a 4-minute timer.
- Stir once at 30 seconds.
- Put the plunger lid on without pressing, then press slowly at 4 minutes.
Experiment sequence:
- Shorten steep time by 30 seconds and compare brightness with body.
- Move to a slightly finer grind and check sediment and perceived strength.
- Replace 10 percent of the water with cold water at the start and see how the extraction changes.
Cold brew base
This one is good if you want a make-ahead option.
- Combine coarse coffee and room-temperature water in a jar at a 1:8 coffee-to-water ratio.
- Stir well so every grind gets wet.
- Cover and steep in the refrigerator for 16 to 20 hours.
- Strain through a fine mesh, then a paper filter for clarity.
- Dilute with water or milk before serving, if needed.
Experiment sequence:
- Cut steep time to 12 hours and compare perceived acidity.
- Add a strip of citrus peel or a few crushed cardamom pods during steeping, then compare the aroma.
- Try room-temperature steeping for 12 hours if you want to test extraction speed, but expect shelf life to change.
A simple tasting log helps more than memory. I would keep one sheet for each trial and note grind setting, weight, temperature, time, and three short descriptors, for example: milk chocolate, low acidity, syrupy body.
Comparison table: recipes, key specs, and best use
| Name | Key spec | Best for |
|---|---|---|
| Pour-over control | Medium-fine grind, 18 g: 300 g | Bright clarity, single-cup precision |
| French press control | Coarse grind, 30 g: 500 g | Fuller body, weekend batch |
| Cold brew base | Coarse grind, 1:8 ratio | Smooth iced coffee, make-ahead concentrate |
If you want clarity and layered acidity, start with pour-over. If you want a heavier mouthfeel, use immersion. If you want low-acidity iced coffee that keeps for a few days in the fridge, cold brew is the better place to work.
How to tell when the cup is on track
Color, flow, and timing tell you a lot before the cup even cools.
A pour-over that drains too fast usually points to under-extraction. Expect thin body and sharp acidity. If it drags on far longer than your control, over-extraction is more likely, and bitterness or a drying finish can show up.
Aroma is useful too. Citrus or floral notes usually point toward brighter acidity and a lighter roast. Nutty or caramel notes often sit in the middle range. Smoky or charred notes can come from a dark roast, over-extraction, or both.
Mouthfeel gives you another clue. Syrupy or viscous coffee suggests a richer extraction and more dissolved material. Watery coffee usually means the brew is weak or the ratio is too high.
For espresso, crema is worth watching, but I would not treat it as a verdict on its own. Thin crema can point to stale beans or a weak extraction, but it is only one part of the picture.
Flavor pivots and substitutions
Milk and milk alternatives change the cup more than people expect.
Whole milk rounds off acidity and adds body. Oat milk tends to read sweeter and gives a softer texture, which often works well with lighter roasts. Sugar and syrups change the perceived intensity, but they also cover up delicate aromatics.
Spices, citrus peel, and herbs are easy ways to test a flavor direction. Toasted cinnamon, crushed cardamom, and orange peel added during cold brew steeping can add aroma without much bitterness if you remove them on time. Vanilla and a little honey work well in espresso-based drinks when you want to soften acidity.
Brown sugar and maple syrup bring caramel notes. Simple syrup dissolves more easily in iced drinks. High-intensity sweeteners like stevia can make coffee taste less complex.
One caution: fine ground spices can turn a hot brew muddy fast. If you want to use them, filter aggressively.
Storage and batch consistency
Store beans in an opaque airtight container at room temperature and use them within a couple of weeks if you want the most reliable flavor. Freeze beans only if you need to store them for months, and let them thaw before grinding to avoid condensation.
If you scale a recipe up or down, keep the ratio the same and adjust grind or time as needed. Larger batches can need a slightly coarser grind or a longer brew because heat loss and extraction behave differently at scale.
Label jars, mark dates, and keep notes. A simple spreadsheet with grind setting, ratio, temperature, and tasting notes is enough to recreate a good result later.
As for brewed coffee, hot coffee is best within an hour if you care about aroma. Cold brew concentrate can keep for up to a week in the fridge if it is strained well. Once it is diluted, freshness fades faster.
Troubleshooting the cup
If the coffee tastes sour or overly acidic, try a slightly finer grind, a few degrees more water temperature, or a longer contact time.
If it tastes bitter or astringent, move to a coarser grind, lower the water temperature, shorten the brew, or reduce the dose.
If the cup tastes flat, I would look first at bean freshness, then water quality, then dose. Very soft water can leave coffee dull. So can stale beans.
If a French press has too much sediment, use a coarser grind, let the grounds settle longer, or pour the coffee through a paper filter after brewing.
The main discipline is restraint. Change one parameter, taste, then repeat. If you switch three variables at once, you will not know which one fixed the problem.
How to design a better coffee experiment
Write the hypothesis before you brew. Keep it plain. For example: coarser grind will reduce bitterness but may increase perceived strength, or orange peel in cold brew will add brightness without adding bitterness.
Record the basics every time: bean origin, roast date, grind setting, water temperature, weight, and time. If you want consistency, photograph the setup too.
I would brew the control twice on different days before I trust the result. That gives you a sense of natural variation.
For a single variable, three to five trials are usually enough to show a pattern. Blind tasting with another person helps when you can manage it. You do not need full statistical rigor to make this useful, but repetition matters.
A few home experiments worth trying
Try a three-step pour-over test with a light roast. Brew one control cup with a medium-fine grind, then one slightly finer, then one slightly coarser. Compare sweetness, acidity, body, and finish.
Test temperature in French press. Brew one batch at 95°C and another at 90°C. Note brightness and bitterness against the control.
Run a cold brew series: plain cold brew, cold brew with 2 percent orange peel by weight, and cold brew with 2 percent crushed cardamom. Filter all three the same way and compare aroma and mouthfeel.
Mistakes that usually muddy the results
The most common mistake is changing too much at once. A grind adjustment plus a temperature change in the same session will blur the result.
Dirty equipment is another problem. Oils and residue carry flavor from one test to the next. That matters more when the change is subtle.
Water temperature is easy to overlook. If you change brew time and temperature at the same time, the result is hard to read. Keep one constant and write it down.
FAQ
How do I keep track of my experiments efficiently?
Use a notebook or spreadsheet with columns for date, bean, roast date, grind setting, dose, water temperature, time, and tasting notes. A photo of the grind can help later, and a 1 to 10 score can make comparison easier.
How many times should I repeat a test?
At least twice on different days is a good floor. Three repeats is better if you want to see whether a change is real or just a one-off.
Can I compare espresso experiments with pour-over adjustments?
Only if you keep the methods separate. Espresso uses pressure, tamping, and a finer grind, so compare espresso against espresso and pour-over against pour-over. Use the same tasting language across both methods, though, especially for acidity, sweetness, and body.
Is it better to change grind size or brew ratio first?
I would change grind size first. It usually alters extraction more clearly without changing strength in the same way. After that, adjust ratio if you want to tune body or concentration.
A practical next
Pick one brewing method, make a clean control, and change only the grind size this week. Log the result. Then repeat it twice. That one small habit will teach you more than a pile of random recipe changes.
If you want a simple place to start, build a two-column log, control and experiment, and run three trials. Keep the best result, then refine from there.

- Espresso Tastes Watery? 10 Common Causes and How to Fix It - October 23, 2026
- 10 Common Coffee Equipment Cleaning Mistakes and How to Avoid Them - October 23, 2026
- 17 Common Coffee Grinder Problems and How to Fix Them - October 23, 2026