
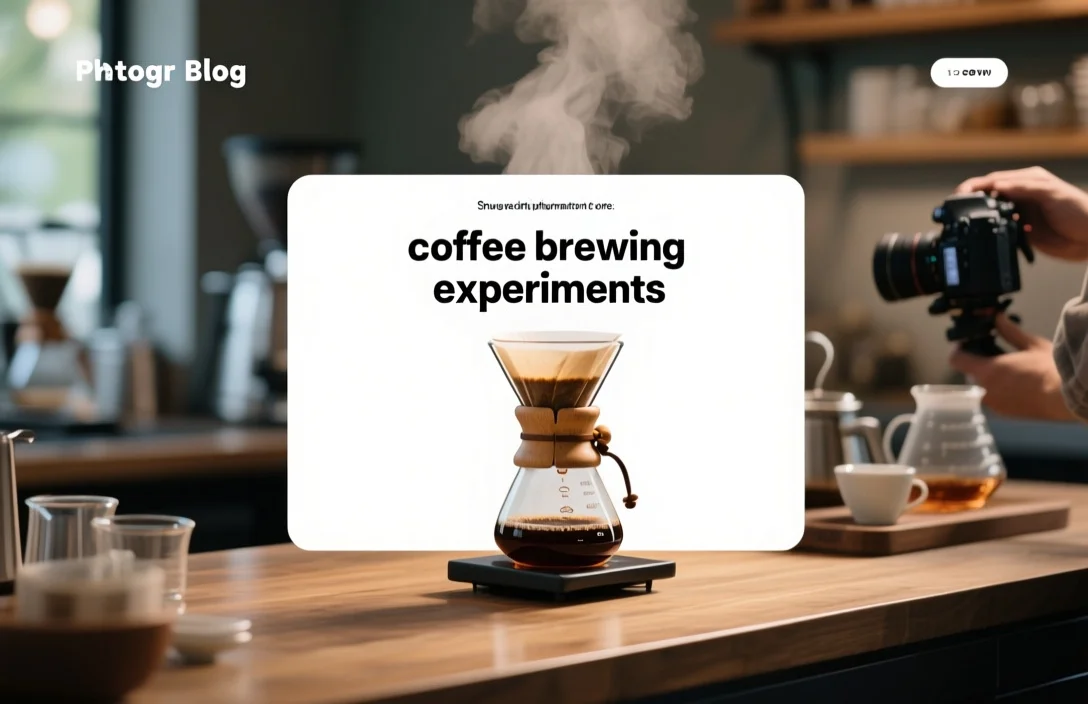
Coffee brewing experiments work best when you treat them as small, controlled comparisons. Change one variable, keep the rest steady, taste carefully, and write the result down. That is the cleanest way to learn what actually changes your cup.
What these experiments are trying to prove
Coffee brewing experiments test how dose, grind size, water contact, brew time, and equipment affect flavor, body, acidity, and balance. The point is not to make coffee more complicated. It is to separate one cause from the others so you can tell what really moved the cup in a certain direction.
I would keep the logic simple. Make one hypothesis, compare at least two conditions, and hold the rest of the brew constant. If the result cannot be repeated in the same setup, it is probably noise, not a reliable finding.
Beans age, room temperature shifts, and your own palate changes from day to day. That means one tasting is rarely enough. I would plan on repetition, and when possible, blind tasting, before deciding that a change is real.
The variables worth testing first
The main levers for home brewers are dose, grind size, contact time, water composition, water temperature, agitation, and filter or brewer type. Each one affects extraction in a different way.
Dose changes concentration. Grind size changes surface area and how quickly water pulls flavor from the grounds. Contact time controls how long extraction keeps going.
Water chemistry and temperature also matter, because they influence which compounds dissolve and how fast they do it. Agitation and pouring style can change saturation and channeling in pour-over brewing. Filters and materials, such as paper or metal, affect how much fine sediment and oil make it into the cup.
Beans are not background noise. Roast level, age, and origin can all change the result. If you switch beans during testing, treat that as a real variable, not a hidden one.
How to design a home test that actually teaches you something
I would start with a narrow question, such as, “Does a finer grind increase sweetness in my pour-over?” Narrow questions are easier to test, and the answer is usually clearer.
Write the hypothesis in one sentence. Then name the variable you will change, and the result you are trying to judge. That might be taste, preference, TDS if you measure it, or extraction yield if you track it.
Control as much as you can. Use the same beans, the same grinder, the same water source, and the same brew window so bean age does not creep in. Randomize the order of the samples if you can, because tasting order can bias what you think you are noticing. Blind tasting helps too, if the setup allows it.
Two repetitions per condition is the minimum I would trust. Three is better when you have the time.
Keep notes simple and consistent. Date, bean batch or roast date, grinder setting, dose, water notes, and tasting notes are usually enough. If your scale and timer are reliable, use them every time.
If you are trying to match exact temperature or TDS values, record what your equipment shows rather than chasing a public benchmark. For many home setups, the useful data is the pattern across your own trials.
A simple way to score the cup
I would decide on the scoring system before tasting. If you wait until after, it is easy to adjust your notes to fit the result you wanted.
Use a short rubric with categories such as aroma, acidity, sweetness, bitterness, body, and balance. A simple 1 to 5 scale works. So does a labeled scale such as low, medium, and high, as long as you define what those terms mean for you.
Taste side by side in similar cups and at similar temperatures. Rinse your palate with plain water between samples, and give yourself the same pause each time. That keeps the first sample from shaping the second too much.
I like to separate observation from preference. One note can say, “Lingering bitterness at the back of the tongue.” Another can say, “I prefer this one for breakfast.” Those are different kinds of information, and both are useful.
Experiments you can run without special gear
Start with tests that are cheap, quick, and easy to repeat. That is where most people learn the most.
- Dose sensitivity: Brew two or three cups where dose is the only thing that changes in small steps. Compare concentration, sweetness, and bitterness.
- Grind range: Keep the recipe steady, then go one step coarser and one step finer. Watch extraction balance and texture.
- Contact time: For immersion brews, shorten and lengthen steep time. For pour-over, adjust total brew duration. Note changes in acidity and body.
- Agitation and pour pattern: Compare gentle continuous pours, pulse pours, and a single pour. Look for clarity, channeling, and mouthfeel changes.
- Filter material: Use paper, metal, or cloth if you have them. Track body and any oilier flavors.
Here is the checklist I would use for any one-variable trial:
- Choose one independent variable to change.
- Record the baseline settings for everything else.
- Make at least two conditions, baseline and changed.
- Randomize and blind if you can.
- Score the cups right after tasting.
- Repeat each condition at least once.
- Decide whether the change is worth keeping.
These small tests are useful because they teach you what matters before you spend money on equipment. If you do not have a scale or a grinder with fine control, I would focus on technique-based experiments first, especially pour tempo and agitation.
Which tools matter most
The biggest practical difference in coffee experiments is control. You want tools that let you change one thing without changing three others by accident.
Manual brewers, such as pour-over cones and immersion brewers, give you more control over pour pattern and time. Automatic machines are more repeatable, but they can hide the very variable you want to study.
Grinders matter the most. A burr grinder gives you more consistent particle size, and that affects extraction directly. A stepped grinder is easier to mark and repeat. A stepless grinder gives finer control, but you need to document your settings carefully.
Scales with built-in timers make brew notes easier. Thermometers and refractometers add precision, but they are optional unless you want to study extraction numerically.
| Name | Price / Key Spec | Best For |
|---|---|---|
| Manual pour-over (cone + kettle) | Price: varies; Key spec: manual pour control | Hands-on control of pour and agitation |
| Immersion brewer (French press, small brewers) | Price: varies; Key spec: full immersion, simple timing | Quick experiments about contact time and agitation |
| AeroPress (or similar hybrid) | Price: varies; Key spec: short-run immersion and pressure | Fast trials and recipe exploration with small samples |
| Home espresso machine | Price: varies; Key spec: high pressure extraction, pump control | Users testing pressure and dose effects; higher cost |
| Grinder (burr) | Price: varies; Key spec: grind consistency and adjustability | Any experiment where grind size matters |
| Scales and timer | Price: varies; Key spec: grams and seconds precision | Required for reproducible trials |
| Refractometer / TDS meter | Price: varies; Key spec: measures extraction numerically | Useful for precise extraction-yield experiments |
I would not assume the more expensive option is automatically the better teaching tool. A stable, simple manual setup often gives you faster feedback. More advanced equipment can be useful, but it also asks for more calibration and upkeep.
How to keep track of the results
Use one experiment log and stick with it. A notebook is fine. A spreadsheet is fine too. What matters is consistency.
The minimum useful fields are date, bean, dose, grinder setting, brew method, water notes, and tasting score. I would also leave a column for the decision that follows the tasting, because that is what turns notes into a working recipe.
At first, analyze the results qualitatively. Rank the cups. Look for repeated descriptions that match your preferred sample. If you use numbers, medians are usually more helpful than averages because one odd tasting session can skew the mean.
If you measure TDS or extraction, plot the variable you changed against the result you care about. That makes patterns easier to see.
Once a direction is clear, I would narrow the steps. If coarser grinding reduces bitterness in the way you like, test smaller grind changes next. The goal is to find the edge, not just the general area.
Keep a living recipe for anything you decide to adopt. Write down the settings that gave you the best result after repeat trials, then revisit them later if the beans change.
Mistakes that make coffee experiments useless
The most common mistake is changing too many things at once. If grind, dose, and pour style all change together, you cannot tell which one mattered. I would not trust that kind of result.
Poor notes are another problem. “Finer grind” is not enough if you do not record the grinder setting or mark. A vague note is hard to reproduce.
Bias also gets in the way. If you know which sample is which, you may hear, taste, or expect a difference before you have one. Random serving order and blind tasting reduce that risk.
Another trap is assuming one good result applies everywhere. A change that works for one bean or one morning may not work for another. I would test across different days and, when possible, with different beans before calling it a keeper.
Do not scale up too quickly either. A change that works in a small cup may behave differently in a larger batch or a different brewer. Run one confirmatory trial at the final serving size.
When the results look messy
If your tasting notes keep changing without a clear pattern, I would check the basics first. Are you using the same bean lot and roast date? Has the grinder changed? Is the water the same? Small shifts in any of those can overpower the variable you meant to test.
The fastest way to reduce noise is to repeat a baseline and the changed condition several times in a short span. If the result still wanders, simplify. Use the same water temperature, a single-cup recipe, and a short grind series so you can see how the grinder behaves.
Scales drift. Timers can be sloppy if you do not start and stop them the same way every time. I would verify calibration if the numbers do not make sense.
Sometimes the problem is not the coffee, it is the tasting conditions. Fatigue, room smells, and the temperature of the cup can all change perception. If a brew seems inconsistent, I would wait longer between samples and test when the palate is fresh.
Turning a test into your regular recipe
Once a change keeps winning, write it down as a recipe you can repeat without thinking too hard. Include the grinder marker, dose, approximate pour tempo, and any visual cue that helps you repeat the brew, such as bloom size or bed saturation.
I would keep the instructions practical. You do not need a lab protocol for your morning coffee. You do need enough detail to avoid guessing later.
Revisit the recipe every few weeks. Beans age. A setting that worked right after roasting may need a little adjustment after a week or two. Small changes are usually better than a complete reset.
FAQ
How long should one coffee brewing experiment take?
A simple trial can take only a few minutes for preparation and tasting. If you repeat conditions, compare multiple samples, or give yourself time between tastings, it will take longer. The method matters, and so does how many variables you are testing.
How many repetitions do I need?
Two repetitions per condition is the minimum I would trust. Three or more gives you a better check on consistency. If you can spread trials across different days, even better.
Do I need a refractometer?
No. A refractometer is useful if you want numerical extraction data, but it is not required for meaningful experiments. A scale, a reliable grinder, and careful tasting will tell you a lot.
Can I compare different brew methods in one experiment?
Yes, but treat method as the main variable. Keep dose and grind as close as possible to comparable settings, and expect larger flavor differences than you would see in a smaller tweak.
What should I change first if the coffee tastes sour or under-extracted?
I would start with grind size or contact time, depending on the brew method. Those are usually the most direct ways to shift extraction rate. Make small changes, then repeat the tasting before changing anything else.
A practical way to begin
Start small. Choose one variable, make two side-by-side brews, and write down what you notice. That is enough to begin learning.
If you want the fastest payoff, I would start with grind and dose. They tend to produce the clearest changes without requiring special gear. Once you can repeat those results, move on to contact time, agitation, or filter type.
Coffee brewing experiments are useful because they turn guesswork into a method. Keep the tests narrow, the notes honest, and the setup steady, and you will learn more from a few cups than from a dozen random tweaks.

- Espresso Tastes Watery? 10 Common Causes and How to Fix It - October 23, 2026
- 10 Common Coffee Equipment Cleaning Mistakes and How to Avoid Them - October 23, 2026
- 17 Common Coffee Grinder Problems and How to Fix Them - October 23, 2026