
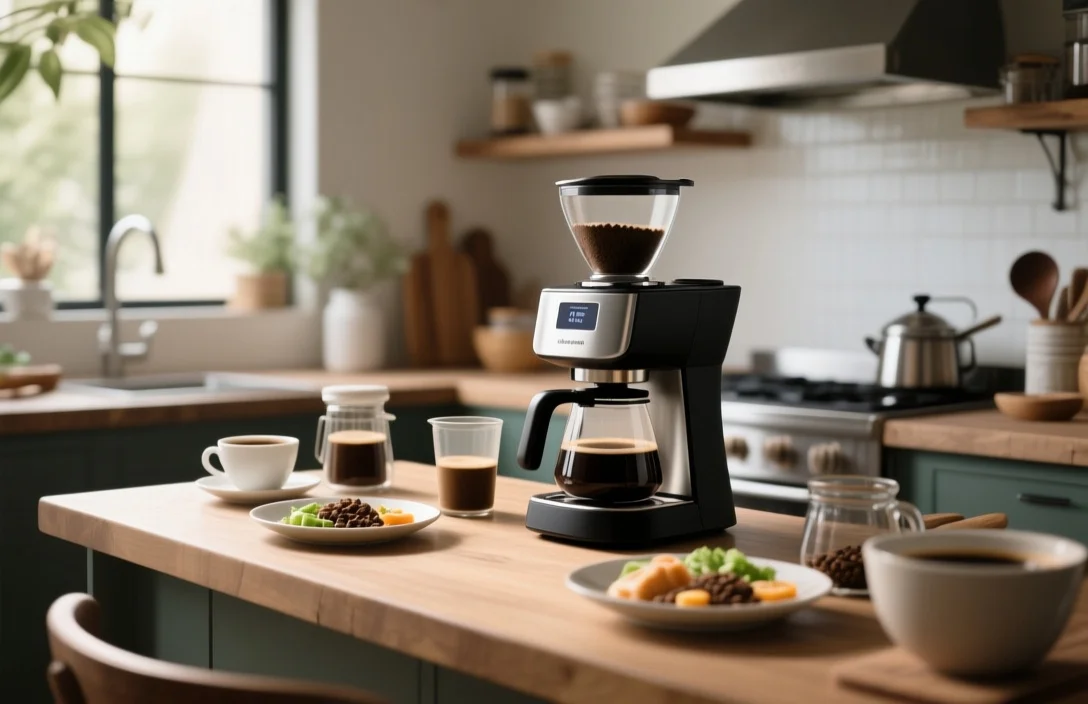
Make your mornings faster and more consistent by prepping coffee in advance – coffee meal prep creates ready-to-use coffee or concentrate you can store for the week. Many people adopt batch hot brew, cold-brew concentrate, or single-serve jar systems to cut morning friction and keep strength consistent.
What coffee meal prep is
Coffee meal prep is the practice of making coffee or a coffee concentrate ahead of time, portioning it, and storing it so that cups can be finished quickly during the week. Practicing this habit replaces daily single-cup brewing with a predictable, repeatable process that saves time and reduces decision fatigue. Prepping focuses on three outcomes: consistent strength, reduced morning steps, and fewer wasted beans or filters.
Why people prep coffee and when it helps
Saving time drives the most obvious benefit for those who prep coffee, but consistency and cost control are close behind. Busy mornings, shared households, or office kitchens with no reliable espresso machine benefit because a single prep session delivers multiple ready servings. Home roasters or shoppers who dislike day-to-day taste swings get steadier extraction by standardizing grind, dose, and water temperature during the prep session.
Health and lifestyle reasons motivate other users. Cold-brew concentrates make it easier to switch between hot and iced drinks without another brewing step. Portioning into jars or bottles supports caffeine tracking and mixes well with meal-prep habits like portioned breakfasts. People who commute or pack drinks for work find that prepped coffee saves space and eliminates juggling multiple pieces of equipment.
Core methods and how they differ
After testing common approaches side by side, three practical methods dominate coffee meal prep: batch hot brew, cold-brew concentrate, and jarred single-serve. Each method trades off speed, storage life, and equipment needs.
Batch hot brew uses your usual drip or automatic brewer to make a larger-than-usual pot and then chills or portions it. Strength and clarity match what the brewer produces, so flavor depends heavily on fresh grind and water quality. Cold-brew concentrate steeps coffee in cool water for an extended period, producing a low-acidity, high-concentration liquid that dilutes into iced or hot drinks. Jarred single-serve involves making individual jars of brew or “ready-to-drink” servings that include milk or sweetener; this method prioritizes convenience at the cost of refrigeration and shorter on-shelf lifespan.
Flavor differences matter for choice. Batch hot brew keeps aromatics similar to fresh brewed coffee but cools into a different flavor profile after refrigeration. Cold-brew concentrate usually tastes smoother and less acidic, which suits people who drink iced coffee or mix with milk. Jarred single-serve wins when travel or grab-and-go convenience is the priority. Pick the method that matches how you finish the drink and how long you intend to store it.
Equipment and budget comparison
Choosing equipment depends on how much time you want to invest and how many servings you need. Low-cost setups let you start with basic tools, while higher-cost gear buys automation and improved consistency.
| Name | Price / Key Spec | Best For |
|---|---|---|
| Basic Batch Brew | Low – uses existing drip maker or French press | Households that want simple, low-effort batching |
| Cold-Brew Mason Jar | Low – uses jar and coarse grind | Iced-coffee drinkers who want smooth, low-acid concentrate |
| Immersion Brewer (larger) | Medium – dedicated brewer for batches | Small offices and regular hosts who want consistent volume |
| Dedicated Cold-Brew System | Medium – purpose-built carafe and filter | Fans of cold brew who value convenience and ease of filtering |
| Espresso Concentrate + Steamer | High – grinder and espresso machine | Milk-based drink lovers who want quick lattes on demand |
Budget guidance favors starting small. Use what you already own to trial a method before buying dedicated hardware. A scale and a decent grinder upgrade pay the biggest flavor dividends if you plan to prep regularly.
How to plan a weekly coffee prep session
Plan one prep session that fits your week and habits to get the maximum return on time spent. The following numbered steps guide a typical weekly workflow; each step begins with a verb to keep the sequence actionable.
- Choose a method that matches how you drink (hot, iced, milk drinks).
- Select beans that you like fresh and buy a quantity you will finish within the storage span you expect.
- Grind immediately before prep if you have a grinder, or use a consistent pre-ground option if not.
- Brew your batch or concentrate using your chosen method, keeping the process consistent each week.
- Portion the coffee into bottles, jars, or a dispenser for quick access.
- Label containers with the prep date and intended strength if you vary concentrations.
- Store the containers in the refrigerator and plan to finish them within your personal freshness window.
Scheduling your session on a predictable day helps. Weekend mornings or early Sunday afternoons work well for many people because pantry and fridge space are easier to manage then. Prepping immediately after grocery runs also makes sure beans are fresh and water is at hand.
Practical recipes and finishing moves without exact ratios
Getting the strength and flavor right requires two choices: the brew concentration and the final finishing technique. Use qualitative guidance to dial in drink profiles without relying on precise ratios that can vary by bean and personal taste.
For batch hot brew, aim for a brew strength similar to your normal morning cup and taste a small sample when it’s fresh. Adjust grind size and brew time until the brewed pot tastes balanced – too sour suggests under-extraction and coarser grind; flat or bitter suggests over-extraction and finer grind. Chill the pot quickly in a shallow container to preserve aromatics and avoid leaving it at room temperature long.
For cold-brew concentrate, steep the coffee longer than you would for a hot cup and then filter thoroughly. Concentrate should taste strong and smooth when undiluted; if it tastes harsh, dilute more for serving and use a coarser grind next time. Store concentrate in a sealed bottle and dilute by mixing part concentrate with water, milk, or sparkling water when you serve.
For milk-based drinks, heat milk separately and combine at serving time unless you accept the trade-off of refrigerated pre-mixed lattes. Frothing or steaming at the moment of service gives far better texture. Pre-mixed milk drinks can be convenient but lose foam characteristics and can separate, so shake and reheat properly before drinking.
Try small-batch experiments: prepare one jar at a target strength and keep notes. Taste across days to notice how the flavor evolves. Adjust grind, steep time, and final dilution until the week-long taste curve matches your tolerance for flavor change.
Storage, safety, and shelf-life guidance
Safe storage keeps coffee tasting good and avoids off-flavors. Cool, airtight containers are your first control point. Glass bottles and jars seal well and do not carry odors; choose those for concentrates and single-serve jars.
Refrigeration slows flavor degradation and microbial growth. Keep prepped coffee chilled and avoid leaving containers at room temperature for extended periods. Use sealable lids and avoid repeatedly opening a master container if you can portion into single-serve bottles instead.
Avoid storing brew in plastic long-term if you can, because plastic can impart flavors. Clean storage vessels thoroughly between uses with vinegar or a mild detergent to remove oils that cause stale or rancid notes. If a container develops a lingering aroma after washing, replace it.
Use your senses as a guide. Coffee that smells musty, shows visible cloudiness that won’t clear after shaking, or tastes distinctly sour in a way that wasn’t there when fresh should be discarded. For concentrates with added dairy or flavored syrups, expect a reduced fridge life and plan to consume those faster.
Common mistakes and how to avoid them
Start with small experiments to avoid wasting beans and time. Grinding too fine for cold-brew, using warm water for long cold steeps, or adding milk straight into storage jars are frequent mistakes that reduce quality.
Using stale beans makes any prep fail. Buy beans in quantities you can use within your freshness window and store them airtight in a cool, dark place. Re-grinding only right before a batch pays dividends; if you lack a grinder, use a bag that lists a recent roast date and plan shorter storage.
Over-scaling concentration can backfire; concentrates that are too strong mask bean character and create bitter or cloying drinks when diluted. If a prep tastes unbalanced, change one variable at a time – grind size, steep time, or dilution – to find the cause. Clean filters and equipment between batches to prevent oil buildup that causes rancid or cardboard-like flavors.
Avoid skipping labeling. Without a prep date, it’s easy to keep a jar in the fridge past the point where quality is acceptable. If multiple people use the fridge, store coffee in a dedicated location with a visible date and a note about strength so others know how to finish or dilute it.
Quick troubleshooting guide
Start troubleshooting by tasting a small sample cold and hot to understand how the flavor shifts. Cold-brew that tastes thin usually needs a finer grind or longer steep. Hot-brew that tastes metallic may result from water quality; try a different water source and clean the brewer.
If your prepped coffee turns cloudy after refrigeration, shake and smell it. Mild cloudiness can be harmless and caused by oils; pungent smells indicate contamination or off-flavors that warrant discarding. For excessive bitterness on day one, reduce extraction by adjusting grind coarser or shortening contact time in immersion methods.
Label your trials and keep a short log. Note bean origin, grind setting, steep time, and serving dilution. Patterns in the log will quickly point to which variable produces improvements and which produces undesirable effects.
How to scale coffee meal prep for households and small offices
Scaling from one or two jars to a communal dispenser requires planning around volume, sanitation, and access. Choose equipment rated for the volume you need; larger carafes with sturdy dispensing taps reduce mess and speed service.
Assign clear responsibilities for cleaning and restocking in shared spaces. Bacterial growth and off-flavors increase when multiple people repeatedly touch lids, dip utensils into the container, or leave the dispenser partially open. Use sealed bottles for grab-and-go servings when hygiene or access is a concern.
Consider a rotation system to keep stock fresh. Prepare a known volume for the week, then make smaller top-up preps mid-week if demand spikes. Communicate strength and flavor changes to users so everyone can dilute to personal taste.
Cost-saving tips and ingredient choices
Buying whole beans in slightly larger bags and grinding at home often lowers per-cup cost compared with pre-ground coffee. Choose beans that taste good to you rather than chasing single-origin labels if budget is a priority. Reuse a filter-thin sheet rather than paper filters only when it does not degrade flavor.
Use the concentrate approach to stretch good beans; a small amount of high-quality coffee in a concentrate can flavor several diluted servings. Drinkers who favor milk-based drinks can stretch a batch by adding more milk at service rather than increasing the coffee portion in storage. Watch extras like syrups and dairy, because those items can increase cost more than the coffee itself.
FAQ
How long will prepped coffee stay good in the fridge?
Shelf-life depends on method and storage, but expect flavor to decline over several days. Use sealed containers and your senses to decide; discard any coffee that smells off or tastes unpleasant.
Can I freeze coffee or concentrate to keep it longer?
Freezing slows degradation but can alter flavor and texture. Freeze only if you must, and thaw in the refrigerator; expect some loss of aromatic profile on thawing.
Is cold-brew less acidic than hot-brew?
Cold-brew generally tastes smoother and less acidic to many drinkers because of the cooler extraction process. Flavor perception varies by bean and concentration.
Should I add milk or sugar before storing?
Avoid adding perishable milk or sweeteners before storage unless you plan to consume the container quickly. Mix dairy at serving time for better texture and safety.
Do I need a scale for consistent coffee meal prep?
A scale improves repeatability, but you can use consistent scoop measures and taste adjustments if a scale is not available. Upgrading to a scale pays off faster for frequent preppers.
How do I avoid brown or stale flavors over the week?
Keep containers airtight, limit light and heat exposure, and prepare only the volume you will reasonably finish. Rotate stock and clean vessels thoroughly between uses.
One-line practical verdict: Pick one method, run a single small test batch, keep notes, and refine.
Plan a trial for this week: choose a method above, prep one small batch, label it, and taste across three days to decide whether to expand your routine.

- Espresso Tastes Watery? 10 Common Causes and How to Fix It - October 23, 2026
- 10 Common Coffee Equipment Cleaning Mistakes and How to Avoid Them - October 23, 2026
- 17 Common Coffee Grinder Problems and How to Fix Them - October 23, 2026