
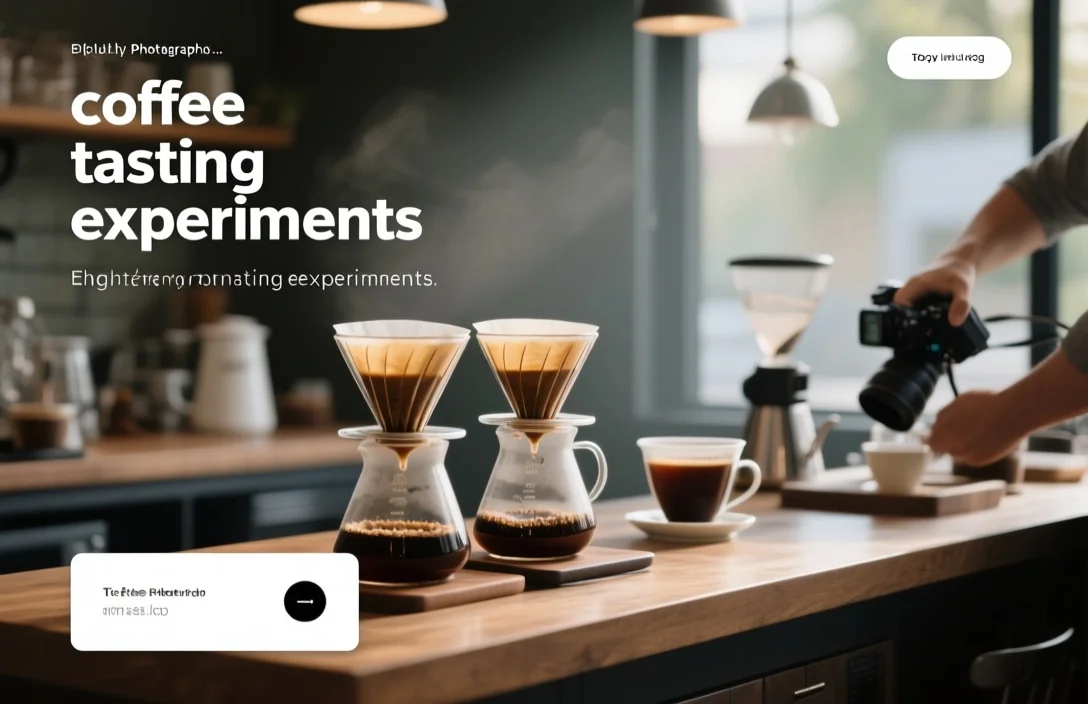
Coffee tasting experiments answer how specific changes – roast level, grind size, water temperature, brew method, or origin – alter the cup you drink. Coffee tasting experiments are structured trials that control one variable at a time so you can decide which adjustment produces the flavor change you want.
What coffee tasting experiments are and when to run them
Coffee tasting experiments isolate cause-and-effect for flavor, aroma, and mouthfeel. They work by keeping every parameter constant except the one you want to test; that might be roast level, grind size, or brew ratio. That single-variable approach makes it possible to identify which change actually shifts acidity, sweetness, bitterness, or aftertaste.
Practical reasons to run experiments include troubleshooting a batch that tastes off, narrowing roast profiles, selecting a grinder setting for espresso, or training staff to recognize faults. Amateur home brewers and professional roasters use the same experimental logic but different scales: a home test can be done with three cups and a notepad, while a roastery typically uses cupping bowls, scales, and a consistent water source. Both benefit from the same principles: clear hypothesis, consistent controls, blind evaluation, and a repeatable record-keeping method.
Field conditions shape the experiment you choose. Professional cupping standards emphasize multiple replicates and calibrated scales, while at-home experiments prioritize reproducibility with what you own. That reality informs how strict your controls must be – a home brewer can accept minor variance in kettle flow if the objective is broad flavor direction rather than exact extraction numbers.
What causes flavor changes
Roast degree chemically transforms coffee beans and therefore changes flavor by breaking down acids and forming browned sugars and aromatic compounds. Lighter roasts tend to preserve origin character – fruitiness, floral notes, higher perceived acidity – while darker roasts usually shift toward caramelized sugars, baking chocolate, and smoky notes. Chemical pathways and Maillard reactions are responsible for that shift; treating roast as a variable produces predictable directionality in cup profile.
Grinding changes surface area and extraction rate, altering balance and strength. Finer grinds increase extraction speed and often raise perceived bitterness if over-extracted. Coarser grinds produce lighter body and may accentuate floral or delicate flavors that are lost when extraction is pushed too far. Water temperature and contact time interact with grind to determine total dissolved solids and which flavor compounds dominate.
Water composition affects solubility of acids and volatile aromatics. Minerals in water buffer acidity and influence mouthfeel; very soft water can make coffee taste flat, while very hard water can mute acidity and enhance bitterness. Brewing equipment introduces its own signatures: metal filters and paper filters remove oils differently, and immersion versus percolation methods change what is extracted first. Those mechanisms explain why the same coffee can taste dramatically different when roasted, ground, and brewed under different conditions.
Designing a tasting experiment
After comparing the main options side by side, pick a single independent variable to test and fix everything else. Good experimental design depends on that discipline: choose roast, grind, water temperature, grind distribution, brew ratio, or brew method as the factor you alter. Each trial should test only one factor at a time to avoid ambiguous results.
Comparing identical samples under blind conditions reduces expectation bias. Use three or more replicates per condition when possible, and randomize cup order so palate fatigue and order effects don’t confound results. Record essential metadata: coffee lot ID, roast date, roast degree descriptor, grinder make and setting, scale readings for dose and yield, water temperature, total brew time, and room notes such as humidity or recent smoke that could affect perception.
Control samples act as anchors. Including an unmodified control cup alongside your test cups gives tasters a baseline for comparison and helps quantify shifts in acidity, sweetness, or bitterness. Statistical power grows with sample size, but practical constraints often limit how many cups you can use. For small-scale, meaningful results, duplicate each condition and collect at least three independent tasting notes per condition when human tasters are involved.
Common experiment types and what each reveals
Coffee experiments vary by complexity and cost. The table below lists the common experiment formats, a practical sense of the equipment or cost implication, and what each format is best for. Exact current prices were not found for specific gear during my review, so cost entries are qualitative rather than numeric.
| Name | Price / Key Spec | Best For |
|---|---|---|
| Blind cupping | Low to moderate – requires cupping bowls, spoon, scale | Detecting origin/faults; neutral tasting of roast samples |
| Split-brew (A/B) | Low – two identical brew setups | Comparing two settings quickly (e.g., water temp or grind) |
| Grind-size sweep | Low to moderate – consistent grinder | Finding optimal extraction point and flavor balance |
| Roast-level comparison | Moderate – roast access or multiple roast batches | Understanding roast impact on origin characteristics |
| Brew-method comparison | Low to moderate – multiple devices (V60, immersion, espresso) | Deciding which method highlights desired attributes |
| Water recipe test | Low – water chemistry adjustments or bottled waters | Evaluating mineral effects on acidity and mouthfeel |
Split-brew tests provide fast directional answers and work well when you have two identical brew rigs. That approach helps decide between two discrete options such as filter type or temperature. Grind sweeps require a calibrated grinder to move incrementally through settings; they show where extraction becomes over- or under-extracted without changing dose or time.
Roast comparisons require either multiple roast profiles applied to the same green lot or access to roaster-processed samples. Differences become clearer within a narrow window after roast and before staling. Brew-method comparisons frequently reveal that the method itself accounts for as much variation as roast or origin; a pour-over will highlight clarity and acidity differently than an immersion brew.
Preparing a tasting session: precise steps to follow
Plan and lay out everything before you heat water. Follow these steps to make a tasting session reproducible and useful.
- Gather equipment and label cups clearly.
- Dose identical masses for each cup using an accurate scale.
- Grind each sample immediately before brewing to avoid staling.
- Heat water to your target temperature and verify with a thermometer.
- Brew each cup with the same timing and pour technique where applicable.
- Cool and cover cups if you will taste later to prevent aroma loss.
Measure and log each step to reduce variance. Brewing order should be randomized for blind tastings; use covered cups with numbered lids if you want external help in serving. Prepare palate cleansers such as plain water and unsalted crackers and avoid strong perfumes or foods that can interfere with olfaction.
Serve samples at a sensible tasting temperature. Flavor perception shifts as coffee cools: acidity and aromatic brightness are most noticeable at higher temperatures, while sweetness and body become more apparent as the cup cools. Encourage tasters to slurp – the forced aeration distributes coffee across the palate and helps detect subtle aromatics. That technique looks odd but is standard in professional cupping.
Collecting and analyzing sensory data
Pick a scoring system that fits your aim and stick with it for the entire project. Many tasters use a numeric scale for attributes like acidity, sweetness, bitterness, body, and aftertaste, plus a free-text field for specific descriptors. Standard forms from cupping protocols help produce consistent entries, but a simple spreadsheet can work for a first experiment.
Use descriptive terms that map to consistent sensory anchors. Fruit descriptors should indicate both family and texture – “citrus – grapefruit” describes a different sensation than “stone fruit – apricot.” Aroma notes and taste notes should be recorded separately because retronasal perception differs from orthonasal aroma. That separation prevents conflating an initial perfume with what remains on the tongue.
Analyze results both qualitatively and quantitatively. Average scores across tasters provide a quick view of direction, and variance indicates agreement or disagreement. Low inter-taster agreement does not necessarily invalidate an experiment; rather it highlights that descriptive training or clearer reference anchors are required. For more formal work, run basic statistics such as paired t-tests when comparing two matched conditions and document confidence limits – small sample sizes weaken statistical claims.
Practical
Set up simple, instructive experiments that do not require professional gear. Try a basic three-cup roast comparison using the same origin: sample a light, medium, and dark roast (if you can obtain them) and taste for acidity, sweetness, and roast-derived notes. Use identical dose and brew method so roast is the only variable.
Run a grind-size sweep with a single brew method and five incremental settings on your grinder. Label each cup and blind them for a second tasting round. Note where perceived bitterness spikes or where clarity and sweetness peak; that region often represents your sweet spot for that coffee and grind method. Try a water-temperature test on two adjacent days to control for palate adaptation and environmental noise.
Compare a paper-filtered pour-over against an immersion brew of the same coffee and dose. Focus on mouthfeel and clarity: immersion often yields fuller body while paper filtration typically produces a cleaner cup. Keep grind and water chemistry the same and only vary the method.
Common mistakes and how to avoid them
Skipping blind tasting injects expectation bias into results. Human perception is heavily influenced by labels and preconceived notions; a roaster’s name or an origin narrative will change how people describe a cup. Blind your sessions by having a colleague serve samples or use numbered lids and avoid revealing any identifying information until after scoring.
Failing to control dose or brew ratio ruins comparability. A different strength changes perceived acidity and bitterness, so measure dose and yield precisely with a scale. Avoid eyeballing portions or free-pouring unless the experiment specifically tests pour technique.
Overloading your palate reduces sensitivity and leads to noisy data. Space samples with palate cleansers and limit sessions to a manageable number per tasting round. That practice keeps fatigue low and data quality high. Repeating identical conditions without replication wastes resources; include duplicates to detect outliers and check for consistency.
Scaling experiments
Small experiments work well at home because they help you learn the directional effects of single variables quickly. Home setups emphasize flexibility: you can repeat a test across several weeks using the same bag to see how freshness affects your observations. That time-series approach reveals when a roast loses aroma or develops staling notes.
Commercial roaster labs require higher rigor: they track roast gas development, use controlled water chemistries, and maintain standardized cupping rooms. Those investments matter when you must decide roast profile adjustments that will scale to hundreds of kilos of green coffee. Quality-control experiments in roaster labs typically include multiple roasts of the same lot and blind cupping panels with trained tasters to reduce subjective bias.
Cafés sit between home and lab contexts. They need quick, operationally useful experiments that inform preparation for service. Barista-run split-brews or one-factor training sessions are effective because they produce immediate, actionable protocol changes without extensive lab equipment. That balance favors repeatability and speed over exhaustive statistical power.
FAQ
How long after roasting should I run tasting experiments?
Run initial comparisons within a few days of roast to capture first-release aromatics, and repeat at regular intervals afterward to understand how flavors evolve with degassing and staling. Many coffees change noticeably over the first two weeks, but exact timing varies by roast degree and storage.
Can I taste reliably without formal training?
Novice tasters can produce useful data if sessions are blind, controls are strict, and descriptive anchors are taught beforehand. Training with reference samples or flavor wheels improves vocabulary and consistency, which in turn raises the quality of your experimental records.
How many tasters do I need for meaningful results?
Two to five tasters provide quick directional insight for small experiments, while larger panels increase confidence for decisions that affect business operations. Small groups work for iterative development; larger panels are better when you must make a purchase or a roast change that impacts many cups.
Should I sanitize equipment between samples?
Rinse and, if necessary, dry between samples to avoid cross-contamination of strong flavors. Avoid scented soaps or perfumed cleaning agents that leave residues and instead use plain water and neutral cleaning agents where appropriate.
Next
Start with a simple, blinded three-cup test this weekend: pick one variable, control everything else, and record the results. That single, repeatable experiment will teach you the core discipline behind coffee tasting experiments and provide actionable insight for your next brew or roast.

- How to Fix Bitter Coffee: 10 Expert Ways to Improve the Taste - October 4, 2026
- Why Does My Coffee Taste Bad? 20 Common Problems and Fixes - October 4, 2026
- How to Get Better Crema With Café Bustelo Coffee - October 2, 2026